Results
SINUMERIK control with HMI-Advanced - installing SINUMERIK Integrate
Procedure
-
Start the SINUMERIK control system in Windows service mode.
-
Open the installation directory.
-
Start the "setup.exe" setup file by double-clicking.
-
If you have not installed the appropriate Internet Explorer, a message will appear indicating this, for example, "The program requires Internet Explorer 6 or higher".
Installation is canceled and you must install the appropriate Internet Explorer first.
Then restart the client installation.
-
-
The welcome dialog box opens.
The installation language is English.
Click on the "Next >" button to prepare for the installation.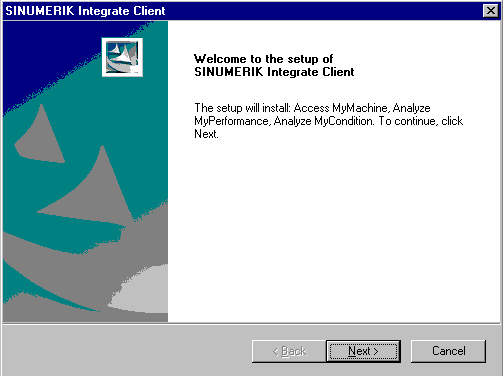
-
The "License Agreement" window opens.
Read the license agreement.-
Click "Print" if you want to print out the terms.
-
Then select the "I accept the terms of the license agreement" check box and click "Next >".
- OR -
Click "< Back" to return to the previous window.
-
-
The "Installation mode" window opens.
-
Select the option button "Expert mode (with additional installation options)."
-
Click "Next >".

-
-
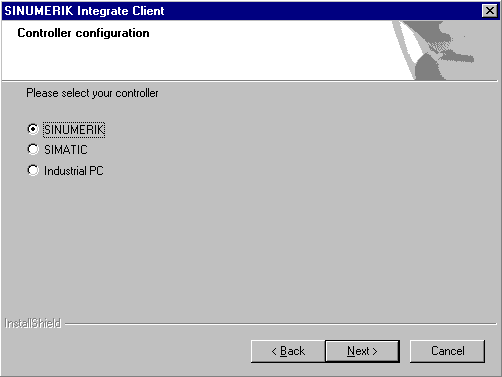
The "Controller configuration" window opens. Select your controller.
-
Select, for example, the "SINUMERIK" option button.
-
Click "Next >".
-
-
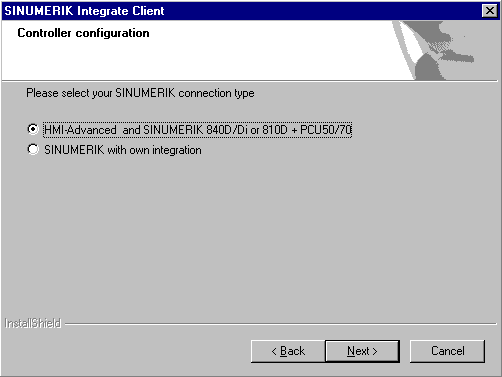
Now select the SINUMERIK connection type in the "Controller configuration" window.
-
Select the option button "HMI-Advanced and SINUMERIK 840D/Di or 810D + PCU50/70".
-
Click "Next >".
-
-
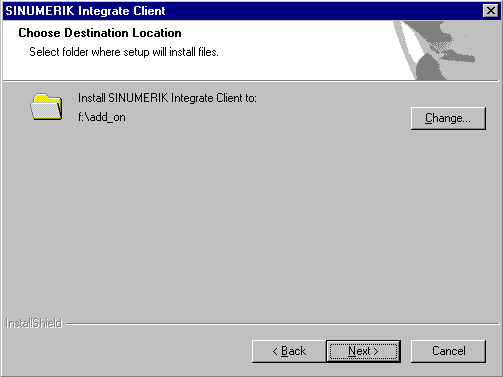
The "Choose Destination Location" window opens and the installation directory is displayed.
-
Click "Next >".
- OR -
Click "Change..." to change the directory.
-
-
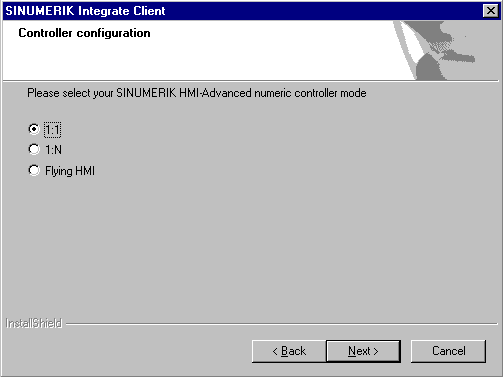
The "Controller configuration" window opens.
-
Select the option button for connection "1:1".
-
Then click "Next >".
-
-
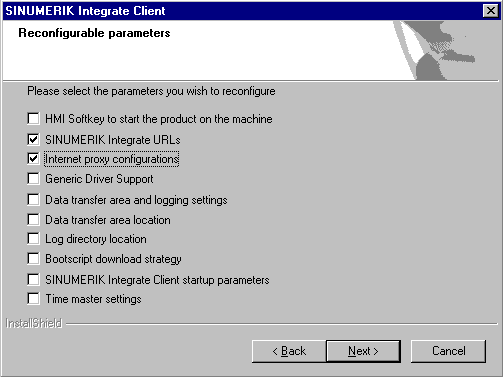
The "Reconfigurable parameters" window opens.
-
Select the "SINUMERIK Integrate URLs" and "Internet proxy configurations" check boxes.
-
Click "Next >".
-
-
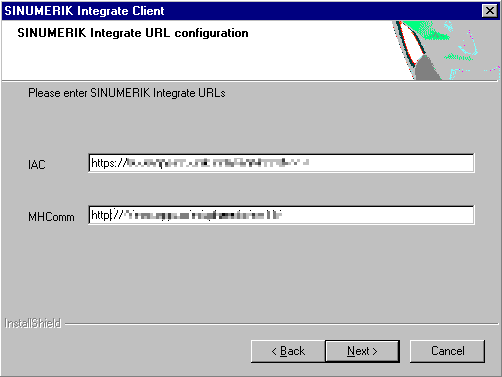
The "SINUMERIK Integrate URL configuration" window opens.
The proxy server is required to connect the control to MindSphere.-
Enter the following WebService URL for the MindSphere V3 Livesystem in the "MHComm" text box:
https://gateway.eu1.mindsphere.io/api/agentcom-mmmops/v3/ws11
-
Click "Next >".
-
-
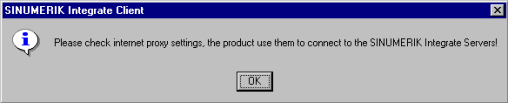
The following message is displayed: "Please check internet proxy settings, the product use them to connect to the SINUMERIK Integrate Servers!"
-
Click "OK" to adapt the proxy server.
-
-
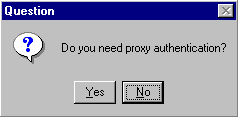
The "Question" window opens with the following question: "Do you need proxy authentication?"
-
If authentication is required for the proxy, click "Yes".
-
-
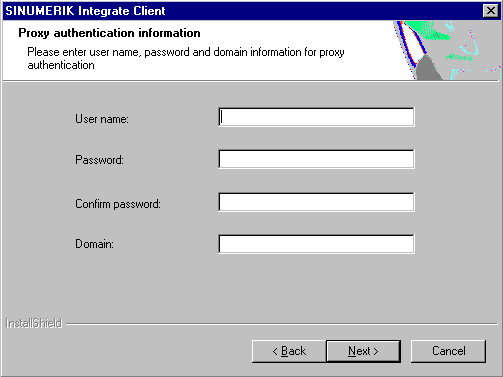
The "SINUMERIK authentication information" window opens.
Enter the data in the text boxes:-
User name:
-
Password:
-
Confirm password:
-
Domain:
-
Click "Next >".
-
-
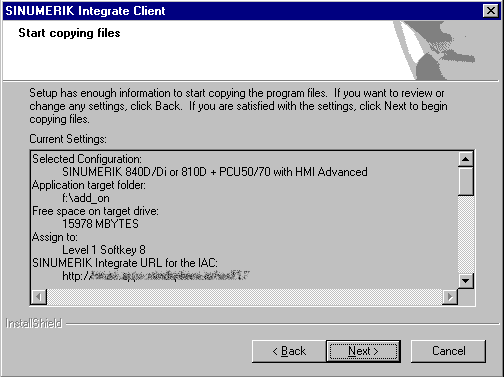
The "Start copying files" window opens and the settings made are displayed.
-
Click "Next >" to copy the data to the SINUMERIK control.
-
-
You are prompted to restart the system after the installation has been completed.
To do this, click "OK".