Results
SINUMERIK control system with HMI Advanced - Setting the proxy
Procedure
-
Start the PCU in the service mode.
-
Open "Add or Remove Programs" in Windows and select "SINUMERIK Integrate Client".
Click "Change".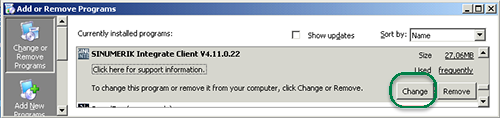
-
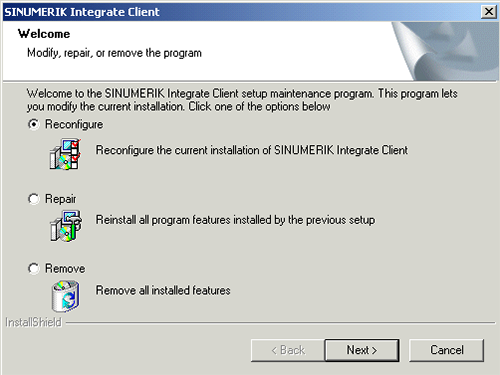
The "Welcome" window opens.
-
To edit the configuration, select the "Reconfigure" option button.
-
To perform the setup of the "SINUMERIK Integrate Client", click "Next >".
-
-
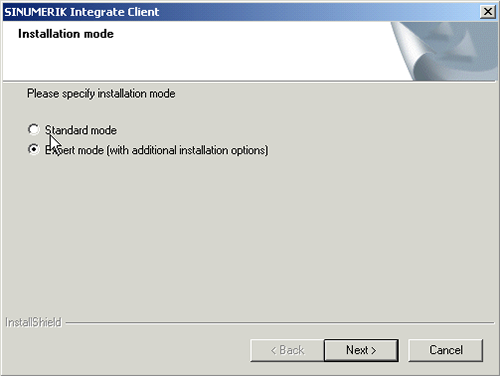
The "Installation mode" window opens.
-
Select the "Expert mode (with additional installation options)" checkbox.
-
Click "Next >".
-
-
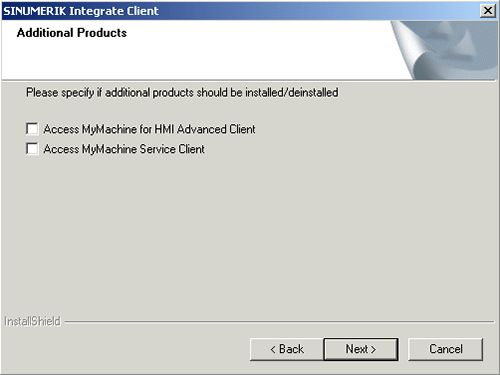
The "Additional Products" window opens.
-
Click "Next >".
-
-
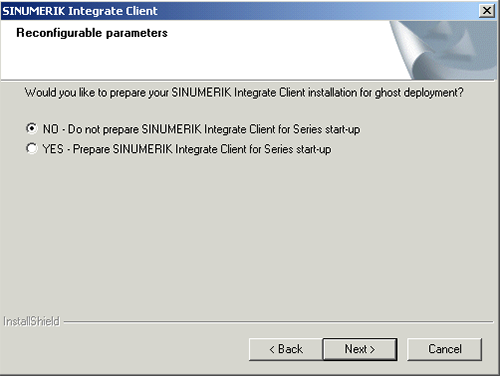
The "Reconfigurable parameters" window opens.
-
Select the "NO - Do not prepare SINUMERIK Integrate client for series start-up" option button.
-
Click "Next >".
-
-
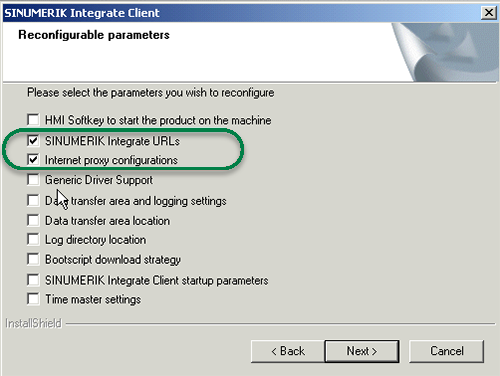
Activate the following checkboxes:
-
"SINUMERIK Integrate URLs"
-
"Internet proxy configurations"
-
Click "Next >".
-
-
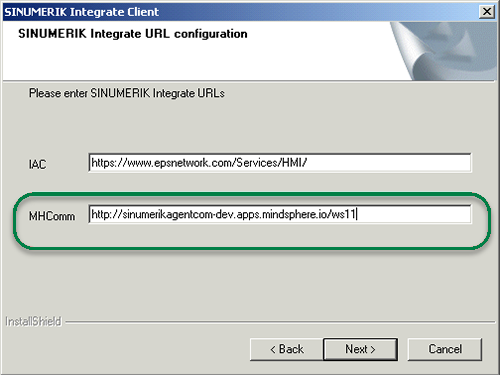
The "SINUMERIK Integrate URL configuration" window opens.
-
Configure the URL for connection to MindSphere with http and not with https.
Enter the following URL in the "MHComm" input field, depending on which MindSphere system you are connected with: -
Click "Next >".
-
-
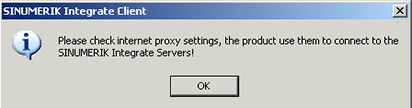
The following prompt is displayed: "Please check internet proxy setting, the product use them to connect to the SINUMERIK Integrate Servers!".
-
Click "OK".
-
-
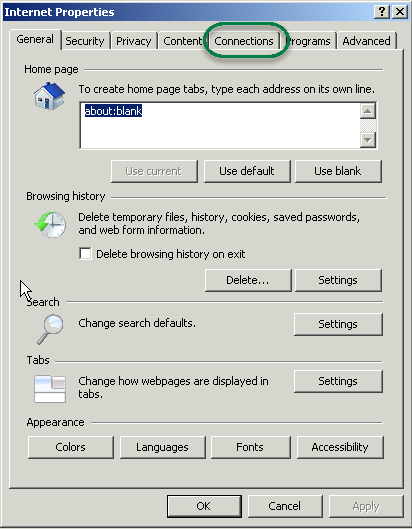
The "Internet Properties" > "General" window opens.
-
Open the "Connections" tab.
-
-
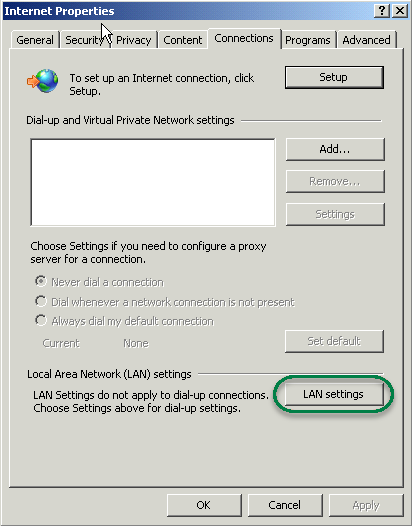
The "Connections" window opens.
-
In the "Local Area Network (LAN) settings" group box, click the "LAN settings" button.
-
-
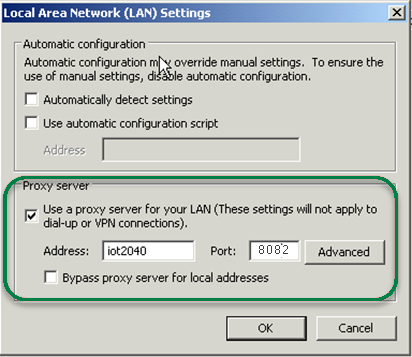
The "Local Area Network (LAN) settings" window opens.
Enter the proxy settings:-
Deactivate the "Automatically detect settings" checkbox.
-
Deactivate the "Use automatic configuration script" checkbox.
-
In the "Proxy server" group box, select the "Use a proxy server for your LAN …." check box.
-
Address: iot2040
-
Port (as configured in Apache), e.g.:
8082 -
Deactivate the "Bypass proxy server for local addresses" checkbox.
-
Click "OK".
-
-
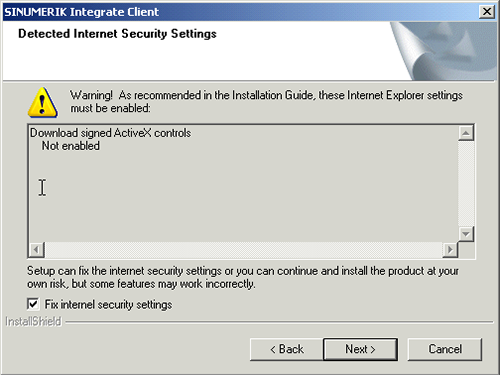
The "Detected internet connection settings" window opens.
The defined proxy settings are shown for checking.-
Click "Next >".

-
-
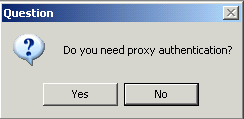
The following question is displayed: "Do you need proxy authentication?"
-
Click the "No" button.
-
-
Select the "Fix internal security settings" check box.
-
Click "Next >".
-
-
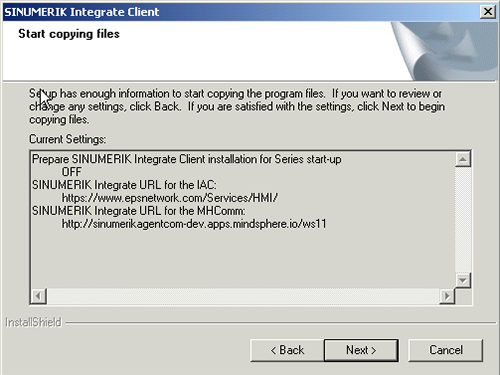
The "Start copying files" window opens.
The specified proxy settings are displayed for validation.-
Click "Next >".
-
-
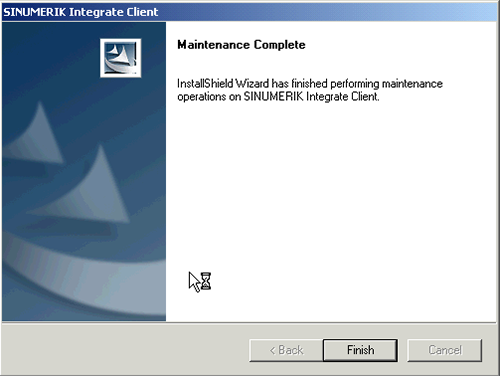
The "Maintenance Complete" window opens.
-
Click "Finish>" to complete the installation.
-