Using Subtenancy
Subtenants are managed using the Settings UI. For details about this user interface refer to the Settings documentation.
Example Scenario
Imagine a machine builder who sells machines to various customers. The machine builder supports the customers with setting up the machine and doing performance optimizations. These services are typically handled by support personnel on-site, but most of them can be digitized by using Industrial IoT services:
The machine builder can offer digital services like online support, predictive maintenance and remote performance optimization to customers (subtenants). This enables the machine builder to view data collected from the machines at the customer's plant and thus to offer custom applications for visualizations, simple analytics or fleet management.
Provider Information
The provider information enables you to insert your own legal information (a collection of links) in multiple languages for users of your environment. This ensures that legal requirements of app operators and consumer environment can be met. The legal information is displayed in the OS Bar which is available from all apps and can be accessed by clicking on the tenant logo at the left.
Languages
Legal links can be defined in multiple languages. For each language a set of name-value pairs must be defined. They can be of type www, Phone number or E-Mail.
Regions
On operator environment regions can be defined and country codes can be added to them. Each country can only be assigned to one region. Developer environment only support the global region with English as default language.
The OS Bar automatically displays the legal links defined for the environment's country. If links are available in multiple languages, the links to be displayed are selected based on the language settings of the user's web browser.
For more information refer to the Settings documentation.
Creating the Provider Information
The provider information for your environment can only be created by a tenant admin.
- Open the Settings from the Launchpad and switch to the Provider tab.

- Add basic information and legal links.
- Click Save.
Info
For details about the Provider UI refer to the section Customize the MindSphere OS Bar with "Provider" in the Settings documentation.
Subtenant User Management
Prerequisites
- You are tenant admin.
- You have created the provider information.
Creating a New Subtenant
- Open the Settings from the Launchpad and switch to the Subtenants tab.
- Click on Create Subtenant and fill in the required details.
- Click Create.
Info
For details about the Subtenants UI refer to the section Using subtenants in the Settings documentation.
Creating a New Subtenant User
- Switch to the Users tile.
- Click on Create User and fill in the required details.
- Select the user type Subtenant user and the subtenant.
- Click Create user.
The subtenant user does not have any user permissions yet. These permissions are assigned via user roles as described in the next section.
Info
For details about the Users UI refer to the section User Management > Managing users in the Settings documentation.
Assigning the Subtenant Role to a Subtenant User
- Switch to the Roles tile.
- Select the
mdsp:core:SubTenantUserrole. - Click on Edit assignments.
- Select the subtenant user and complete the dialogue.
Info
For details about the Roles UI refer to the section User Management > Using roles in the Settings documentation.
Assigning an Asset to the Subtenant
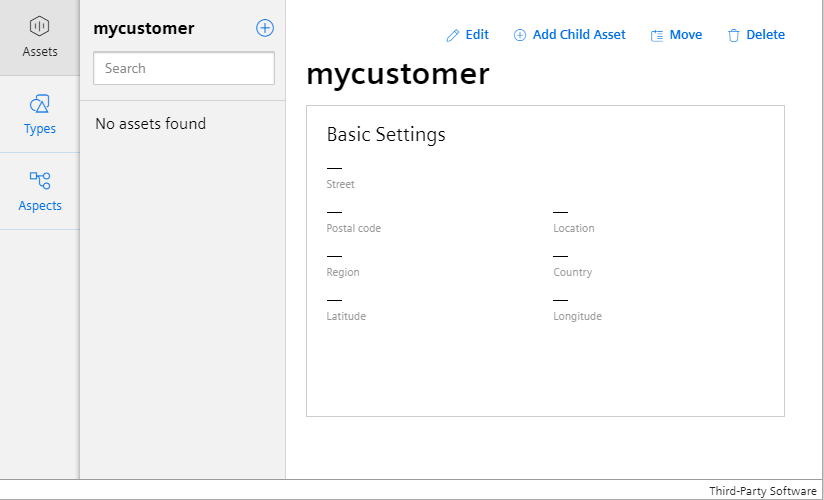
When a subtenant user logs into their environment, they can only see the assets assigned to them. Thus the Asset Manager is empty at first for subtenant users of a new subtenant:
Tenant admins can assign assets to subtenants as follows:
- Open the Asset Manager from the Launchpad.
- Option A: Assign an existing asset to the subtenant.
- Click on the asset.
- Click on the asset menu and selct Move asset.
- Select the root asset for the subtenant and click Accept. This asset is of type
core.basicsubtenant.
- Option B: Create a new asset for the subtenant.
- Click on the root asset for the subtenant.
- Click on Create asset.
- Select the asset type, enter all required information and click on Save.
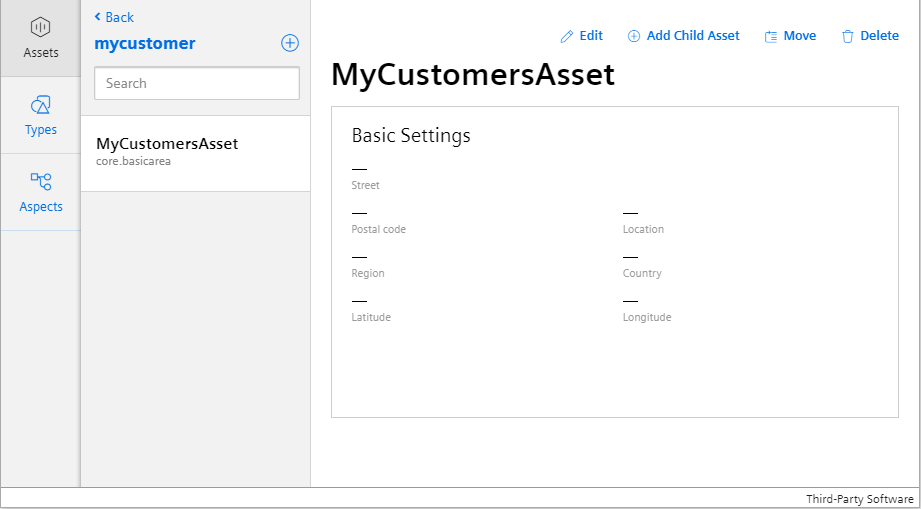
After assigning the asset to the subtenant they can inspect it using the Asset Manager:
Changing the Subtenant Assignment of a Subtenant User
- Click on the Subtenants tile.
- Select the subtenant.
- Click on Assign users.
- Select or deselect the subtenant user and complete the dialogue.
Deleting a Subtenant
Attention
If you delete a subtenant, all assigned users are deleted automatically to prevent inconsistent states for users. If you want to keep specific users, assign them to your environment or another subtenant before deleting the subtenant.
- Click on the Subtenants tile.
- Select the subtenant.
- Click on Delete subtenant and confirm.
Be aware that after deleting a subtenant, the associated subtenant root asset (core.basicsubtenant) still exists. This is intentional to avoid confusion with unintended behavior regarding subtenant assets when the subtenant root asset is deleted. The tenant administrator has to either move the assets to another location or delete them before the subtenant root asset can be deleted.
Related Links
Except where otherwise noted, content on this site is licensed under the Development License Agreement.