Work Order Nodes
With “Work orders” nodes, a basic workflow to digitize work requests (such as maintenance, repair, inspection and incident handling) that are essential to monitor asset health and to detect technical issues before they lead to asset failure and downtime. You can create, track and update work orders in multiple ways with Visual Flow Creator application. For more information about “Work orders”, refer to the chapter Work orders in Insights Hub Monitor documentation.
In “Work orders” node palette, the following nodes are available:
- List Work Order
- Create Work Order
- Update Work Order
- Delete Work Order
List Work Order
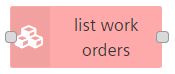
The "list work order" node allows you to list all the work orders created in the environment. If no handle information is given, you can read the specific work order by using handle ID.
Handle ID is for user environment that describes the work order for further updates.
Example
To execute the example flow using list work order node to list the available work orders, follow these steps:
-
Create the flows as shown below:

-
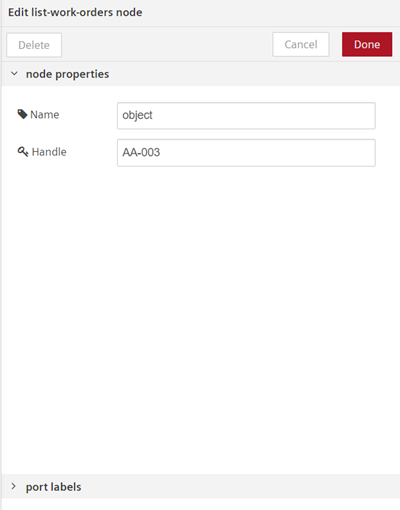
Configure "Edit list-work-orders node" properties to list the available work orders:
-
Save and execute the flow.
Result
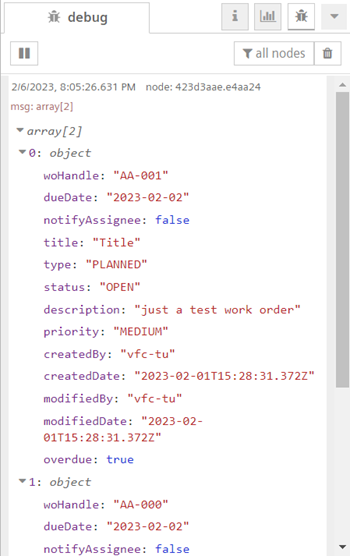
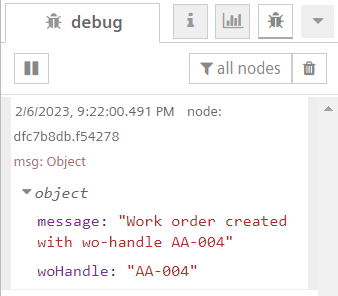
You can view the results in the message payload.
Create Work Order
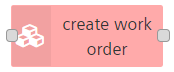
The "create work order" node allows you to create the work order created in the environment.
| Node Properties | Description |
|---|---|
| Title | Define the title for the task or expectation. |
| Description | Enter the detailed information about the task or expectation. |
| Assigned to | Assign the task or expectation to the responsible assignee to work on the task. Assignee will be notified with an email. |
| Due date | Set the date as deadline for the task or expectation to be completed. |
| Status | Update the task or expectation status while creating the work order. Open, In Progress, On Hold, Overdue and Done are the different statuses of the task or expectation can be assigned. |
| Priority | Prioritize the task or expectation based on the level of priority. Low, Medium, High and Emergency are the available priority options. |
| Type | Define the reason behind the initiation of the task or expectation. Planned and Incident are the options available types. |
| Associated asset | Associate the work order with an asset. |
| Attachment | Attach the document to capture or work to be done on the task or expectation. |
Example
To execute the example flow using create work order node, follow these steps:
- Create the flows as shown below:

-
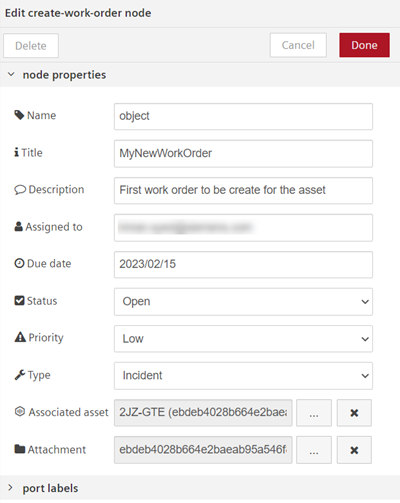
configure "Edit create-work-order node" properties to create the work order:
-
Save and execute the flow.
Result
You can view the results in the message payload.
Update Work Order
The "update work order" node allows you to update the created work order in the environment.
| Node Properties | Description |
|---|---|
| Handle | Enter the work order ID to which describes work order for the user environment. |
| Title | Define the title for the task or expectation. |
| Description | Enter the detailed information about the task or expectation. |
| Assigned to | Assign the task or expectation to the responsible assignee to work on the task. Assignee will be notified with an email. |
| Due date | Set the date as deadline for the task or expectation to be completed. |
| Status | Update the task or expectation status while creating the work order. Open, In Progress, On Hold, Overdue and Done are the different statuses of the task or expectation can be assigned. |
| Priority | Prioritize the task or expectation based on the level of priority. Low, Medium, High and Emergency are the available priority options. |
| Type | Define the reason behind the initiation of the task or expectation. Planned and Incident are the options available types. |
| Associated asset | Associate the work order with an asset. |
| Attachment | Attach the document to capture or work to be done on the task or expectation. |
Example
To execute the example flow using update work order node, follow these steps:
-
Create the flows as shown below:

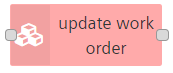
-
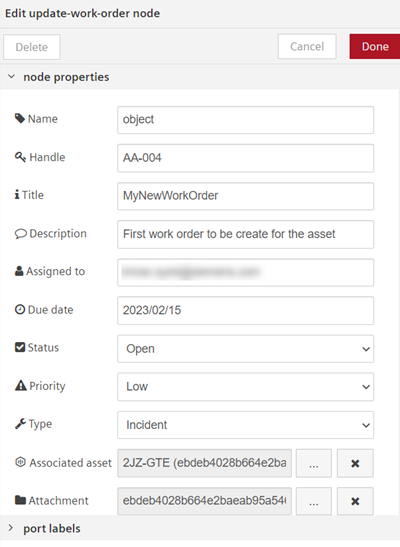
Configure "Edit update-work-order node" properties to update the created work order:
-
Save and execute the flow.
Result
You can view the results in the message payload.
Delete Work Order

The "delete work order" node allows you to delete the existing work order from the environment.
Example
To execute the example flow using delete work order node, follow these steps:
-
Create the flows as shown below:

-
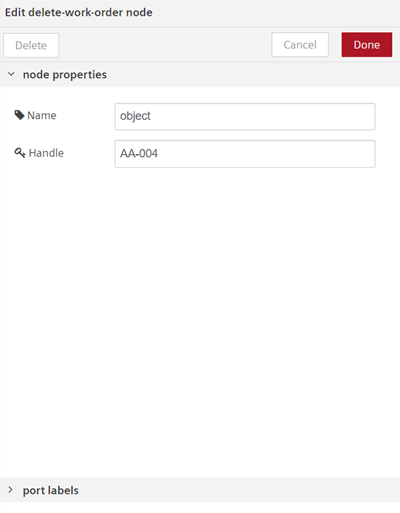
Configure "Edit delete-work-order node" properties to delete the created work order using "Handle" ID:
-
Save and execute the flow.
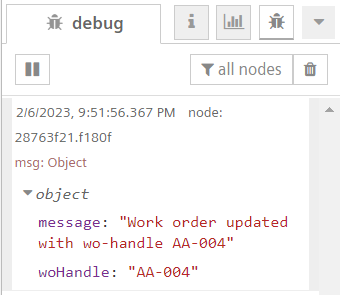
Result
The created work order is successfully deleted.