Predictive Learning (PRL) nodes
Usage of Predictive Learning nodes
Predictive Learning combines analytics, statistics and machine learning algorithms to provide unmatched insight into trends in your data. Combining predictive technology with IoT, service, field, and other data streams allows you to generate a deeper impact on the customer experience. Leveraging as-used data to identify patterns and sequences of events, companies can engage with customers and resolve potential issues before problems arise.
In Visual Flow Creator, Predictive Learning (PRL) nodes allows you to create, list and re-run the jobs by integrating with Predictive Learning application.
List PRL Resources

The "list prl resources" node lists all the available resources in Predictive Learning and stores the data in the message payload.
Example
To list all the available resources in Predictive Learning, follow these steps:
-
Create the flow as shown below:

-
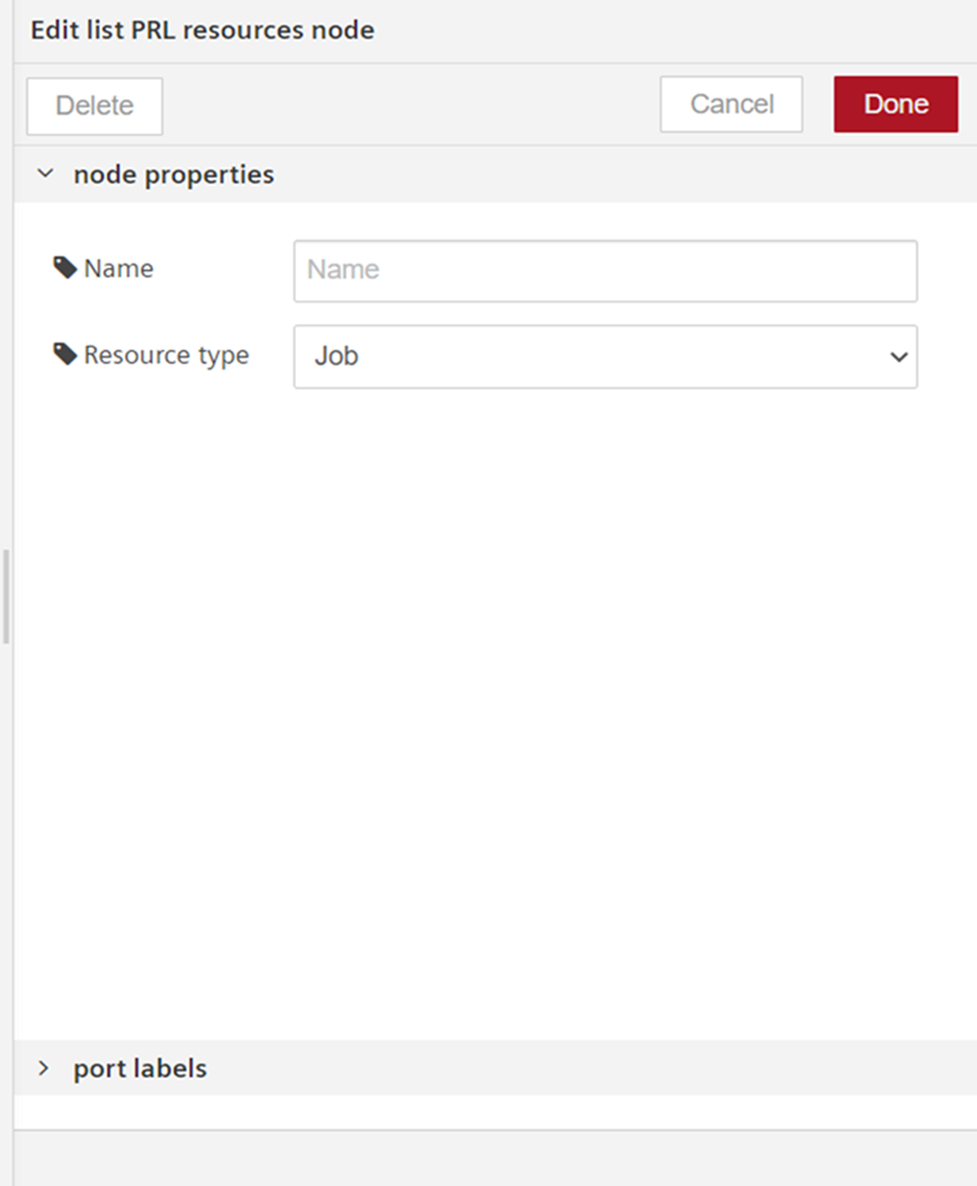
Edit List PRL resource node and click
 :
:
- Select "Resource type" and click "Done".
-
Save the flow.
Result
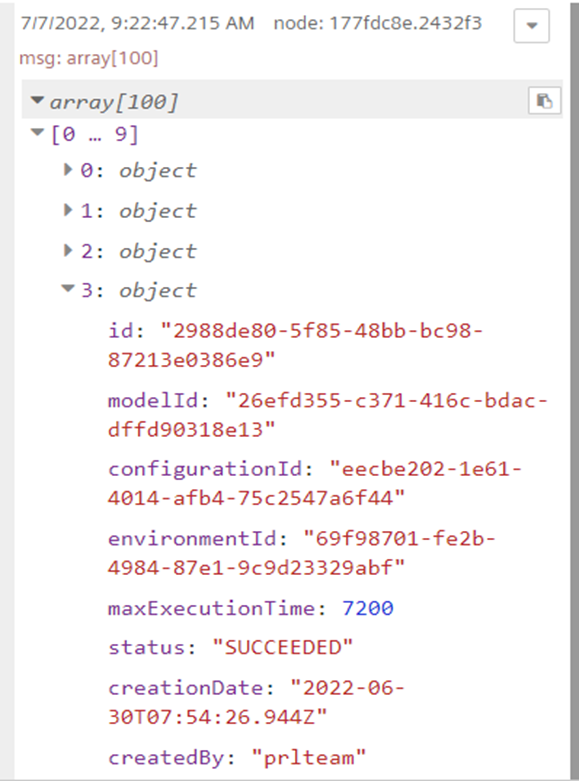
The following graphics shows in the message payload:

Create PRL Job

The "create PRL job" node allows you to create a new job in Predictive Learning through VFC and stores the data in the message payload. The status of the created job can be monitored via debug messages and Predictive Learning application. After the job is completed, object will be sent with all the internal information about completed job details.
Example
To create a new PRL job, follow these steps:
-
Create the flow as shown below:

-
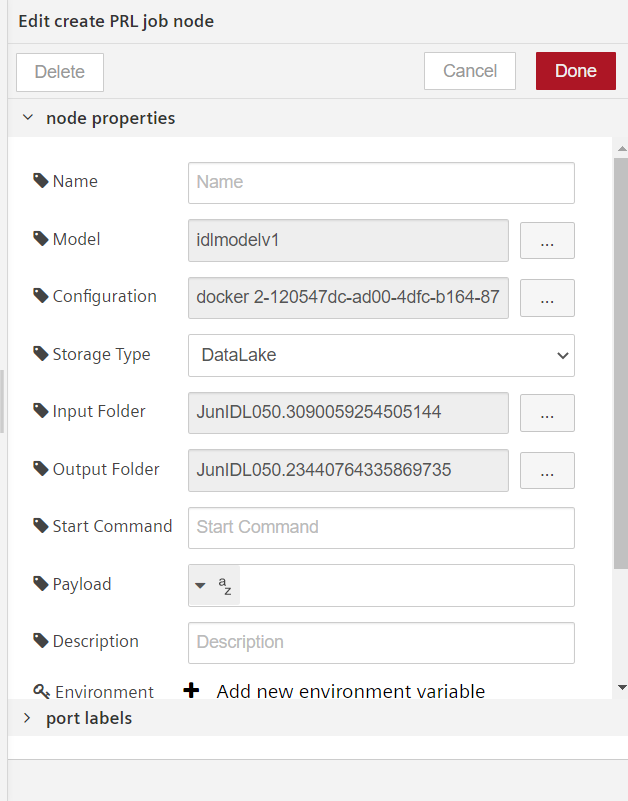
Edit create PRL job node and click
 to configure the node properties and then click "Done":
-
Save the flow.
Result
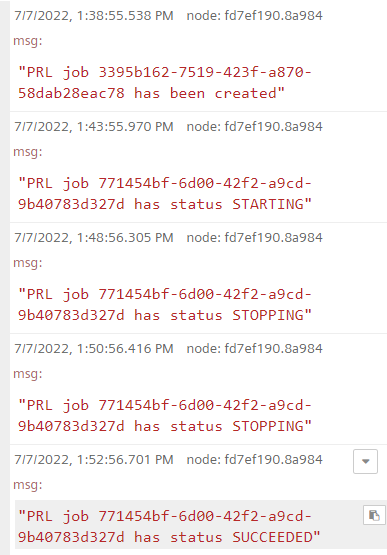
The following graphics shows the new PRL job created in the message payload and monitor the progress of the created job via debug messages:

You can also check the progress of the newly created job in Predictive Learning application.
