Managing user groups
User interface "User groups"
The following screen shows the user group user interface:
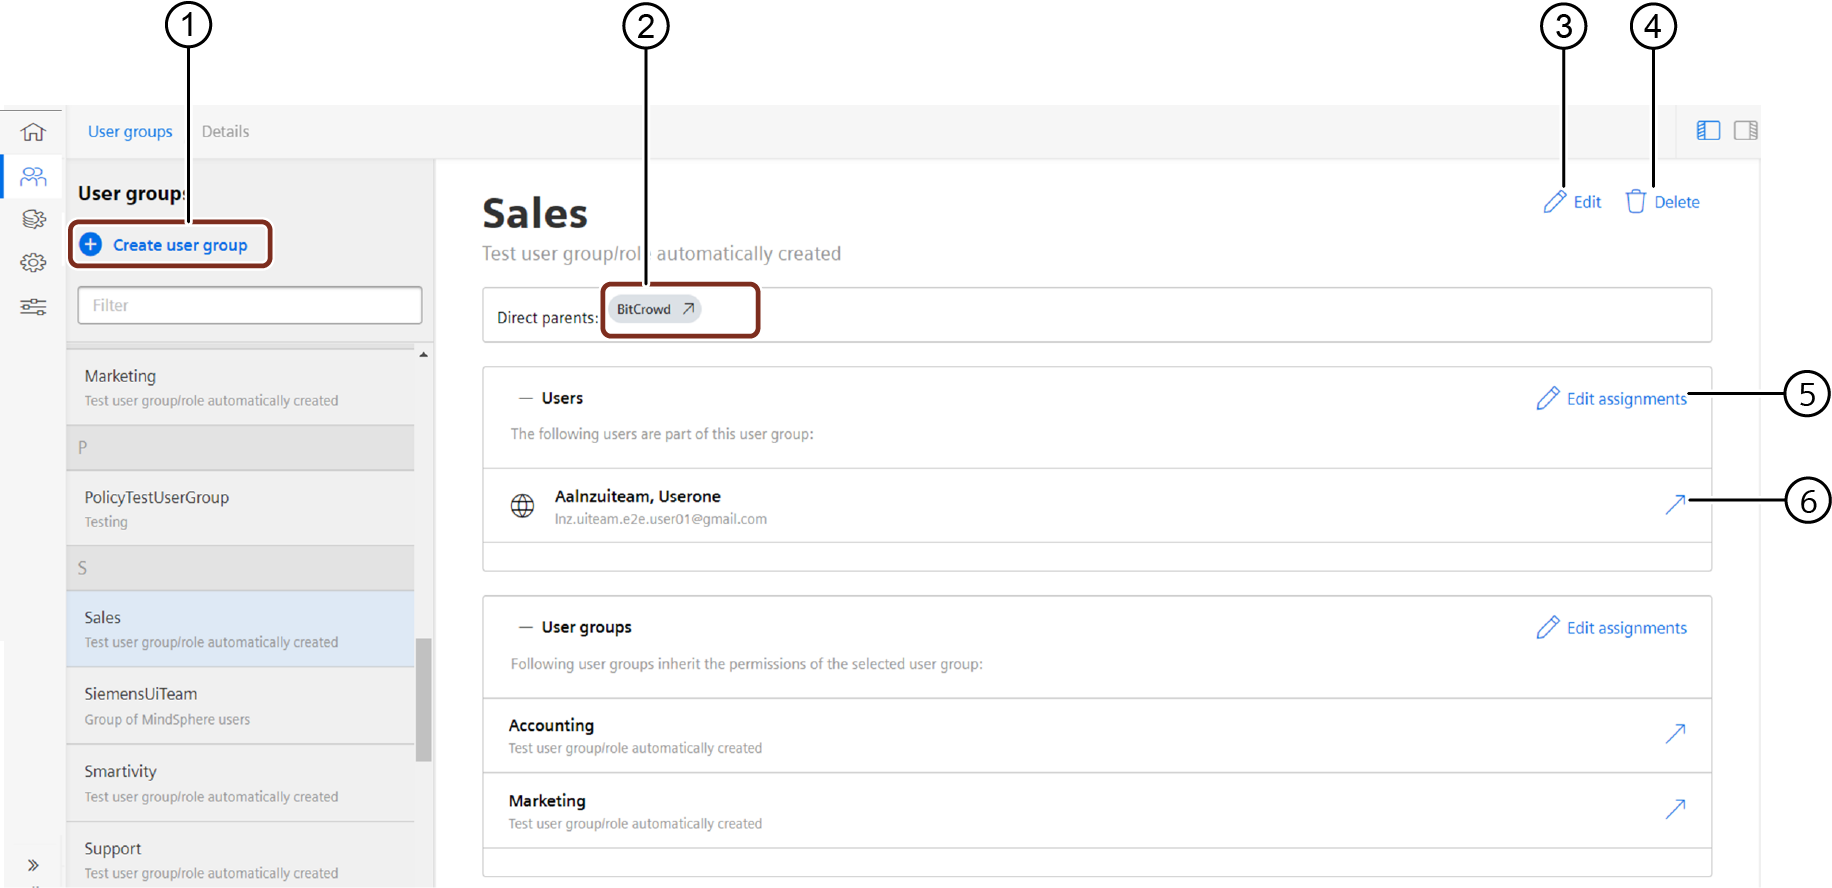
① Creates a new user group
② Move to superordinate user group
③ Edit user group
④ Deletes the user group
⑤ Opens window to edit user assignments
⑥ Opens user in "User" tab
Creating user groups
For a better management of users and to assign roles to multiple users, Settings offers the creation of user groups.
Procedure
To create a new user group in Settings, proceed as follows:
- In the navigation area open the "User group" interface and click
 "Create user group".
- The "Create user group" interface opens.
- Enter a name and a description for the user group.
- To create the user group, click "Create user group".
- In order to assign users to the group, click "Add users".
- Select the users for the new group and click "Next".
- To save the user assignment for the group, click "Save" and "Close".
- In order to assign other user groups. click "Assign user groups".
- Select the user groups for the new group.
- To save the user group assignment, click "Save" and "Close".
- In order to assign roles to the group, click "Assign roles".
- Select the roles for the new group and click "Next".
- To save the role assignment for the group, click "Save" and "Close".
Result
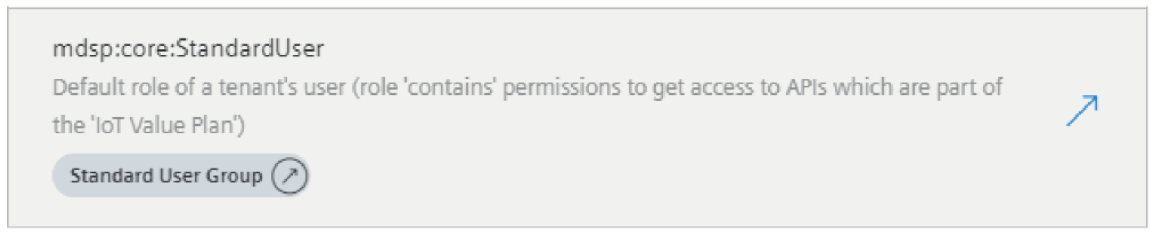
You have created a user group with different users. All users of this group now have the assigned roles. In the "User" tab you can see the new group badge in the role assignment window:
Edit user groups
After you have created a group, you can change the user group name, description, edit user assignments and role assignments.
Prerequisite
- You have created a user group.
Edit name and description
To edit a user group, proceed as follows:
- Select the user group in the "User groups" tab.
- In order to edit the name and description of the user group click "Edit".
- The edit user group popup window appears.
- Edit the name and description and click "Save".
- In order to edit the user or role assignments, click "Edit assignments" in the "Users" or "Roles" section.
- The edit assignment popup window appears.
- Select the user or role you want to assign and click "Next".
Note
You can use the filter to find the user or role faster.
6.To save the assignment, click "Save".
Result
You have edited the user group and its assignments.
Nested user groups
You can assign user groups to other user groups. This allows you to create nested user groups. Roles assigned to a user group are inherited to all subordinated user groups. Subordinated user groups may contain additional roles with more permissions.
Example scenario
A company creates groups for a department in the following hierarchy:
- The main department is the first level in the hierarchy.
- Under the main department is an IT area with the following divisions:
- Developer
- Support
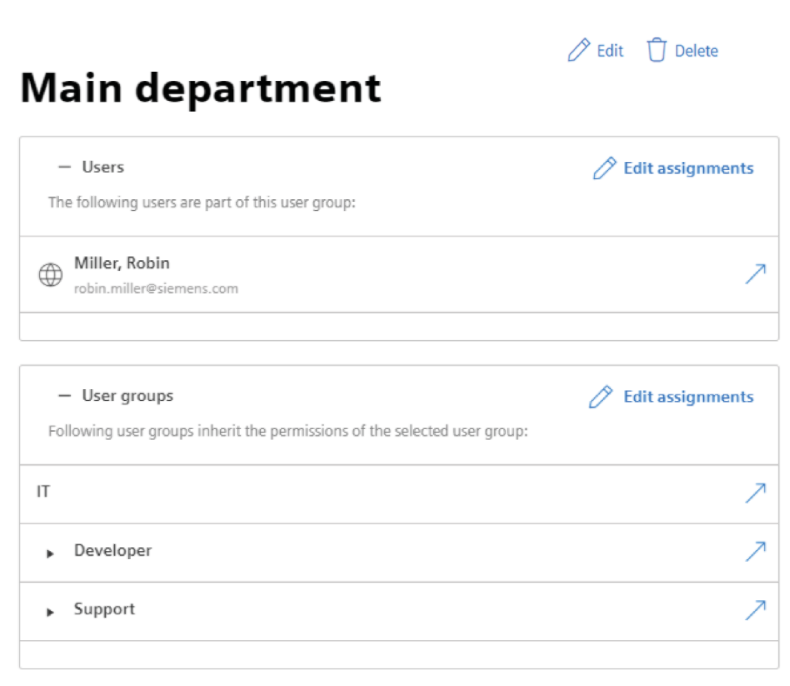
The following screenshot shows the user group "main department" in Settings:
Objective
- All groups should get the StandardUser role.
- The Developer group is also to receive the DeveloperAdmin role.
Procedure
- Open the "User groups" tab and create the user groups.
- Select the top level group, e.g. Main department and click "Assign user groups".
- To add the first hierarchy level assign the first user group, e.g. "IT".
- Select the first hierarchy level in the "User group" tab. e.g. "IT".
- To add the second hierarchy level assign the other user groups, e.g. "Developer, Support".
- Select the main group and assign the StandardUser role.
- Select the second hierarchy level group, e.g. "Developer" and assign the DeveloperAdminrole.
Result
You have created a user group.
- All users of all groups have the StandardUser role.
- Only users of the Developer group have the DeveloperAdmin role.