Configuring MindConnect Software Agent in Docker
The MCSA configuration will be automatically started during MCSA installation, but it can also be started manually by executing the “mcsa-config.sh” script with admin privileges in the MCSA installation folder.
Note
It is mandatory to execute the MCSA installation with root privileges - Either, directly as root, or - By getting root rights using “su” command. - "mcsa-config.sh" can be started using "sudo" command to execute it with root rights. If the configuration script is not started as root, a message will be shown to start as root and the script will be terminated. It is also necessary to start "mcsa-config.sh" script directly in the MCSA installation folder to make sure that the internally used files will be available during script execution.
MCSA configuration
After the installation, select the network adapters of the host system which are used by the MCSA containers as web and production interfaces, if the MCSA configuration is started for the first time.
These settings are necessary for the static network settings need to be applied via asset manager UI.
Note
- Be aware that MCSA containers directly use the Linux host's network interfaces and selecting web and production interfaces is only necessary for applying network interface settings via device configuration in asset manager.
- If the Linux host is having further network interfaces, it might be possible that MCSA Docker containers will communicate with Industrial IoT and the data sources using these network interfaces.
- Therefore, it is recommended that only the host's network interface, which is selected as web interface provided with internet access.
To configure the MCSA in Docker, follow these steps:
-
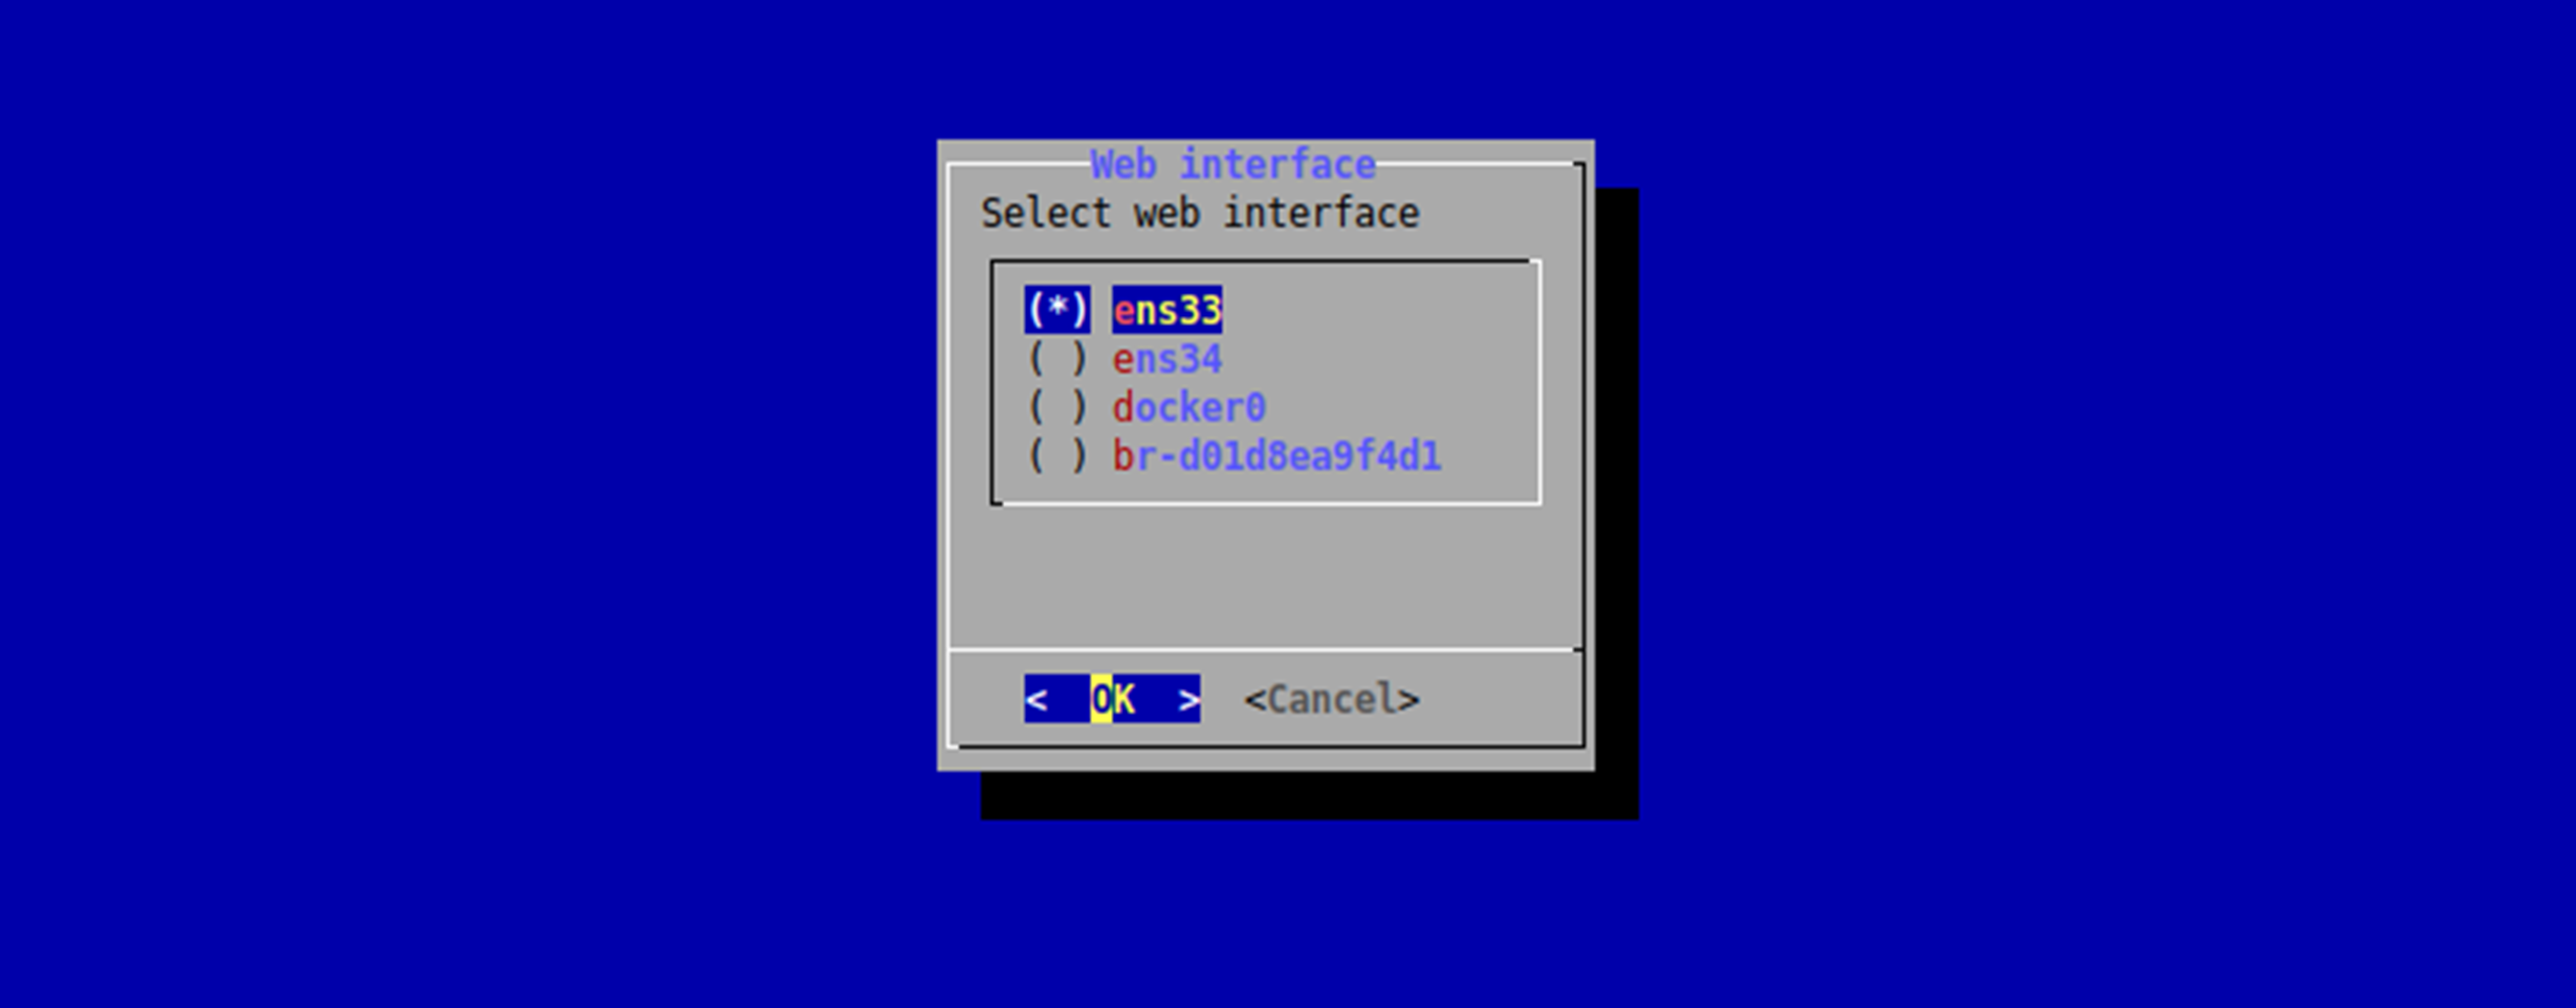
In Web interface dialog, select web interface and click "OK".
Note
It is mandatory to select Web interface.
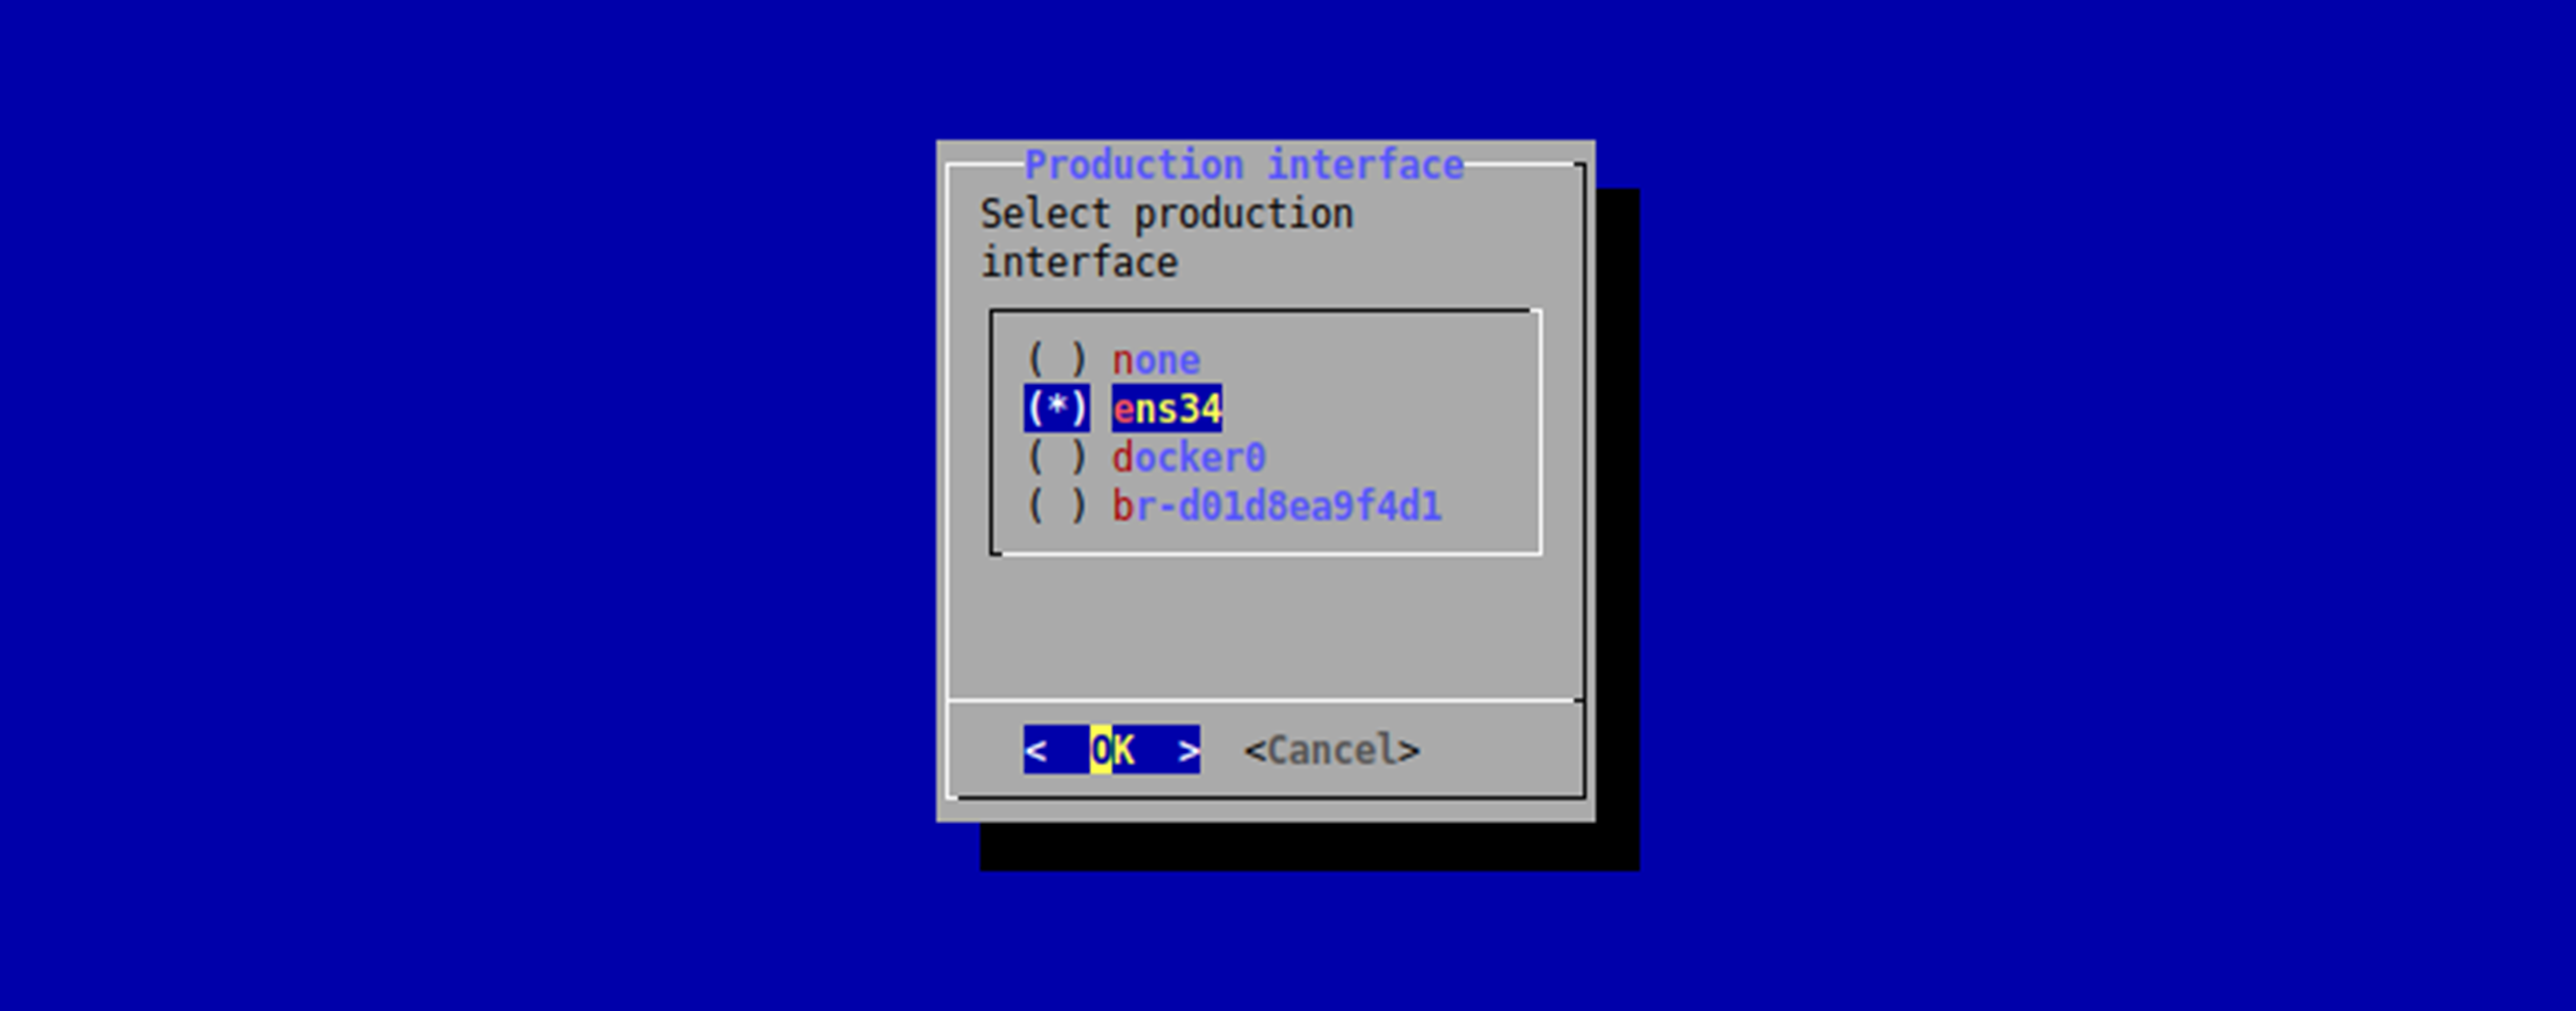
2.In Production interface dialog, select production interface and click "OK".
MCSA configuration main menu
The MCSA configuration will display a menu to perform following tasks:
- Add new MCSA Docker container.
- Show information of running MCSA Docker containers.
- Show status of all MCSA Docker containers1).
- Start exited/stopped MCSA Docker containers.
- Stop up/started MCSA Docker containers.
- Delete MCSA Docker containers.
- Exit
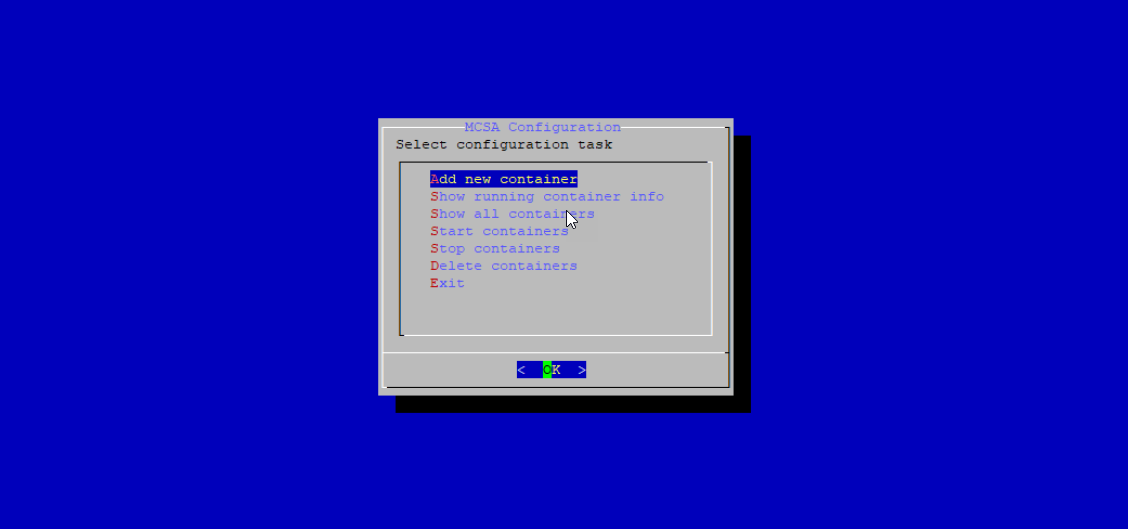
You can select a task by using “Up/Down” keys and pressing “Enter” key and you can close the main menu by selecting "Exit" task.
Note
- On slower systems, it is possible when switching between different dialogs a blank black screen is displayed while system data is being collected.
- 1) : Available since MCSA in Docker V03.06.02.06 b002, or later.
Add new MCSA Docker container
For adding a new MCSA Docker container, provide the following values:
- Container name
- HTTP port
- MQTT port
- WinCC OA PMON port
- WinCC OA data port
- WinCC OA event port
- WinCC OA SNMP port
- CodeMeter port
- File transfer folder
TCP Ports
- Providing unique TCP ports for every MCSA Docker container is necessary because MCSA Docker containers run in host network mode of Docker.
- Therefore, after entering the TCP port number value it will be checked, if the port is already in use on the system.
- Although it is checked, if the entered port number is already in use, it is recommended to check the currently used ports of the already existing MCSA Docker containers beforehand, because it might be possible that the already used port is currently not active and therefore, it is not detected automatically.
- TCP port numbers should be entered in the allowed range (1 ... 65535).
- Because many ports are already standardized and used by other applications and protocols, port numbers in the upper number range is considered to be used.
- Information about already used and allowed port numbers can be found on following page: List of TCP and UDP port numbers.
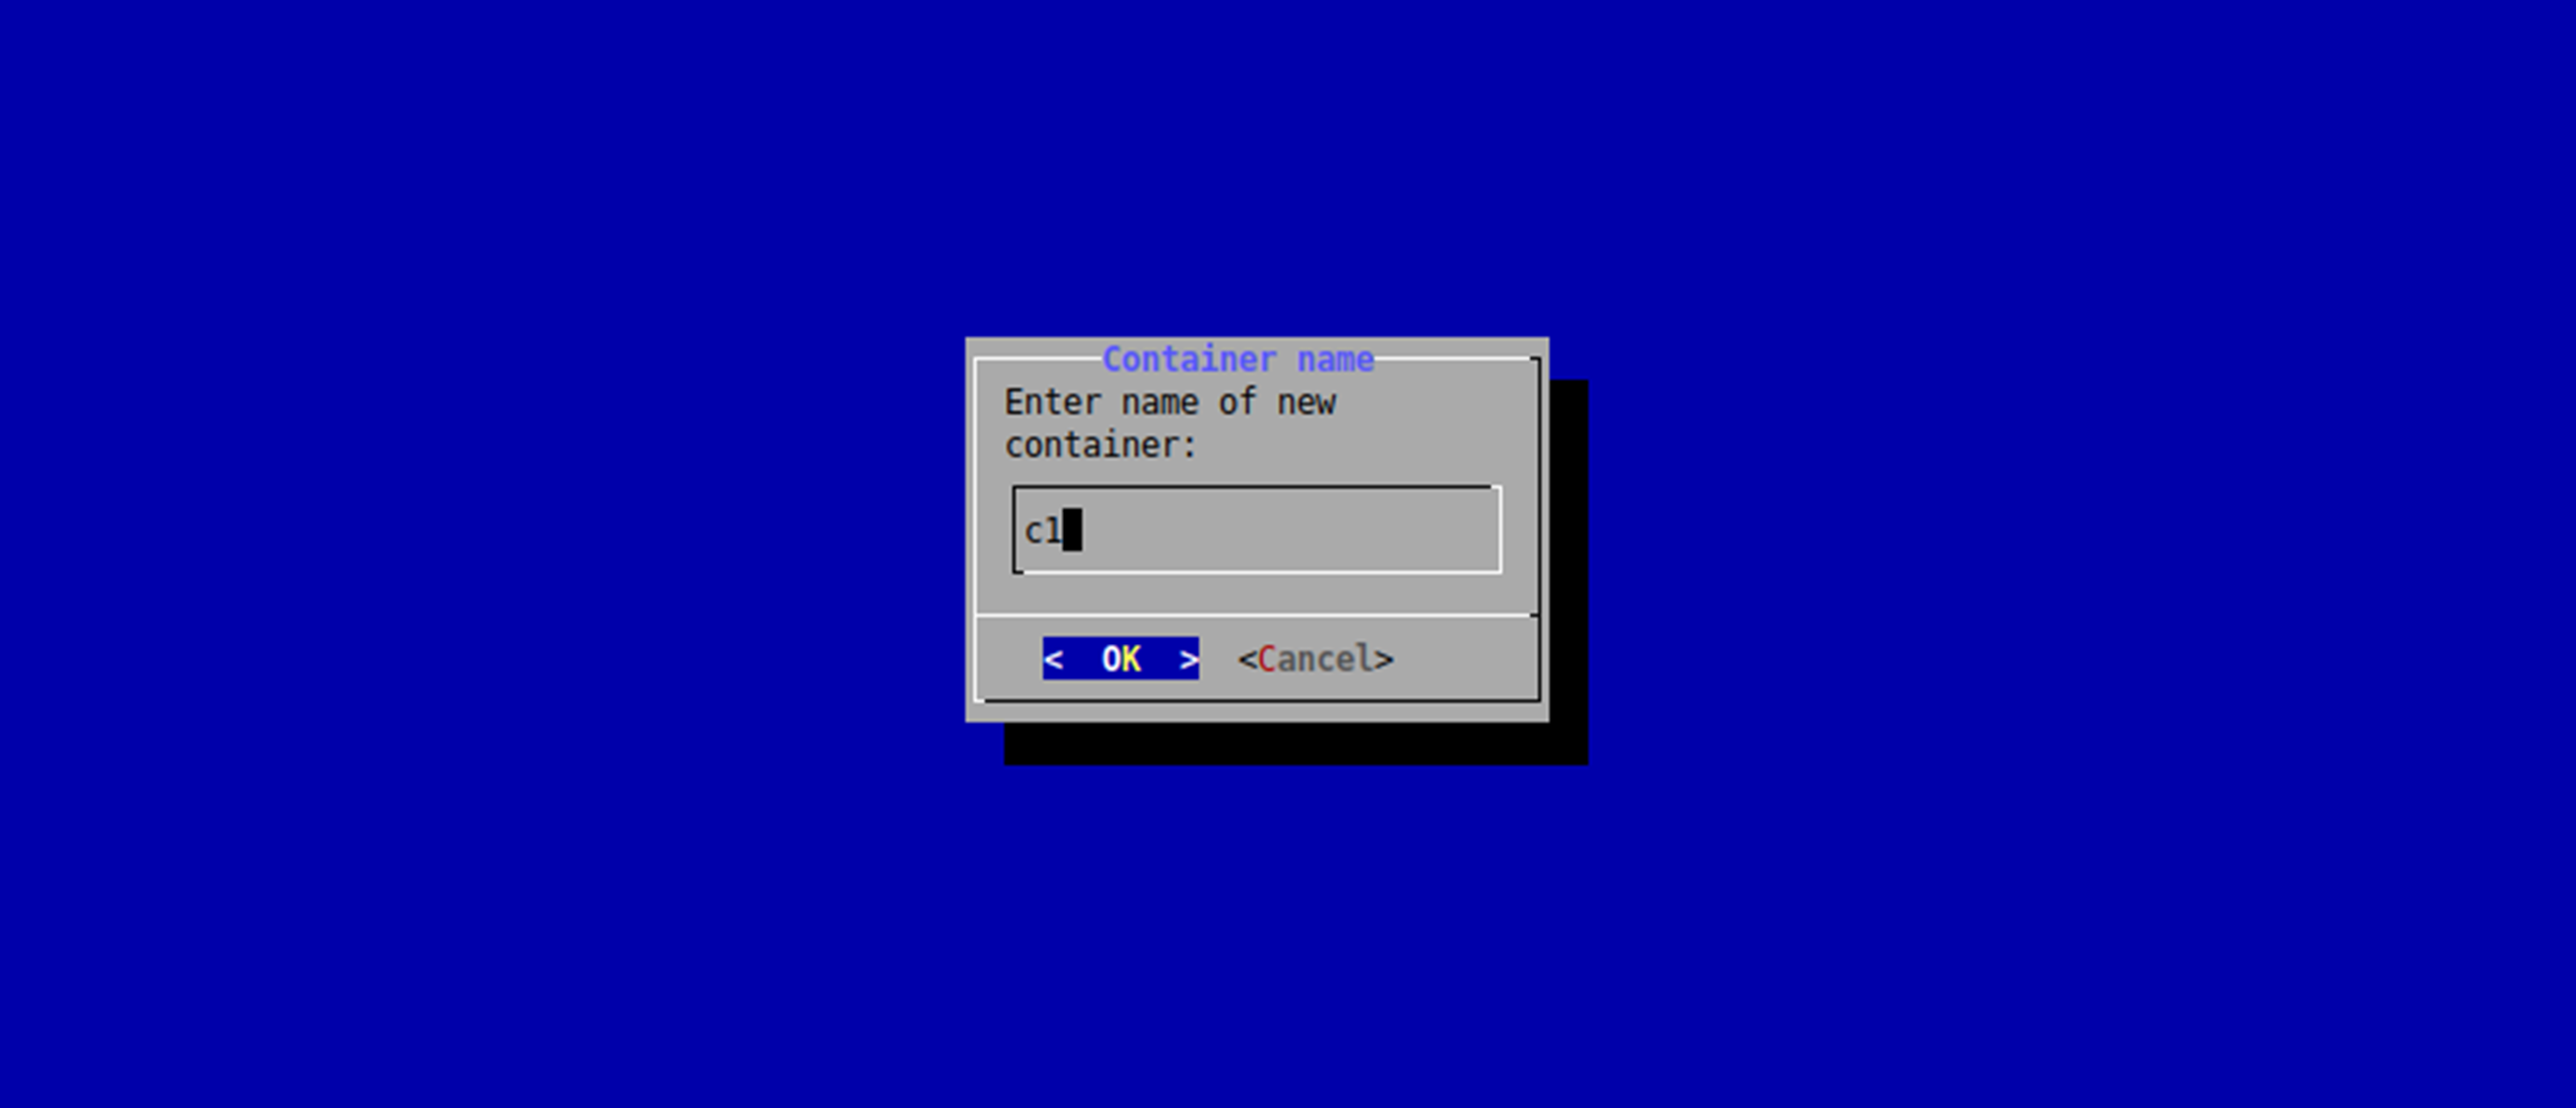
Container name
Note
During creation of the MCSA Docker container an "mcsa_1" postfix will be added to the name of the container automatically (example: c1_mcsa_1), it is not necessary to add "mcsa" to the name in this dialog.
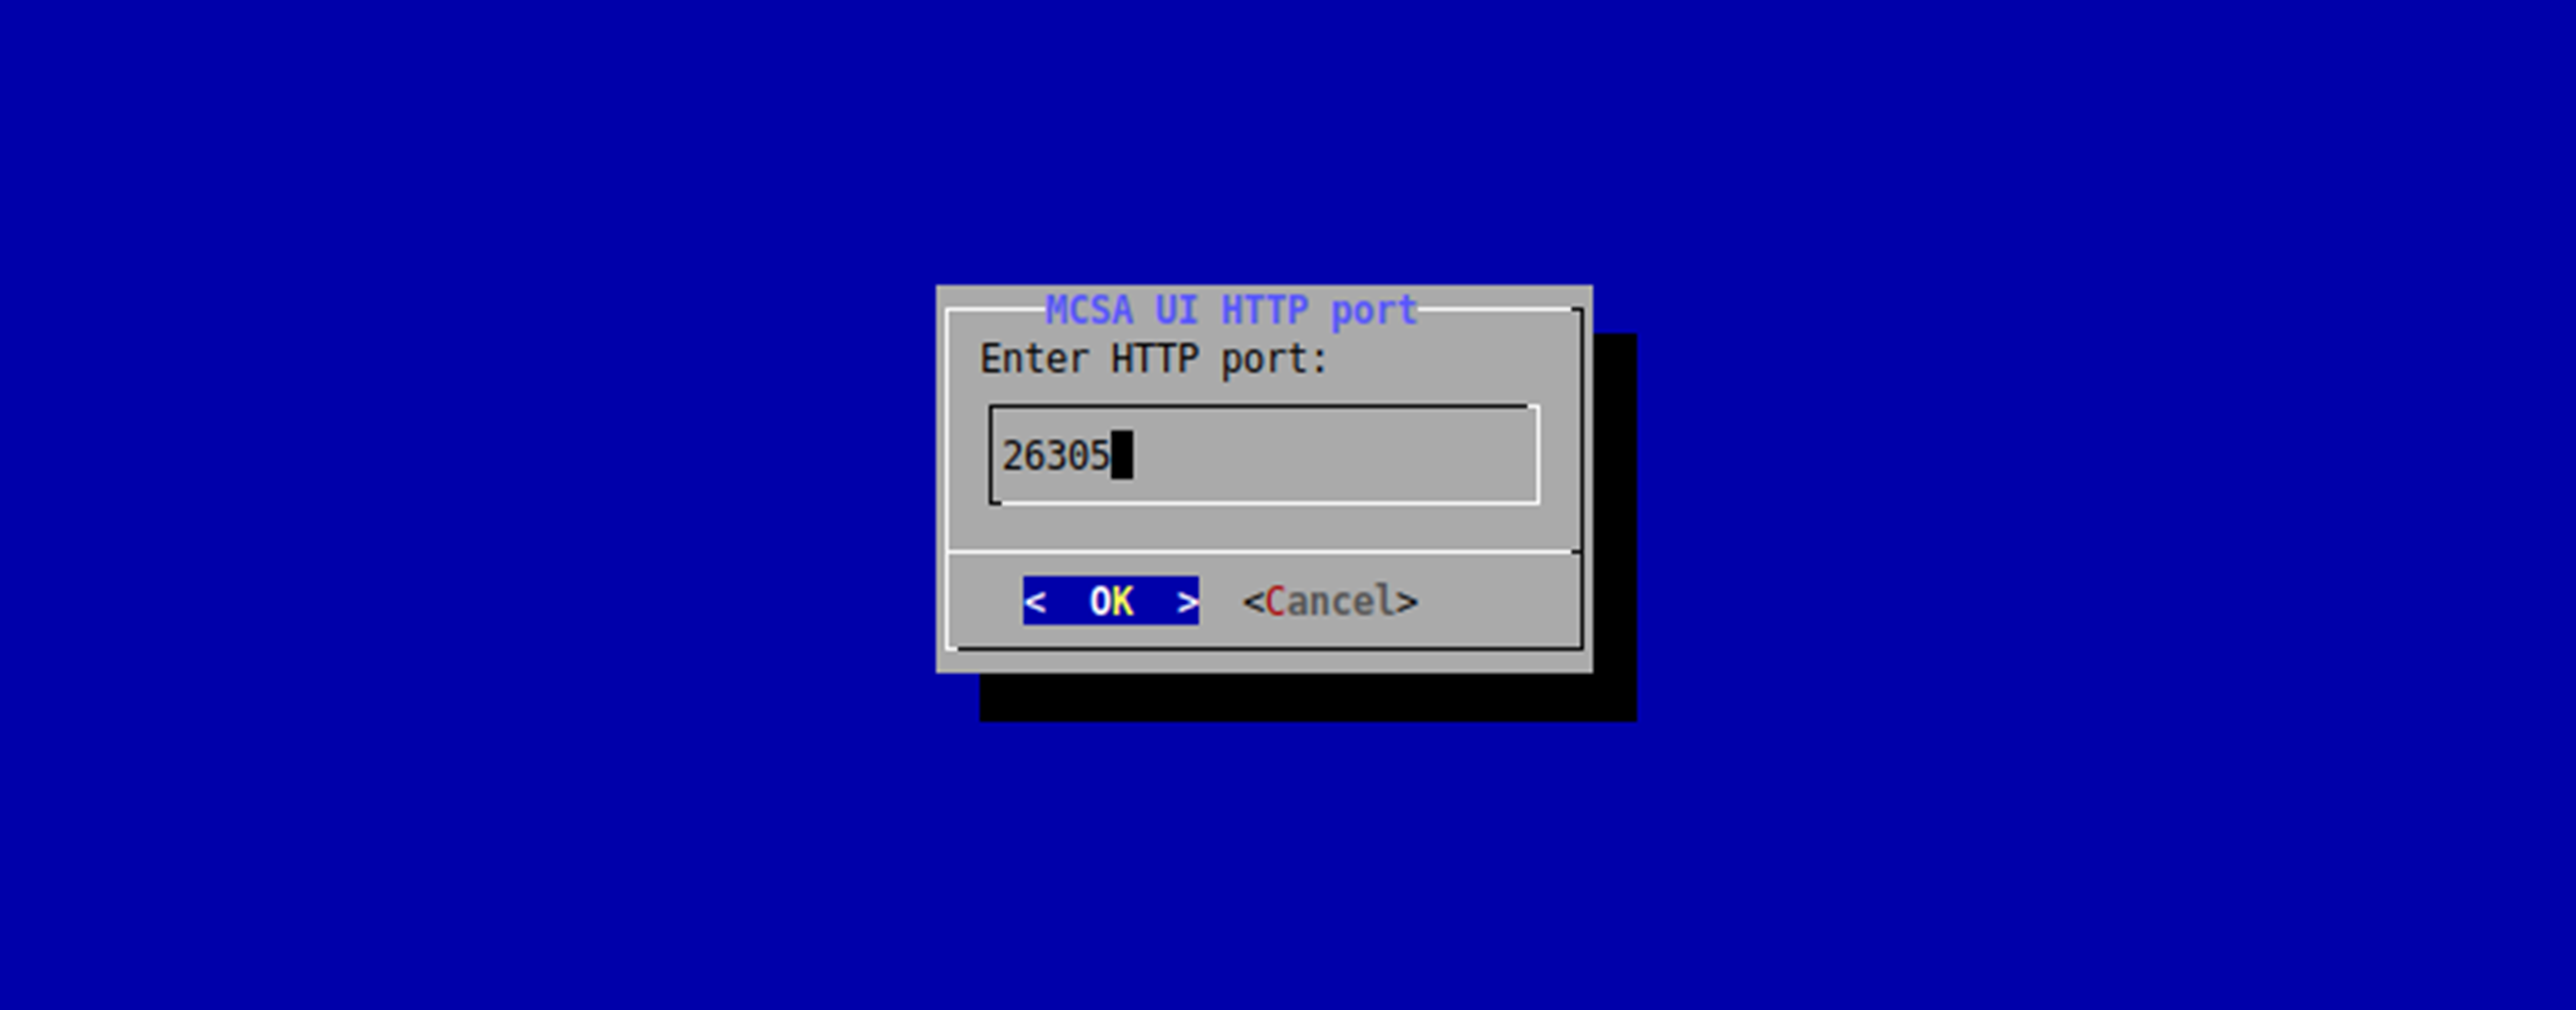
HTTP port
MCSA Docker containers are running in host network mode, it is mandatory to define a system unique TCP port which will be used to access the local web server in the Docker container.
MQTT port
It is also necessary to define a unique MQTT port for every MCSA Docker container.

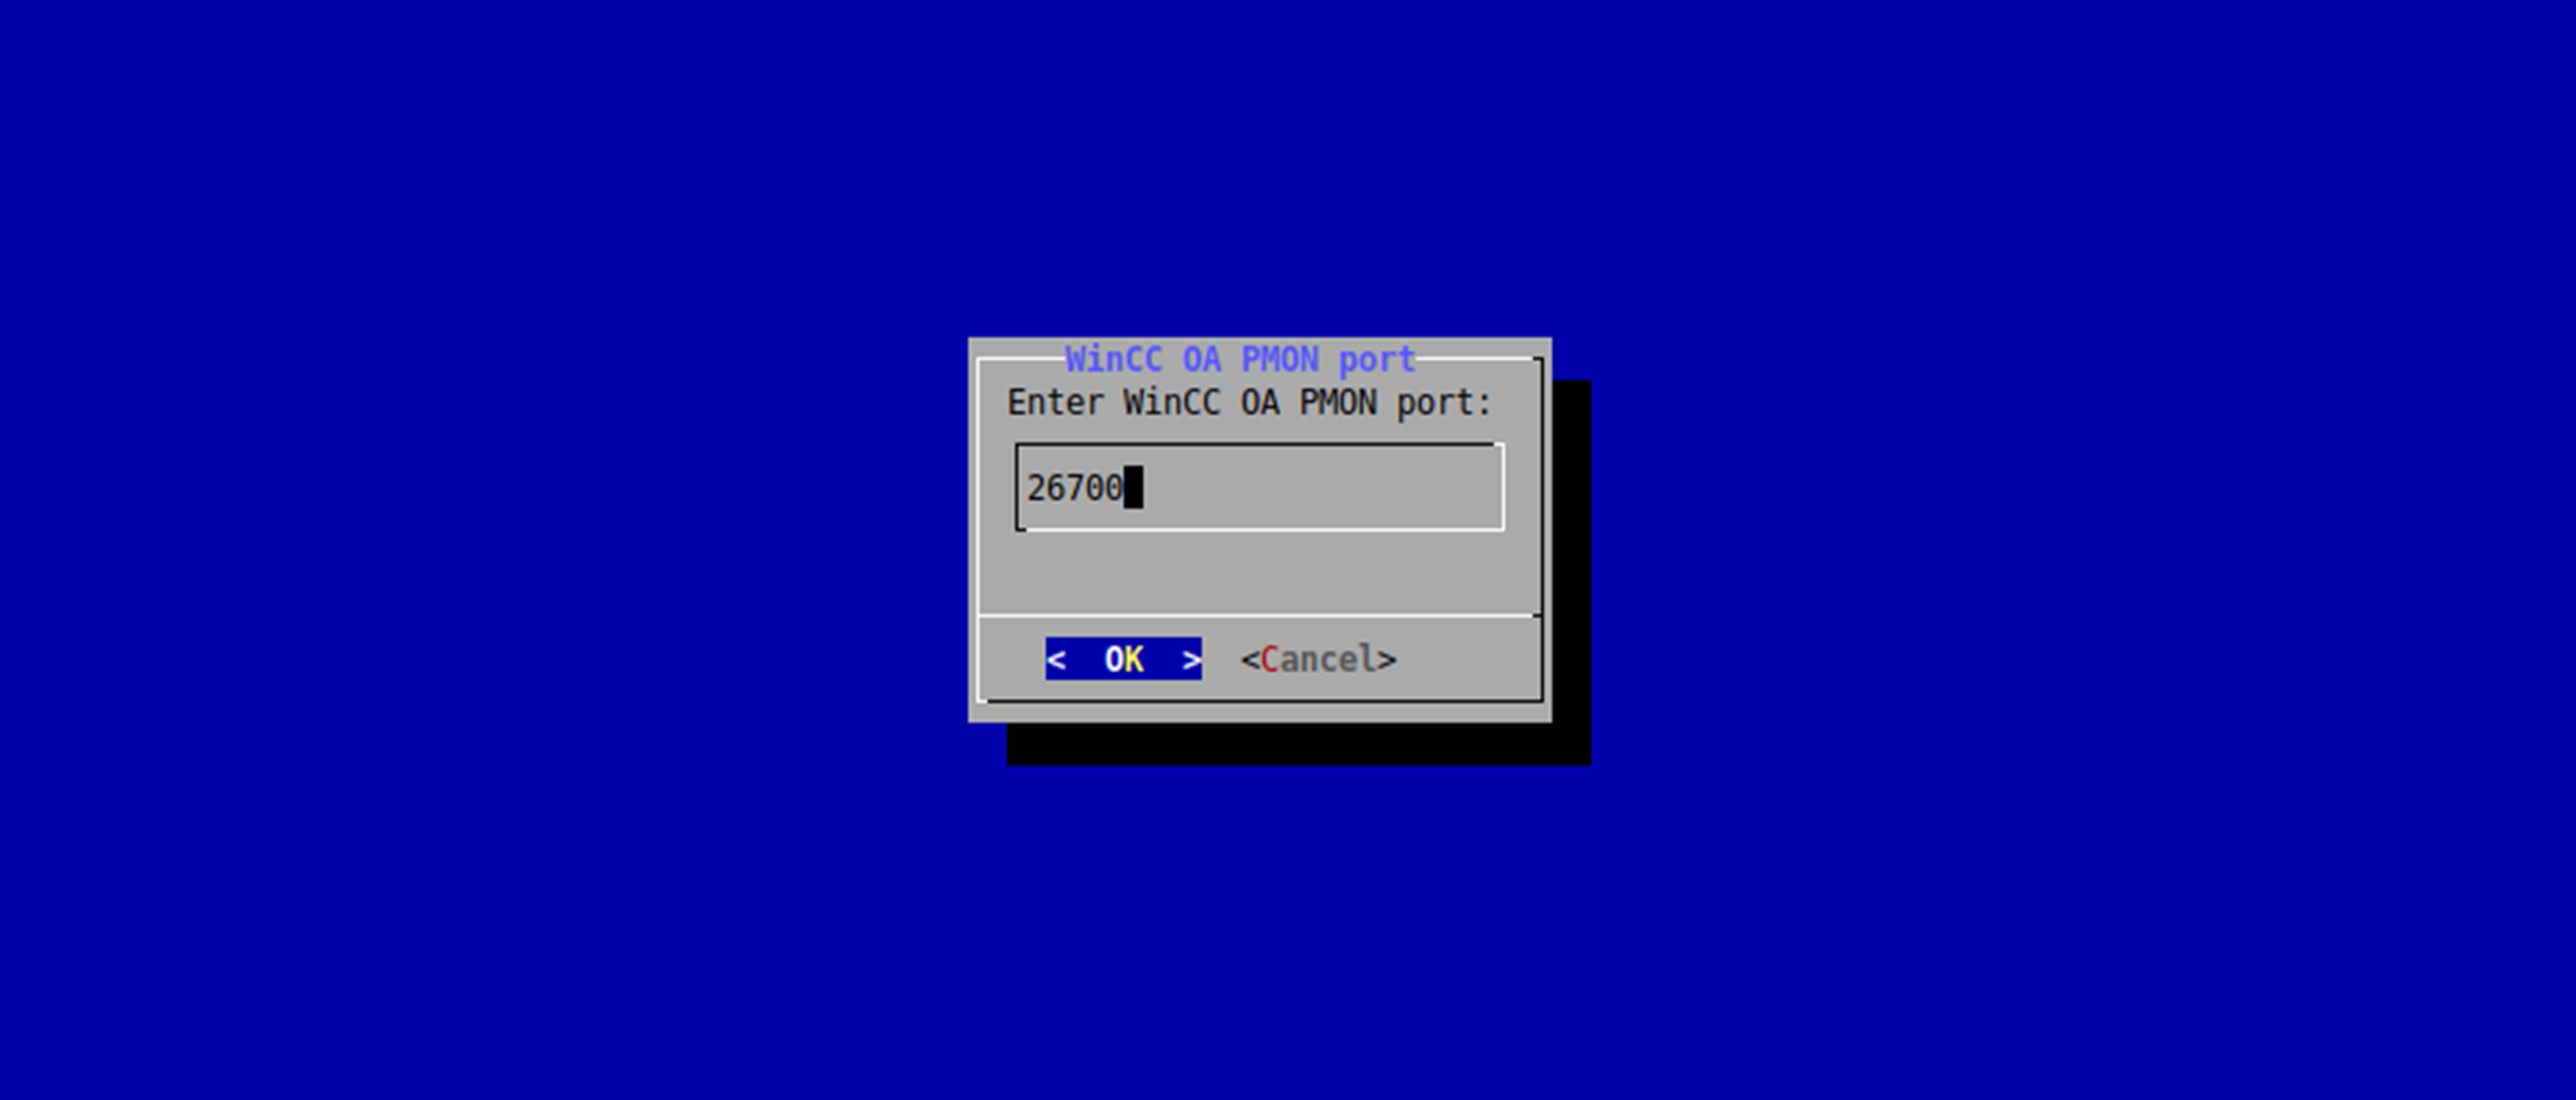
WinCC OA PMON port
In following dialog, the WinCC OA PMON port can be entered:
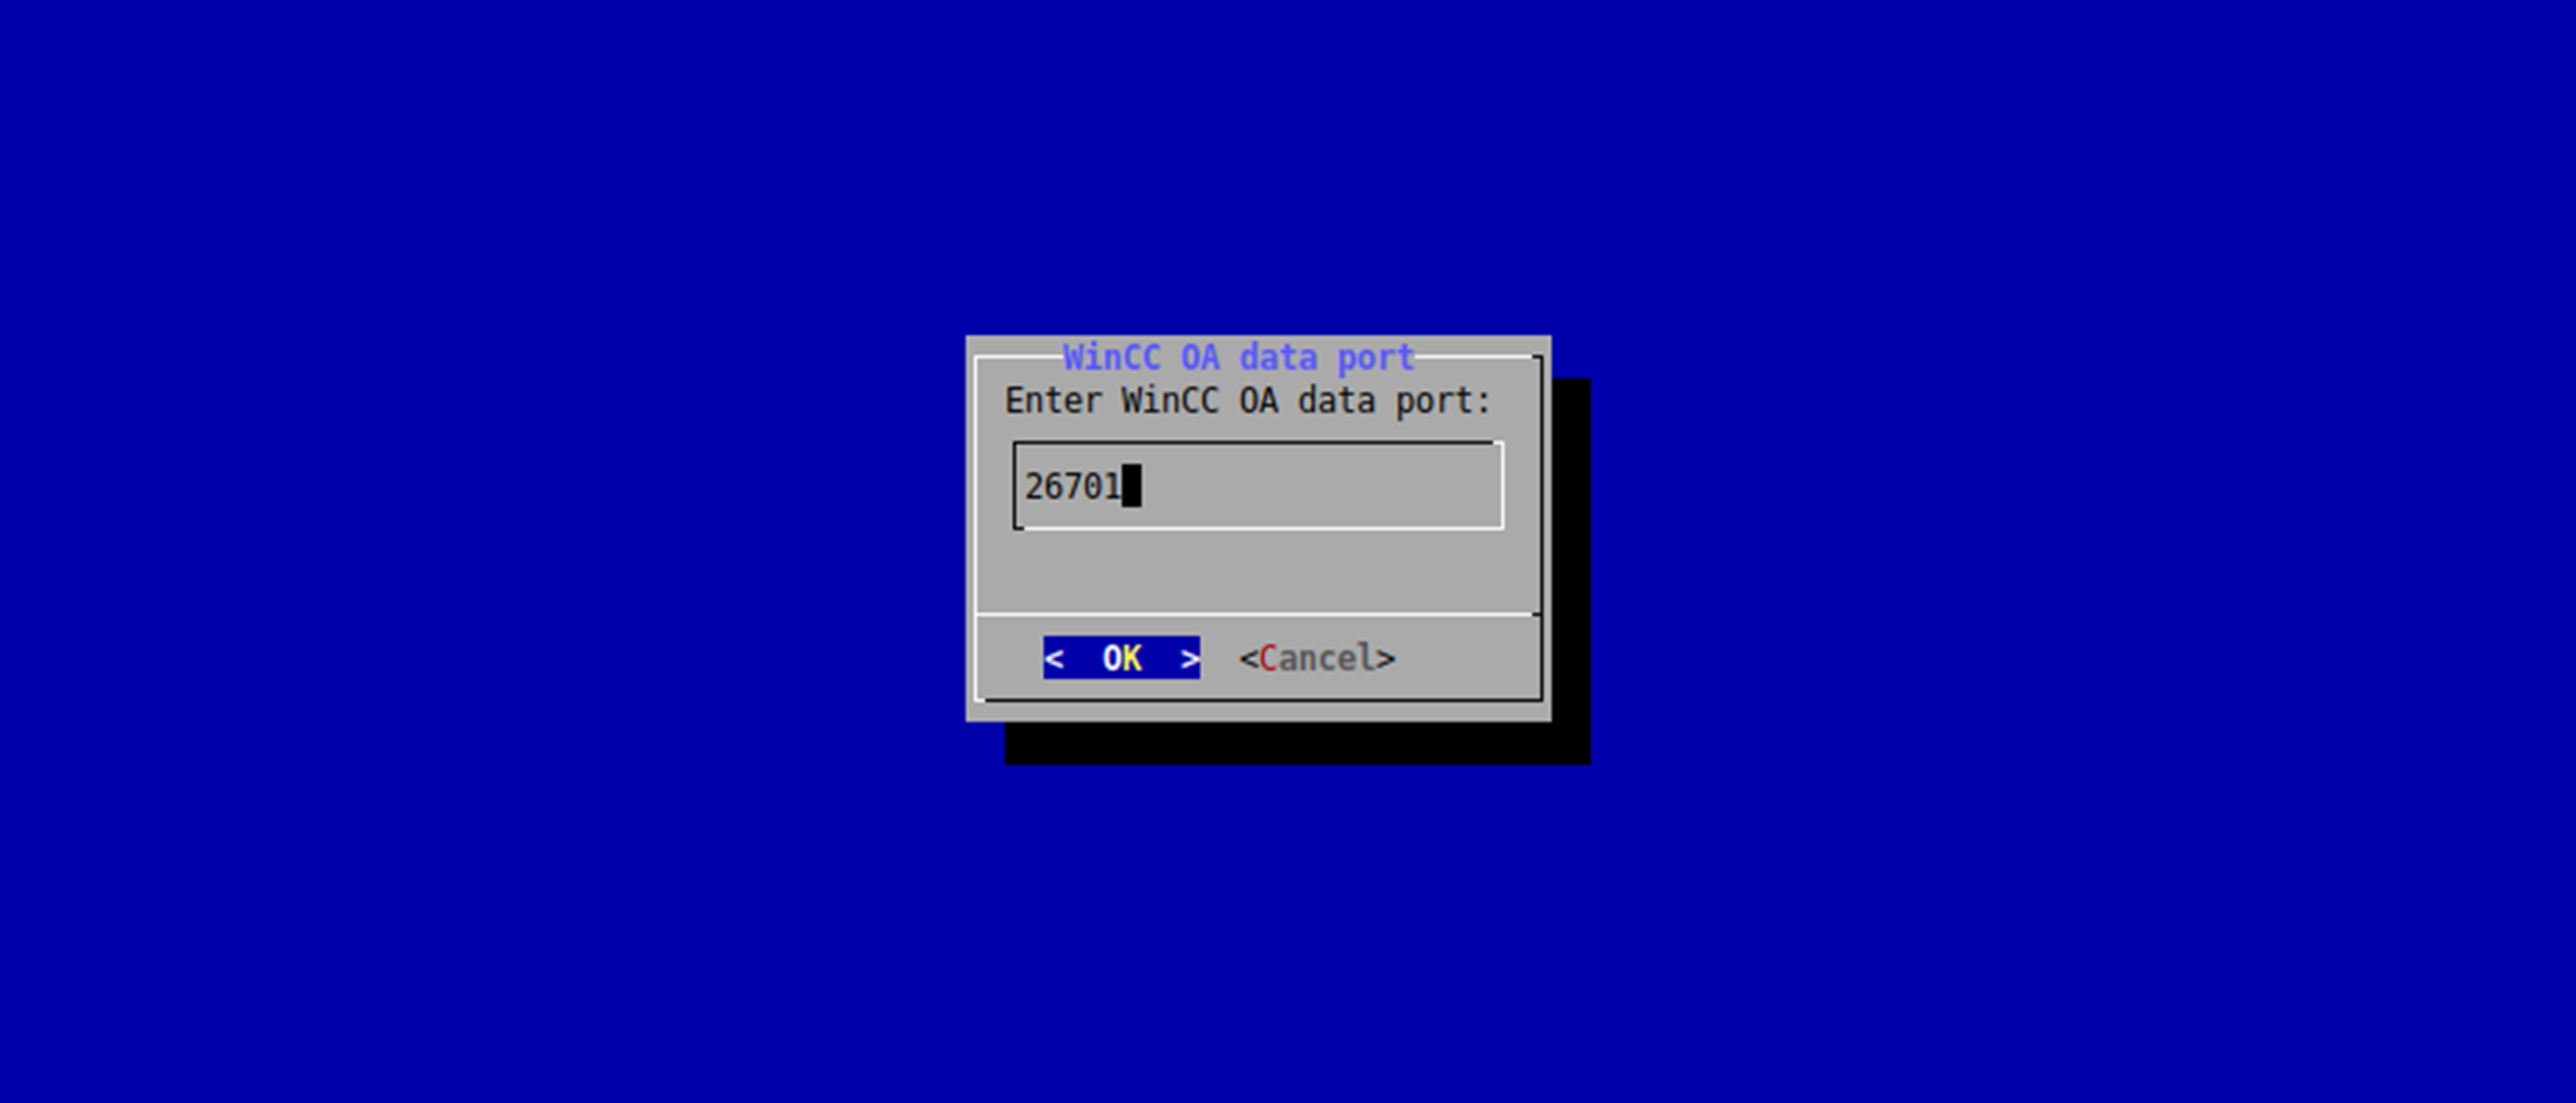
WinCC OA data port
In following dialog, the WinCC OA data port can be entered:
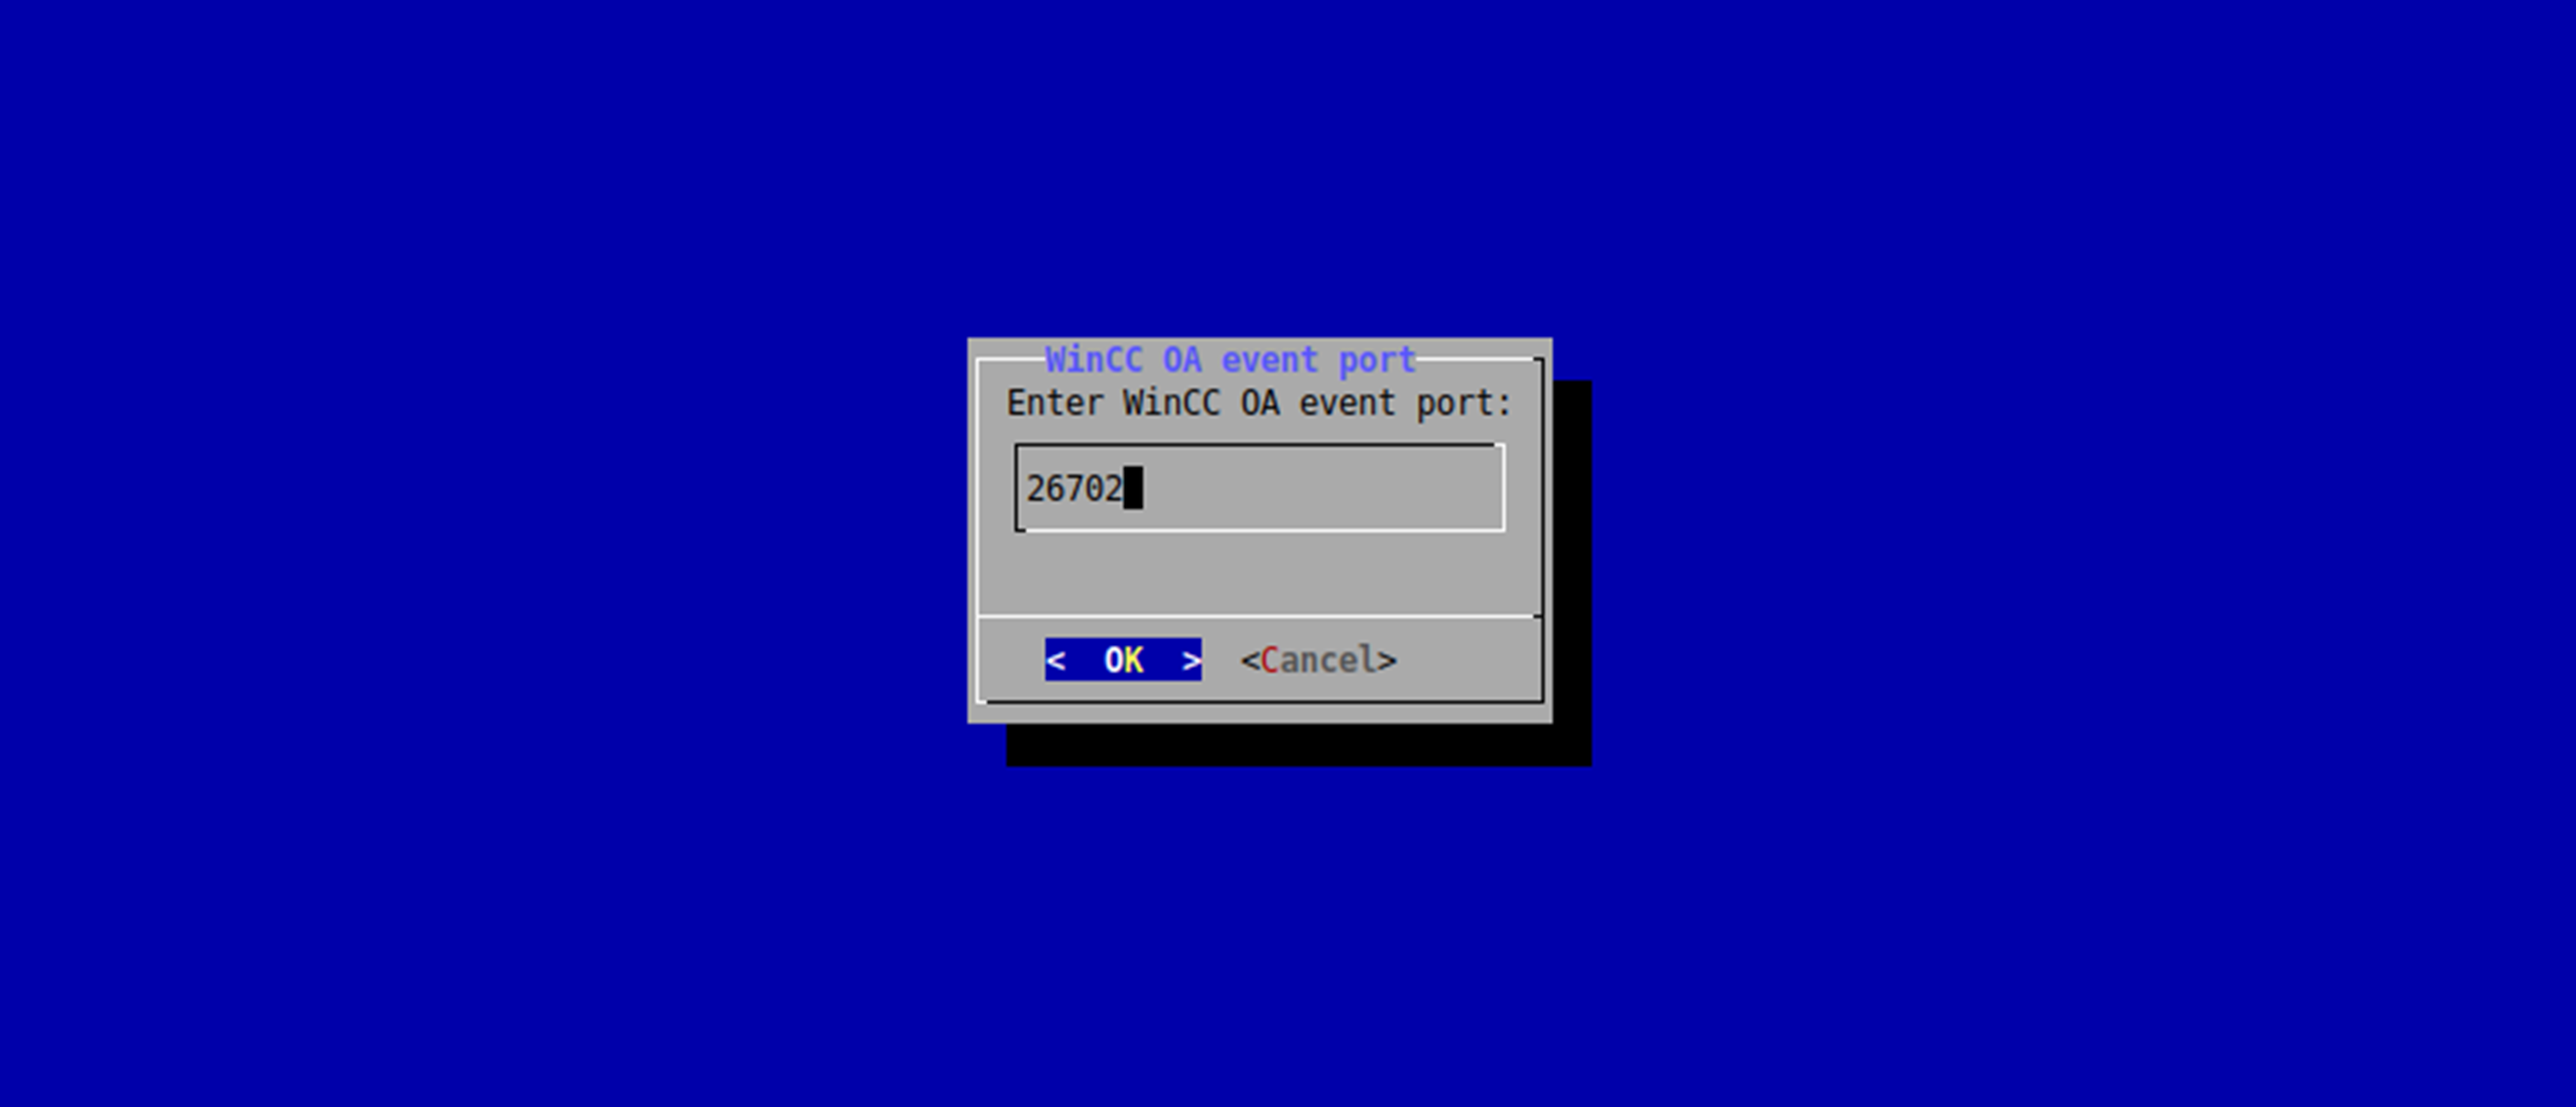
WinCC OA event port
In following dialog, the WinCC OA event port can be entered:
WinCC OA SNMP port
In following dialog, SNMP port for WinCC OA can be configured:

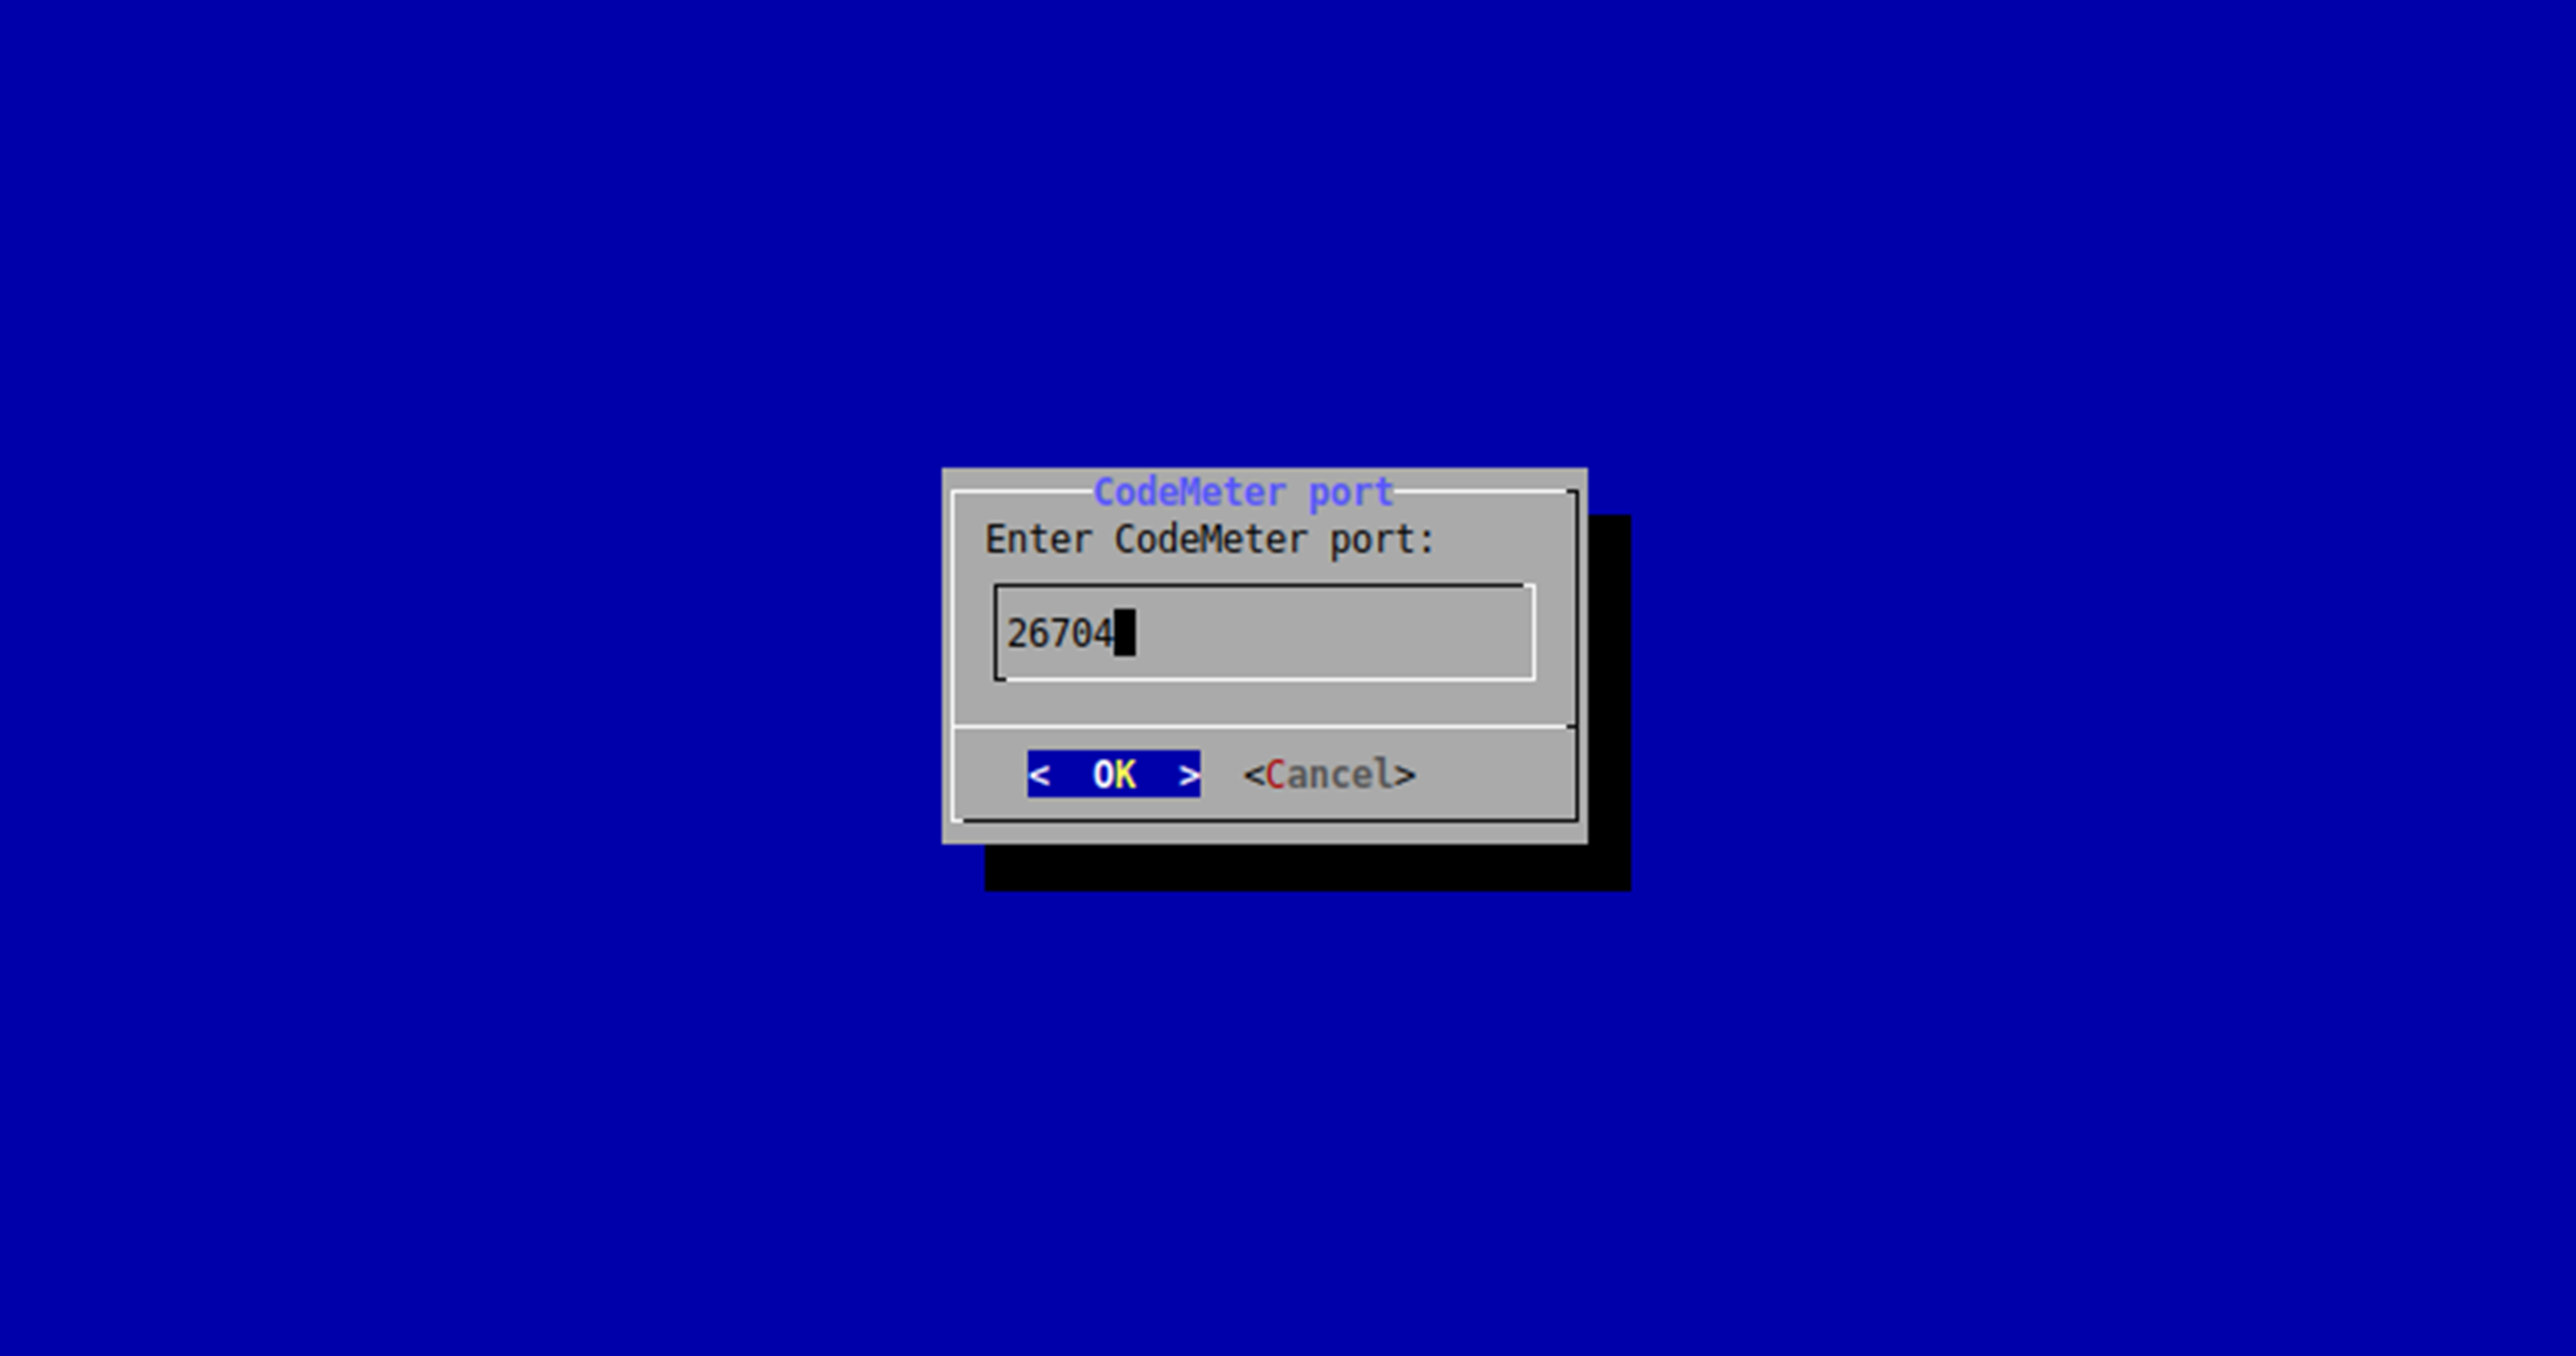
CodeMeter port
In following dialog, CodeMeter port can be entered:
Note
- CodeMeter port is required to use advanced drivers in multiple MCSA Docker containers in parallel.
- To use advanced drivers in these MCSA Docker containers, delete the existing MCSA Docker containers and re-create to assign the CodeMeter port.
File transfer folder
File transfer is supported starting from MCSA in Docker V03.06.02.07 b001 and V03.06.20.01 b001. To transfer files a local folder of the Linux host should be specified. Following folder will be used by default.
- /opt/siemens/mindconnect/mcsa-filetransfer/
Example folder,
- /opt/siemens/mindconnect/mcsa-filetransfer/c1_mcsa_1
Warning
The entered file transfer folder is deleted, if the file name already exists.
Note
- When copying files to the 'fs' and 'idl' sub folders in the MCSA container's local file transfer folder, it is required to set full read and write permissions for all users and groups so that the copied files can internally be moved to other folders.
- When files should be copied using a Samba file share, the local folder of MCSA container should be located on the Samba file share of the Linux host system.
Confirmation
After all settings are entered and the confirmation to create the new MCSA container is given, then a new container will be created.
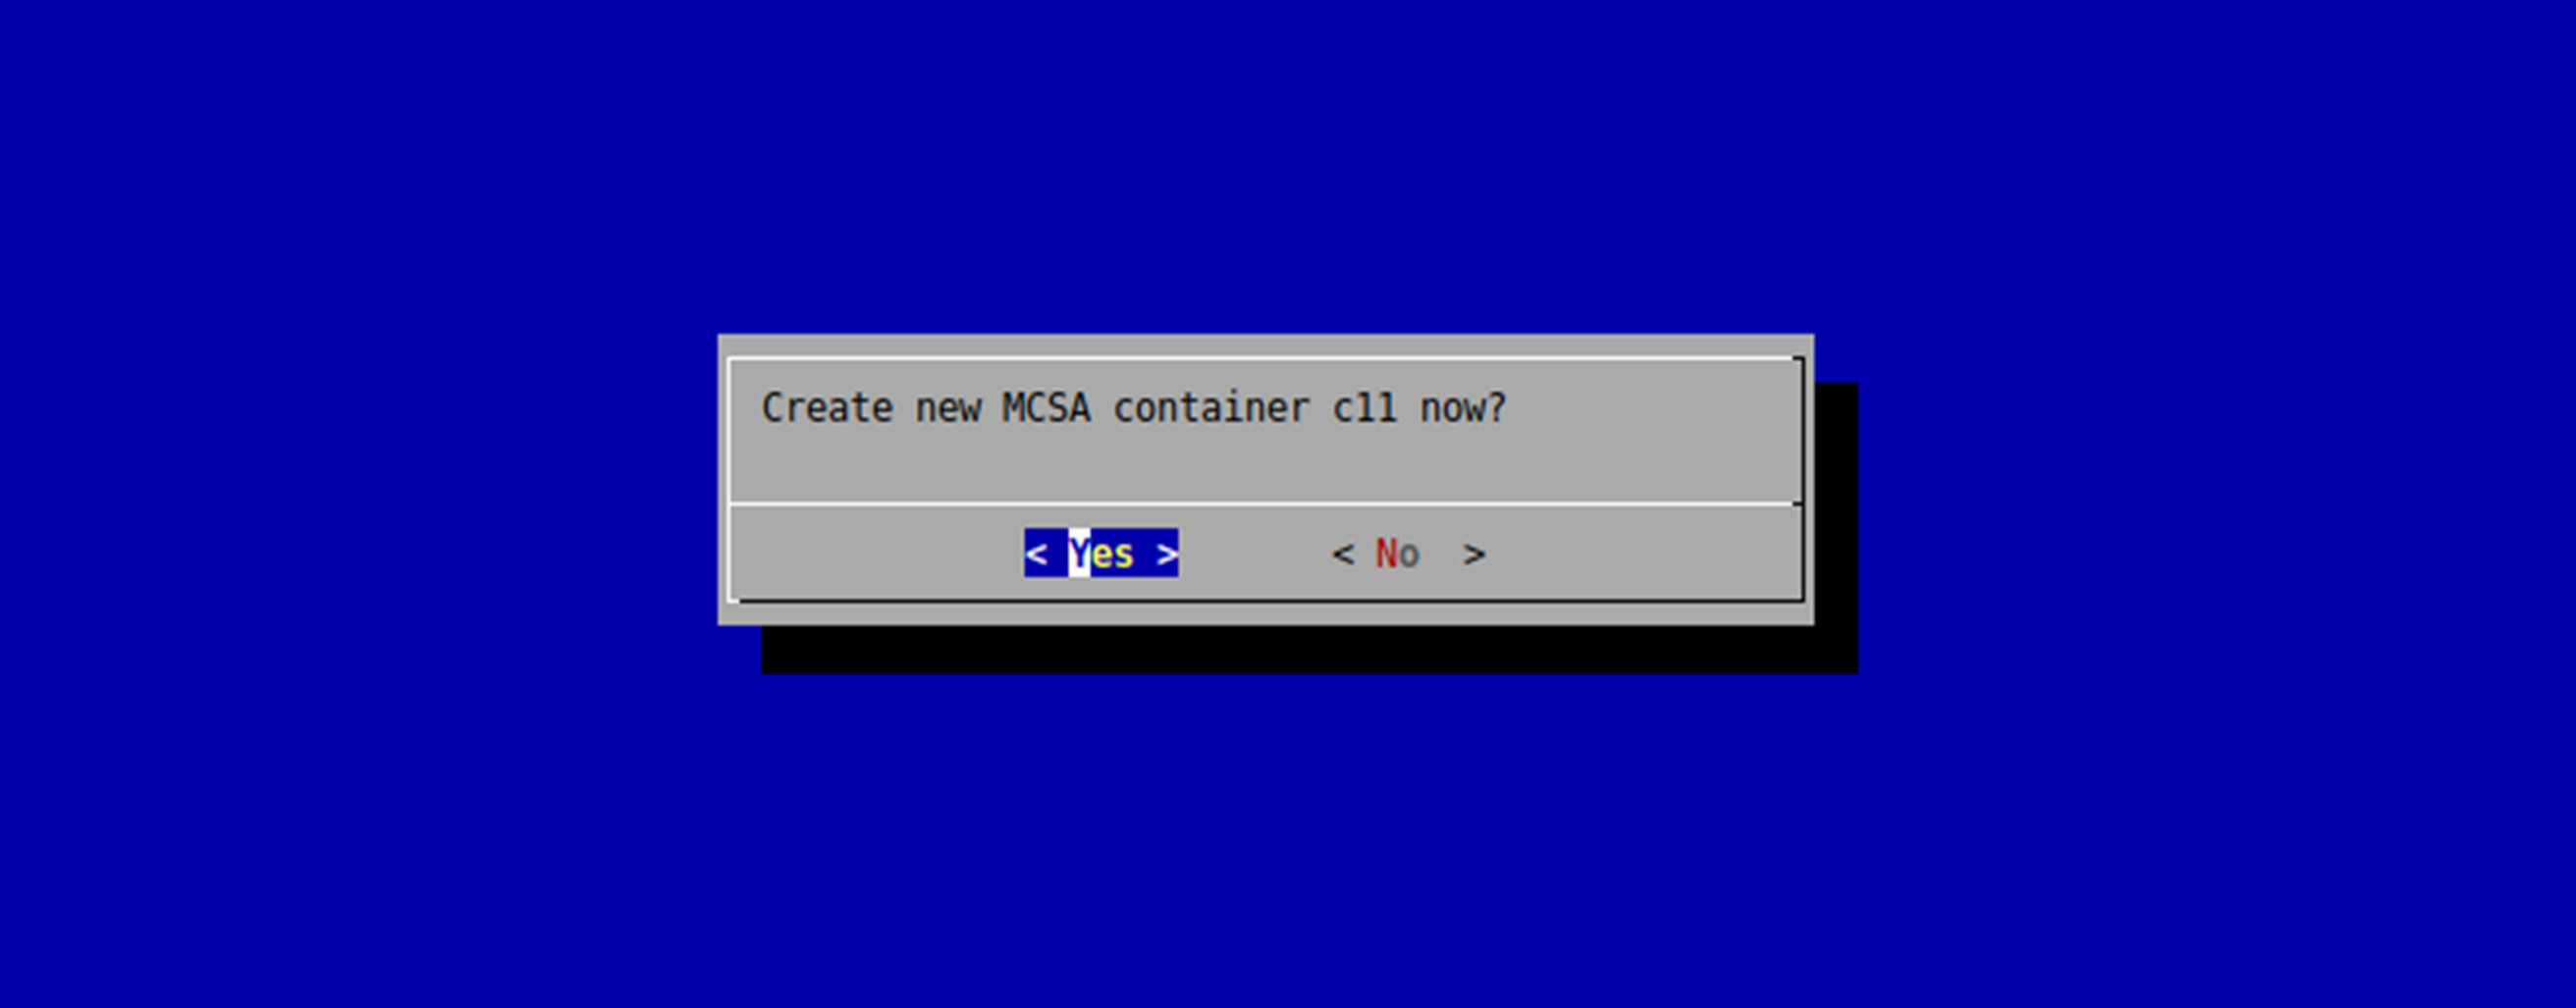
The main menu is displayed again after the new MCSA Docker container is created.
Note
- After creation of an MCSA Docker container, the system will set up internally be which takes some time. Hence, it is recommended to wait for 2 minutes before trying to onboard the system, or to create another MCSA container.
- MCSA Docker containers will automatically be restarted after the system restart.
Show running container info
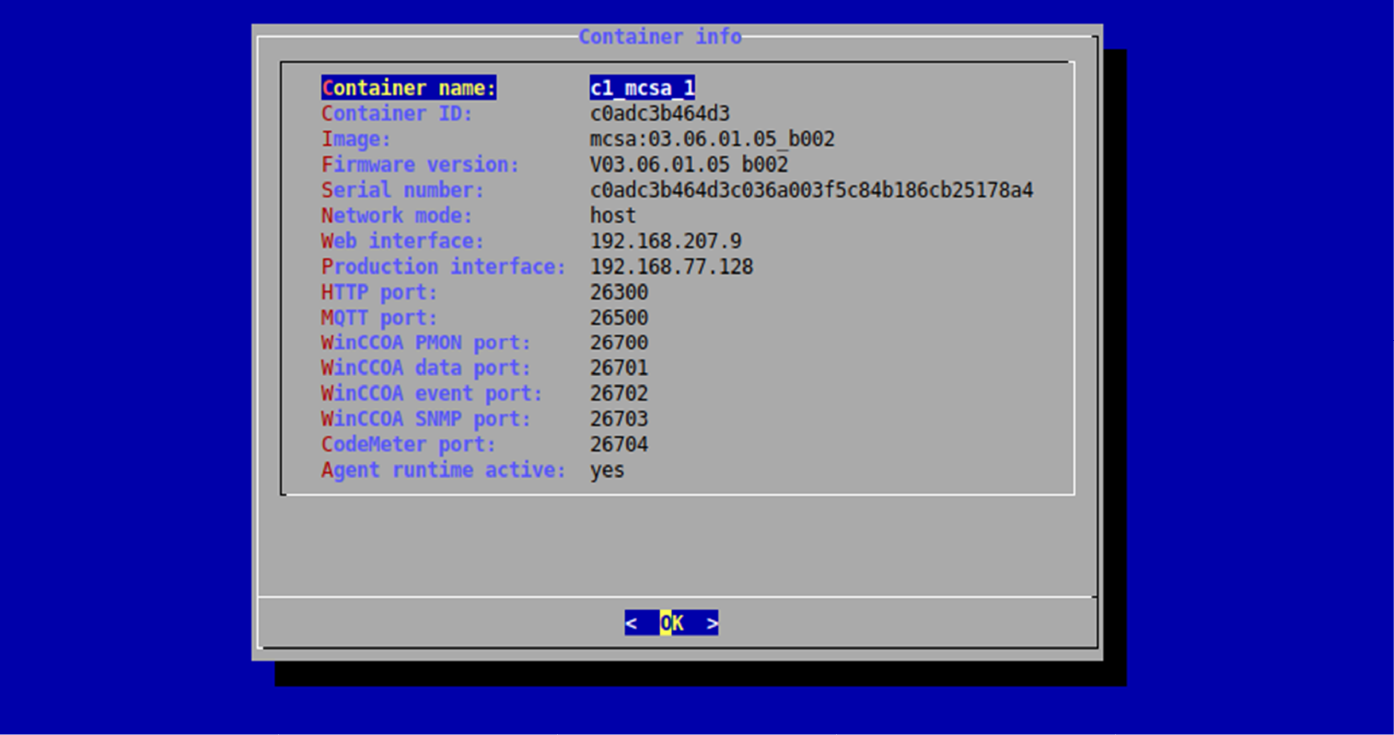
In the main menu, Select "Show running container info", currently running MCSA container information is displayed.
In the first dialog, the MCSA Docker container can be selected:
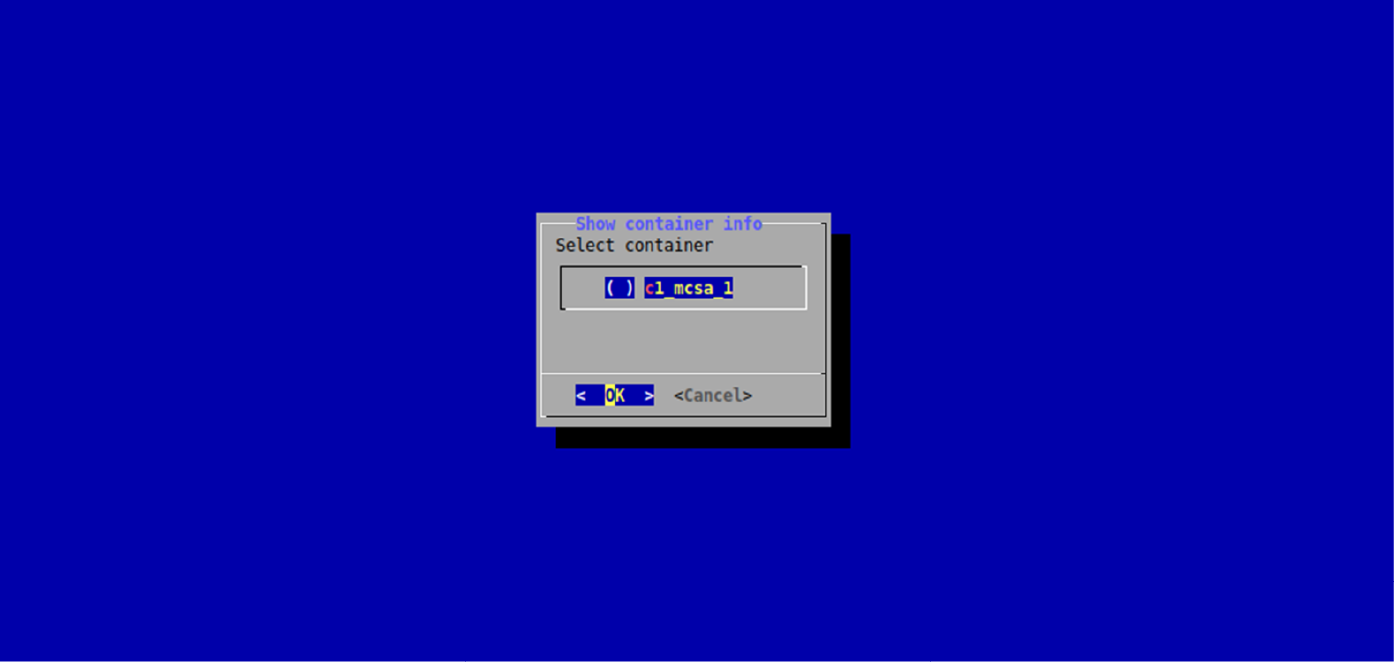
After selecting a MCSA container and click “OK”, the following information is displayed:
Show all containers
Select "Show all containers" to display the status of all MCSA containers:
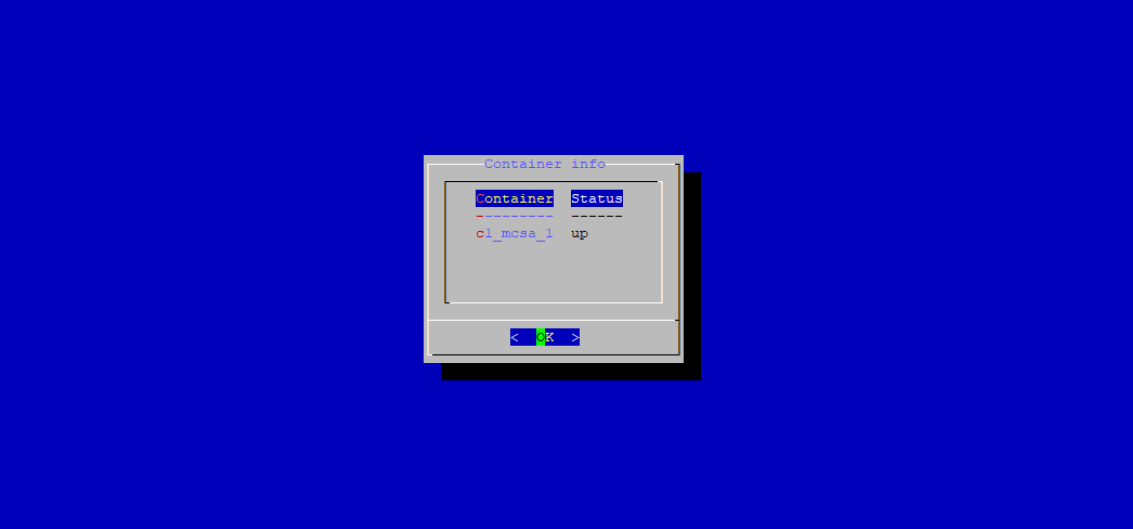
The following table describes the status of container,
| Status | Description |
|---|---|
| up | Container is running |
| down | Container is not running |
Start Docker container
In the main menu, Select "Start containers" to display list of all exited or stopped MCSA Docker containers:
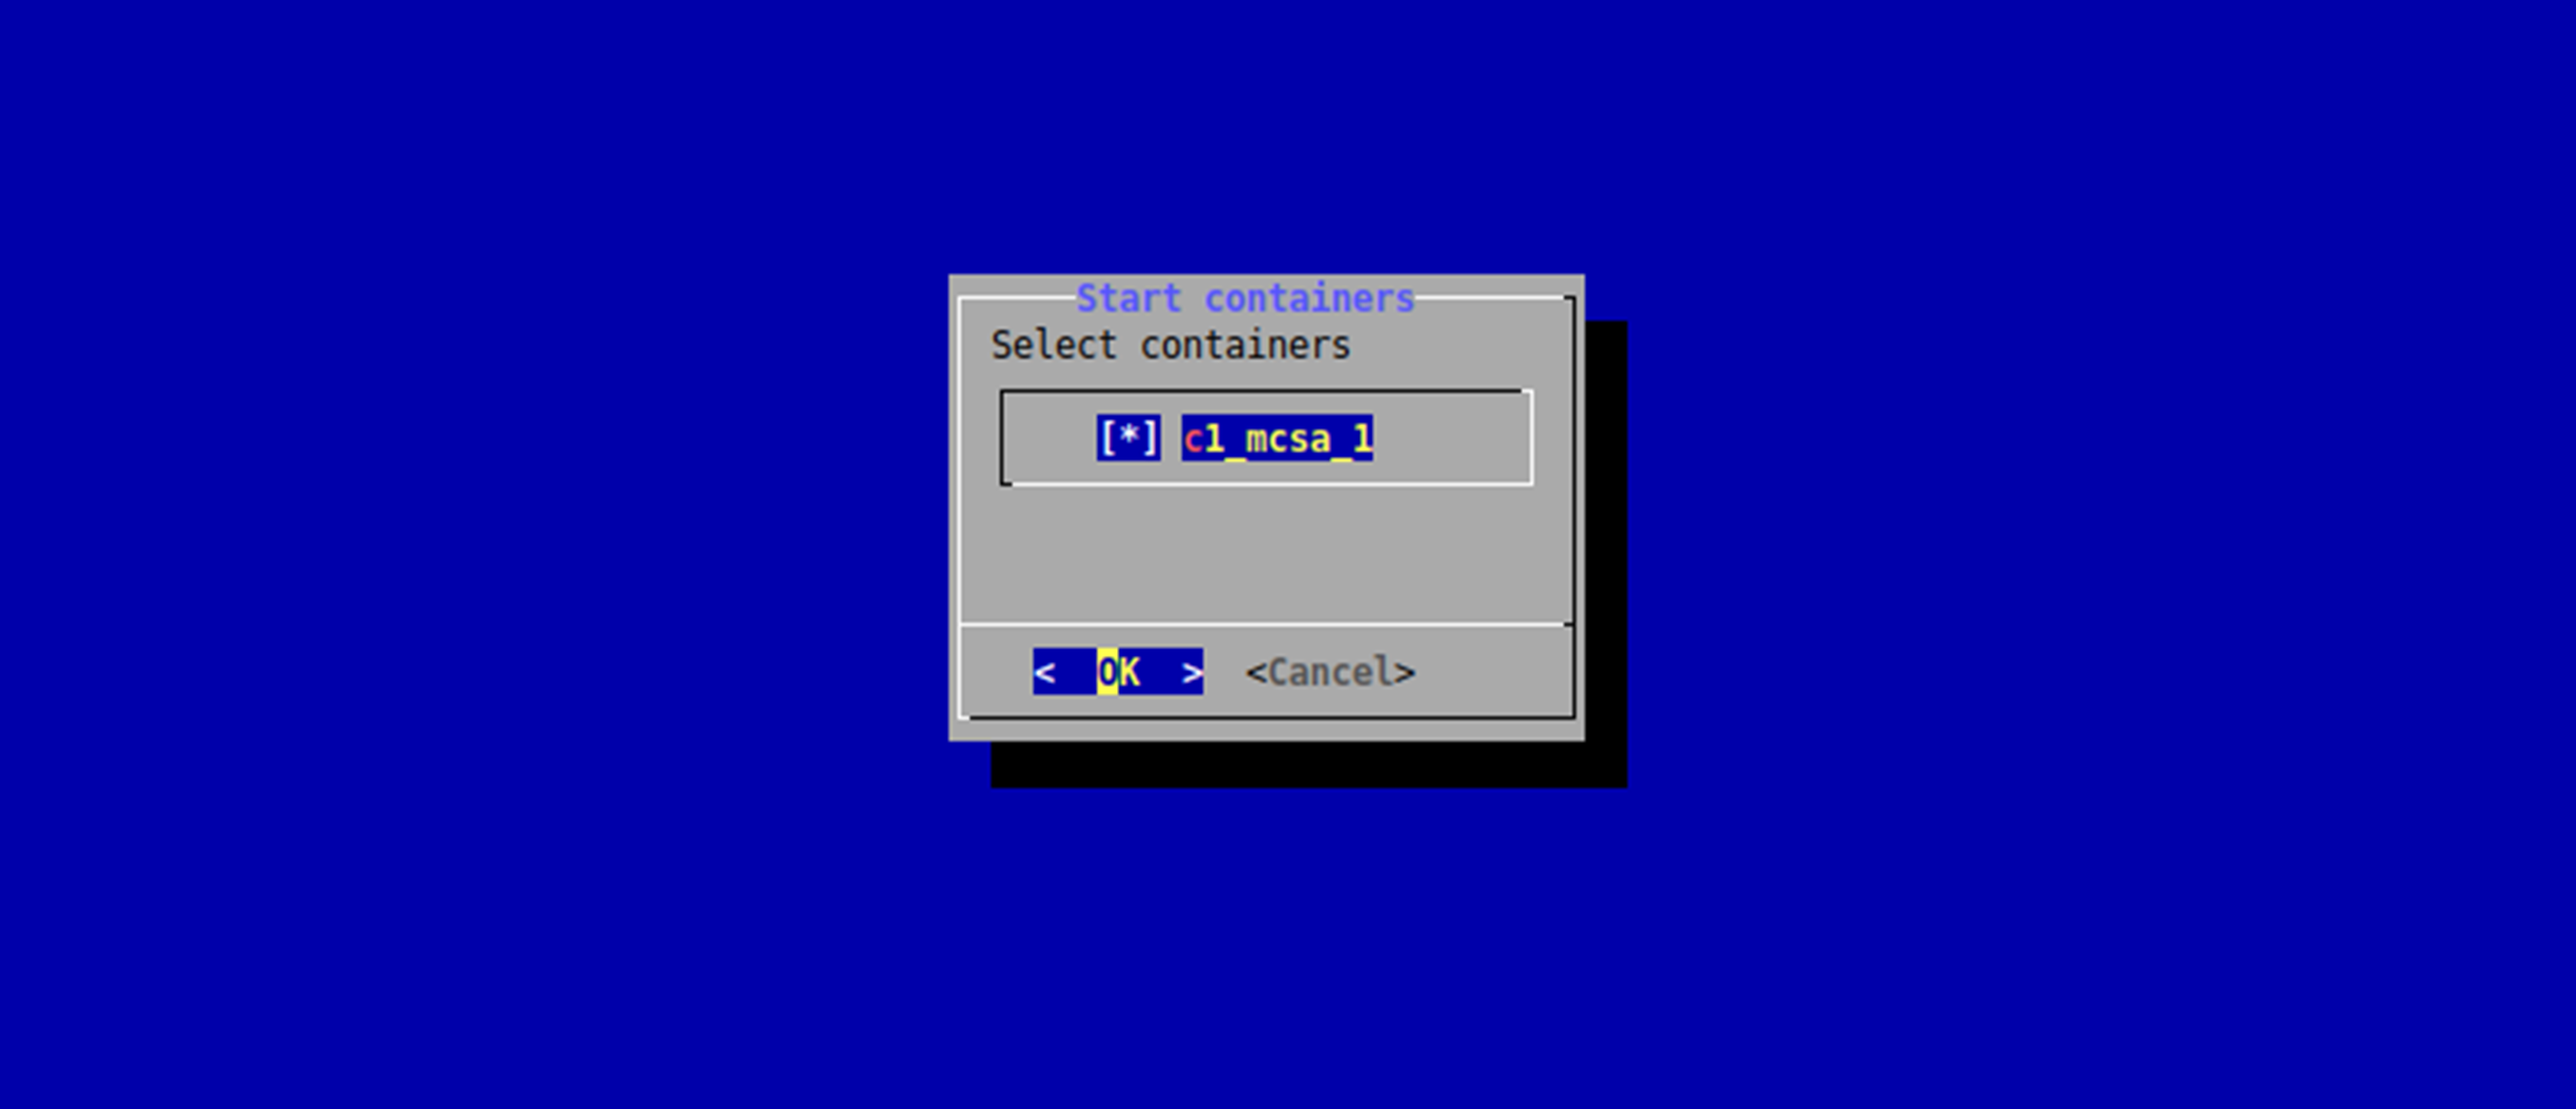
Select the containers to be started and click “OK” to start the containers.
The start progress is displayed by the following dialog:
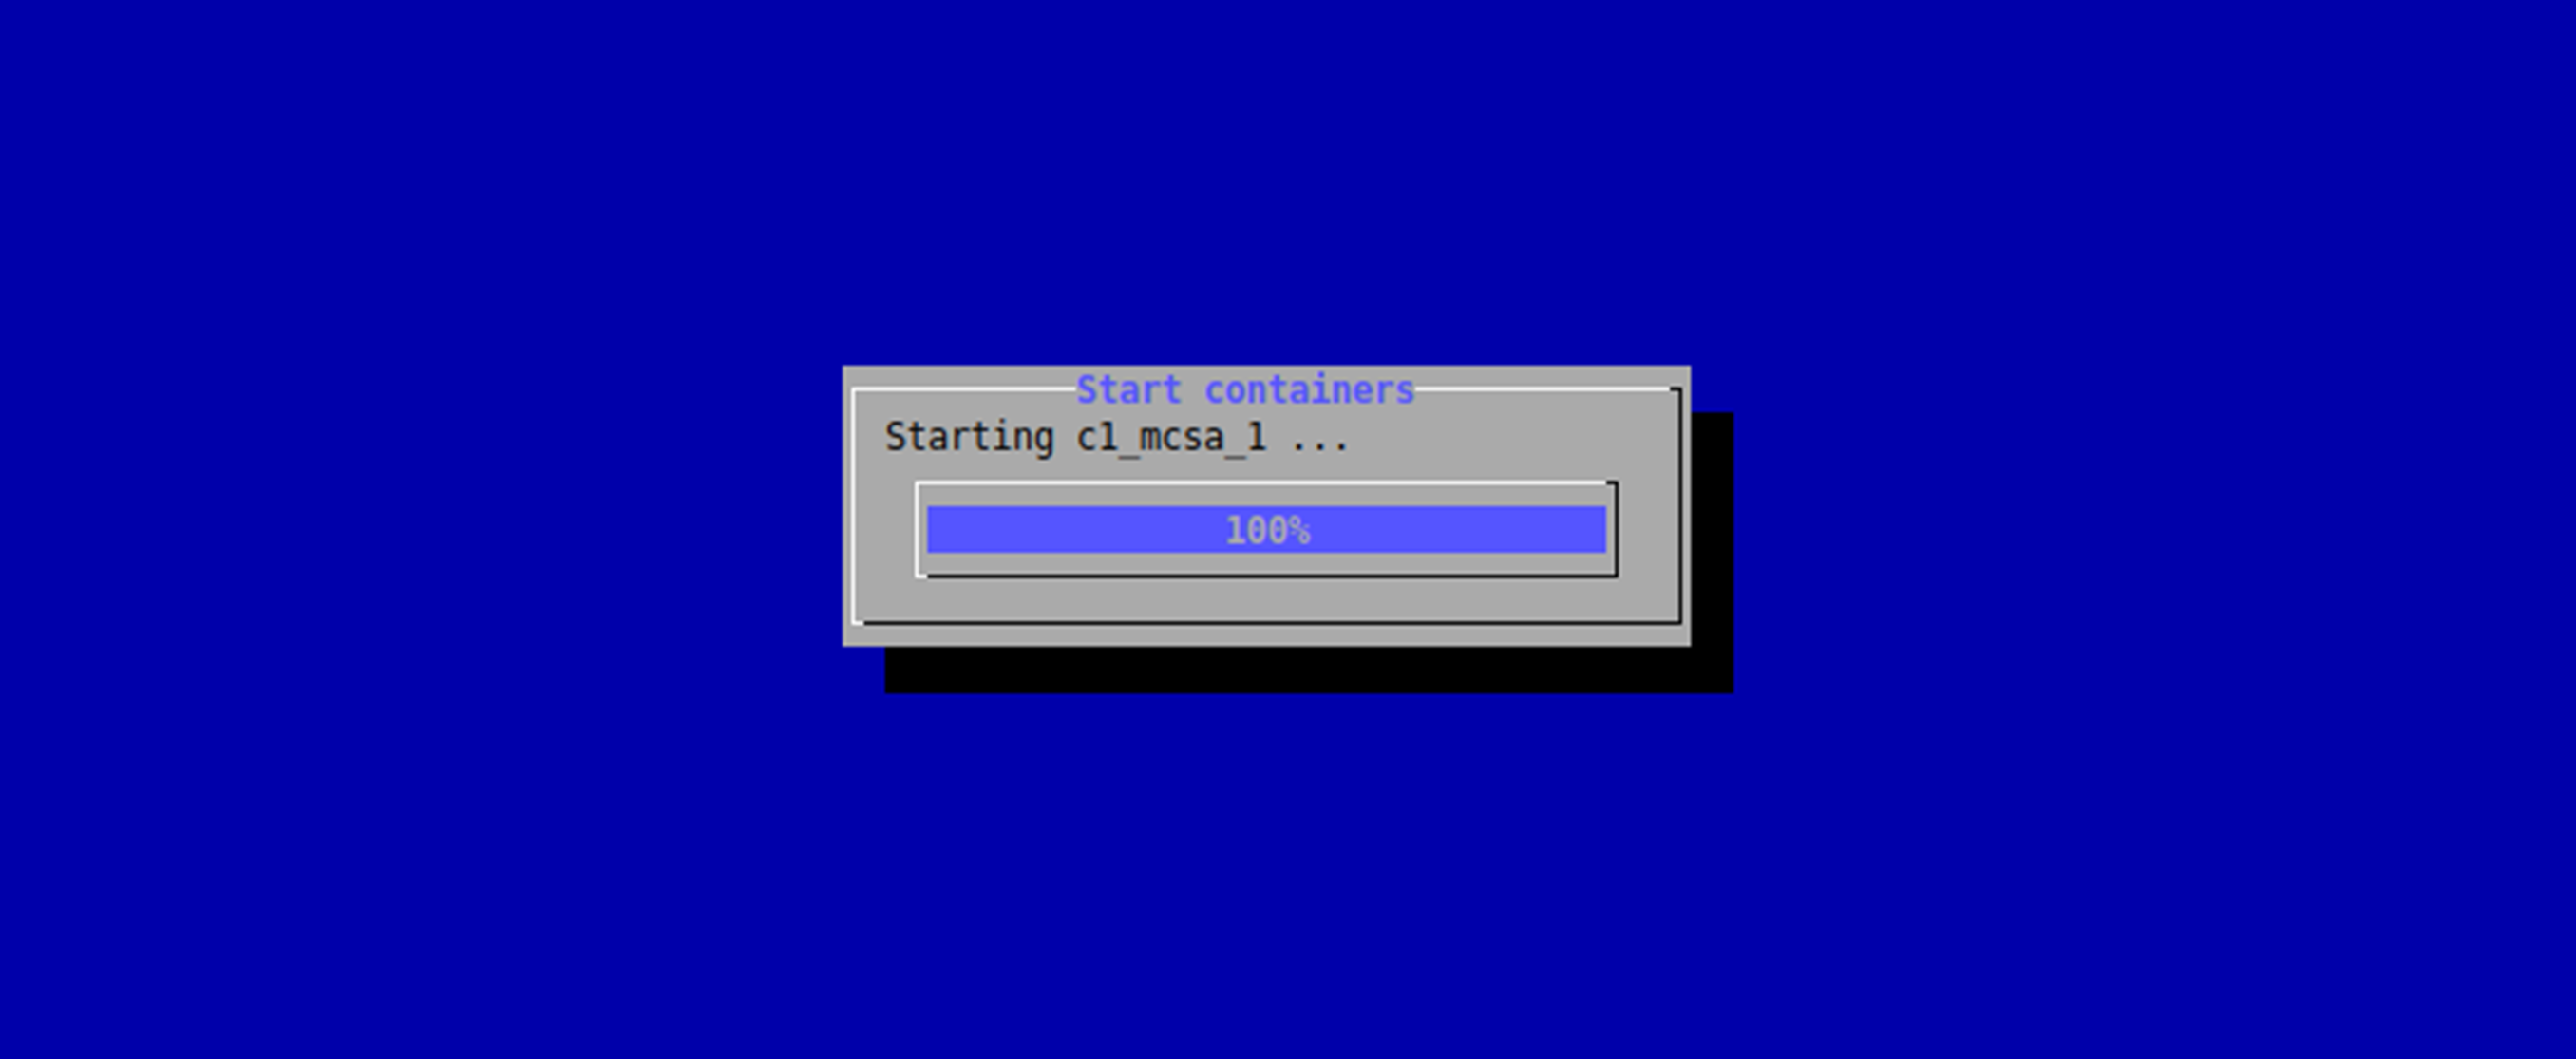
After all the selected containers are started, the main menu is displayed again.
Stop Docker container
In the main menu, a list of all up/running MCSA Docker containers are displayed, after selecting the "Stop containers" task:
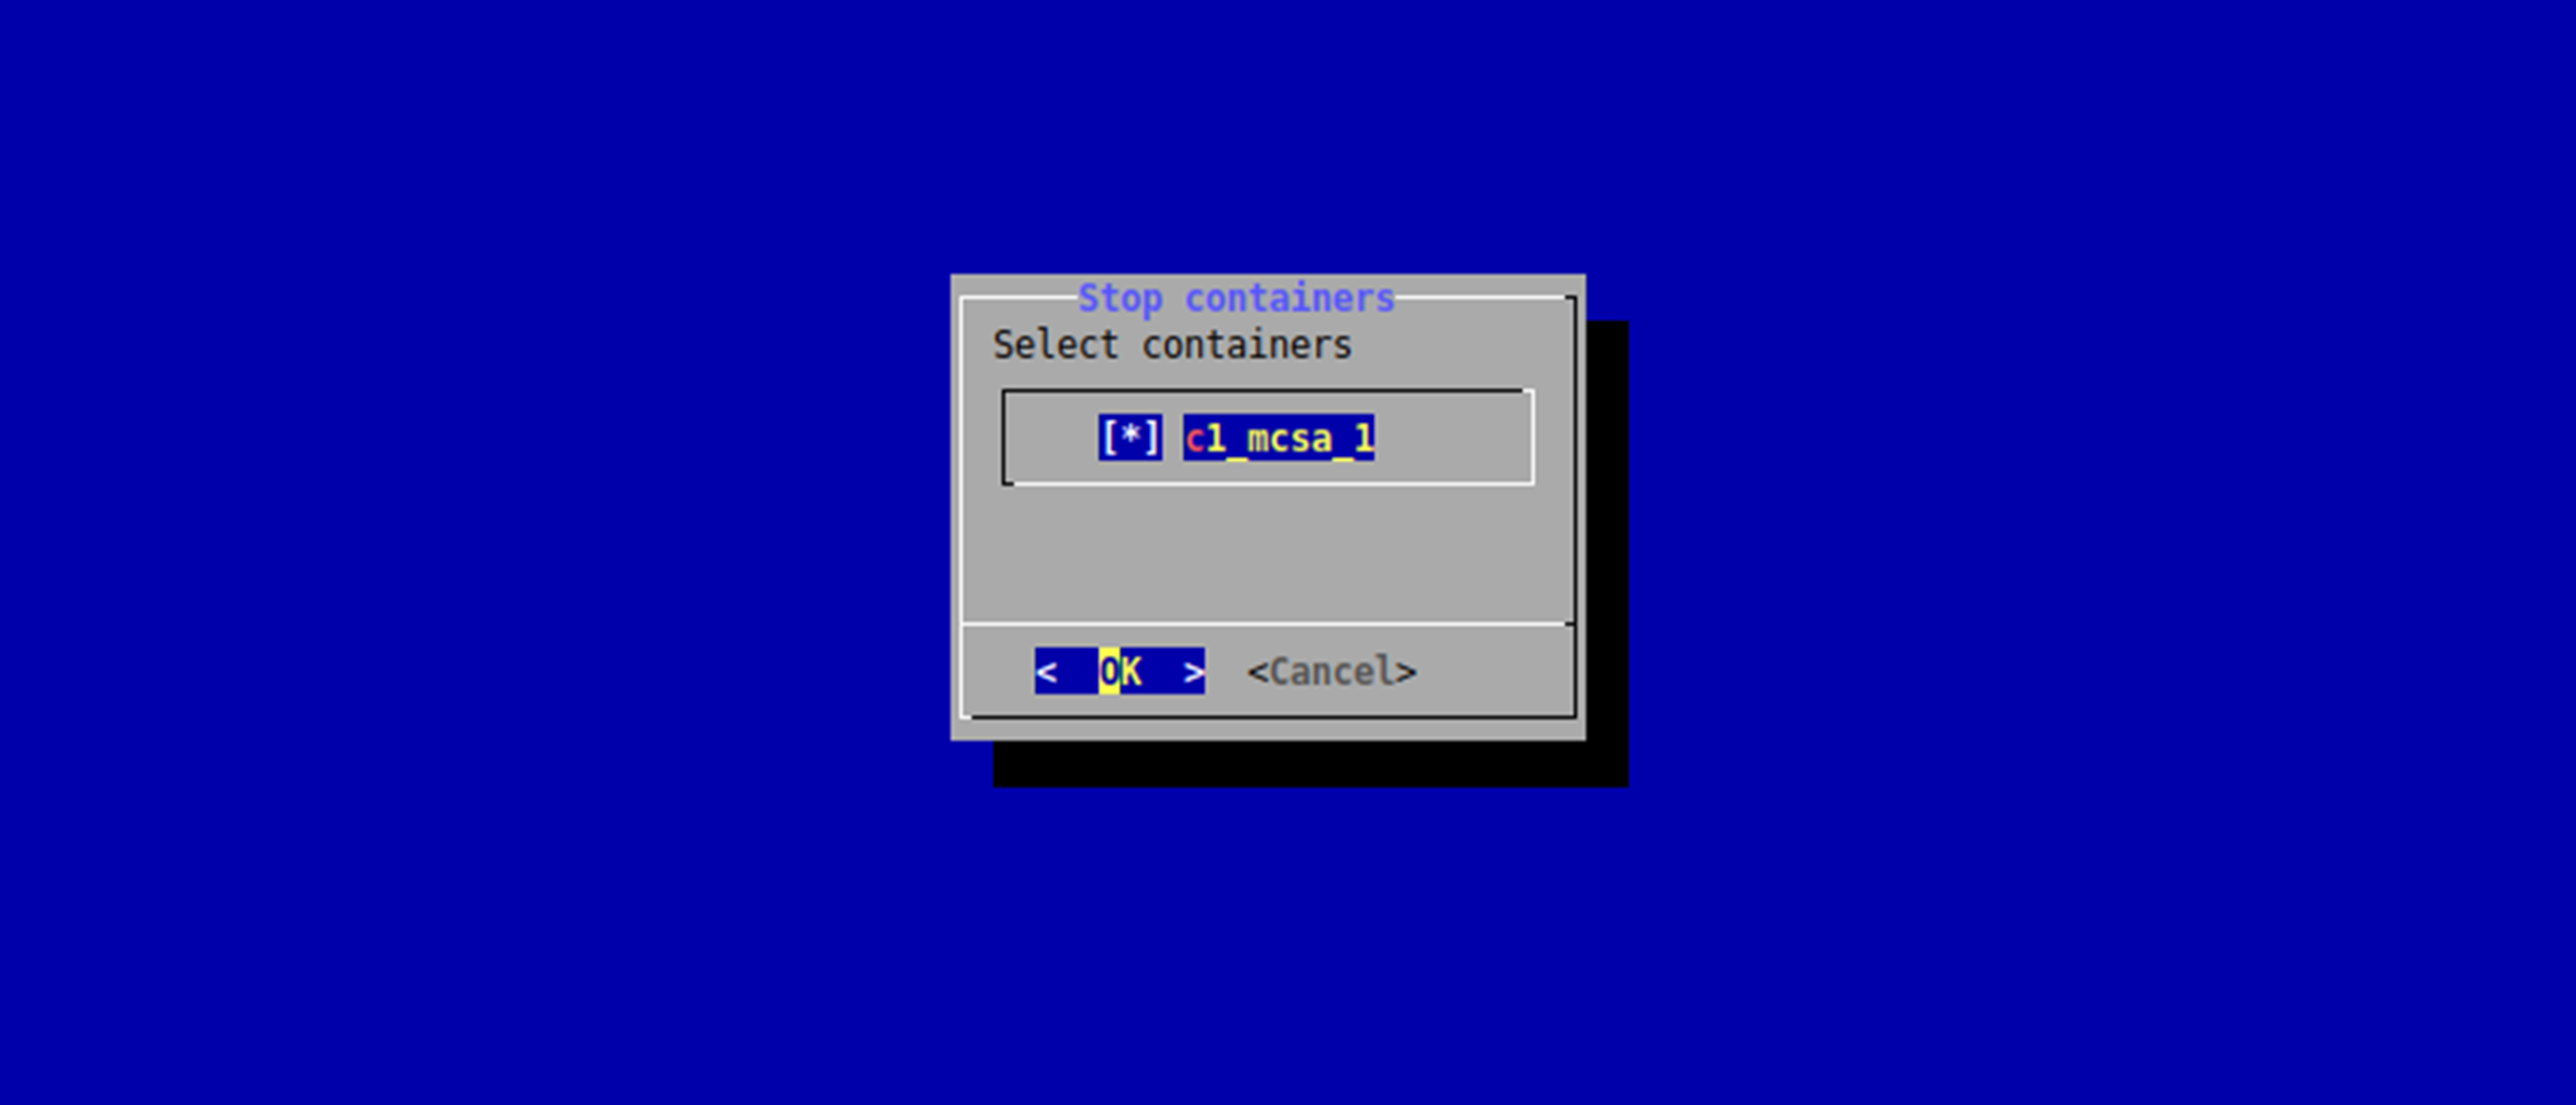
While stopping the containers, following dialog is displayed:
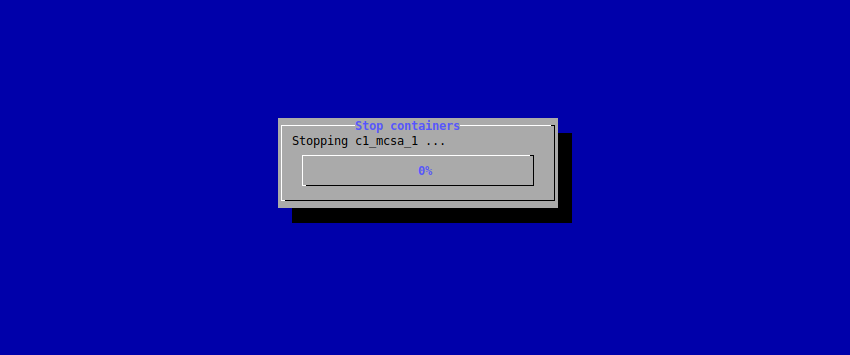
After all the selected containers are stopped, the main menu is displayed again.
Delete Docker container
In the main menu, MCSA Docker containers can be deleted after selecting the "Delete containers" task and select the containers to be deleted from the following dialog:
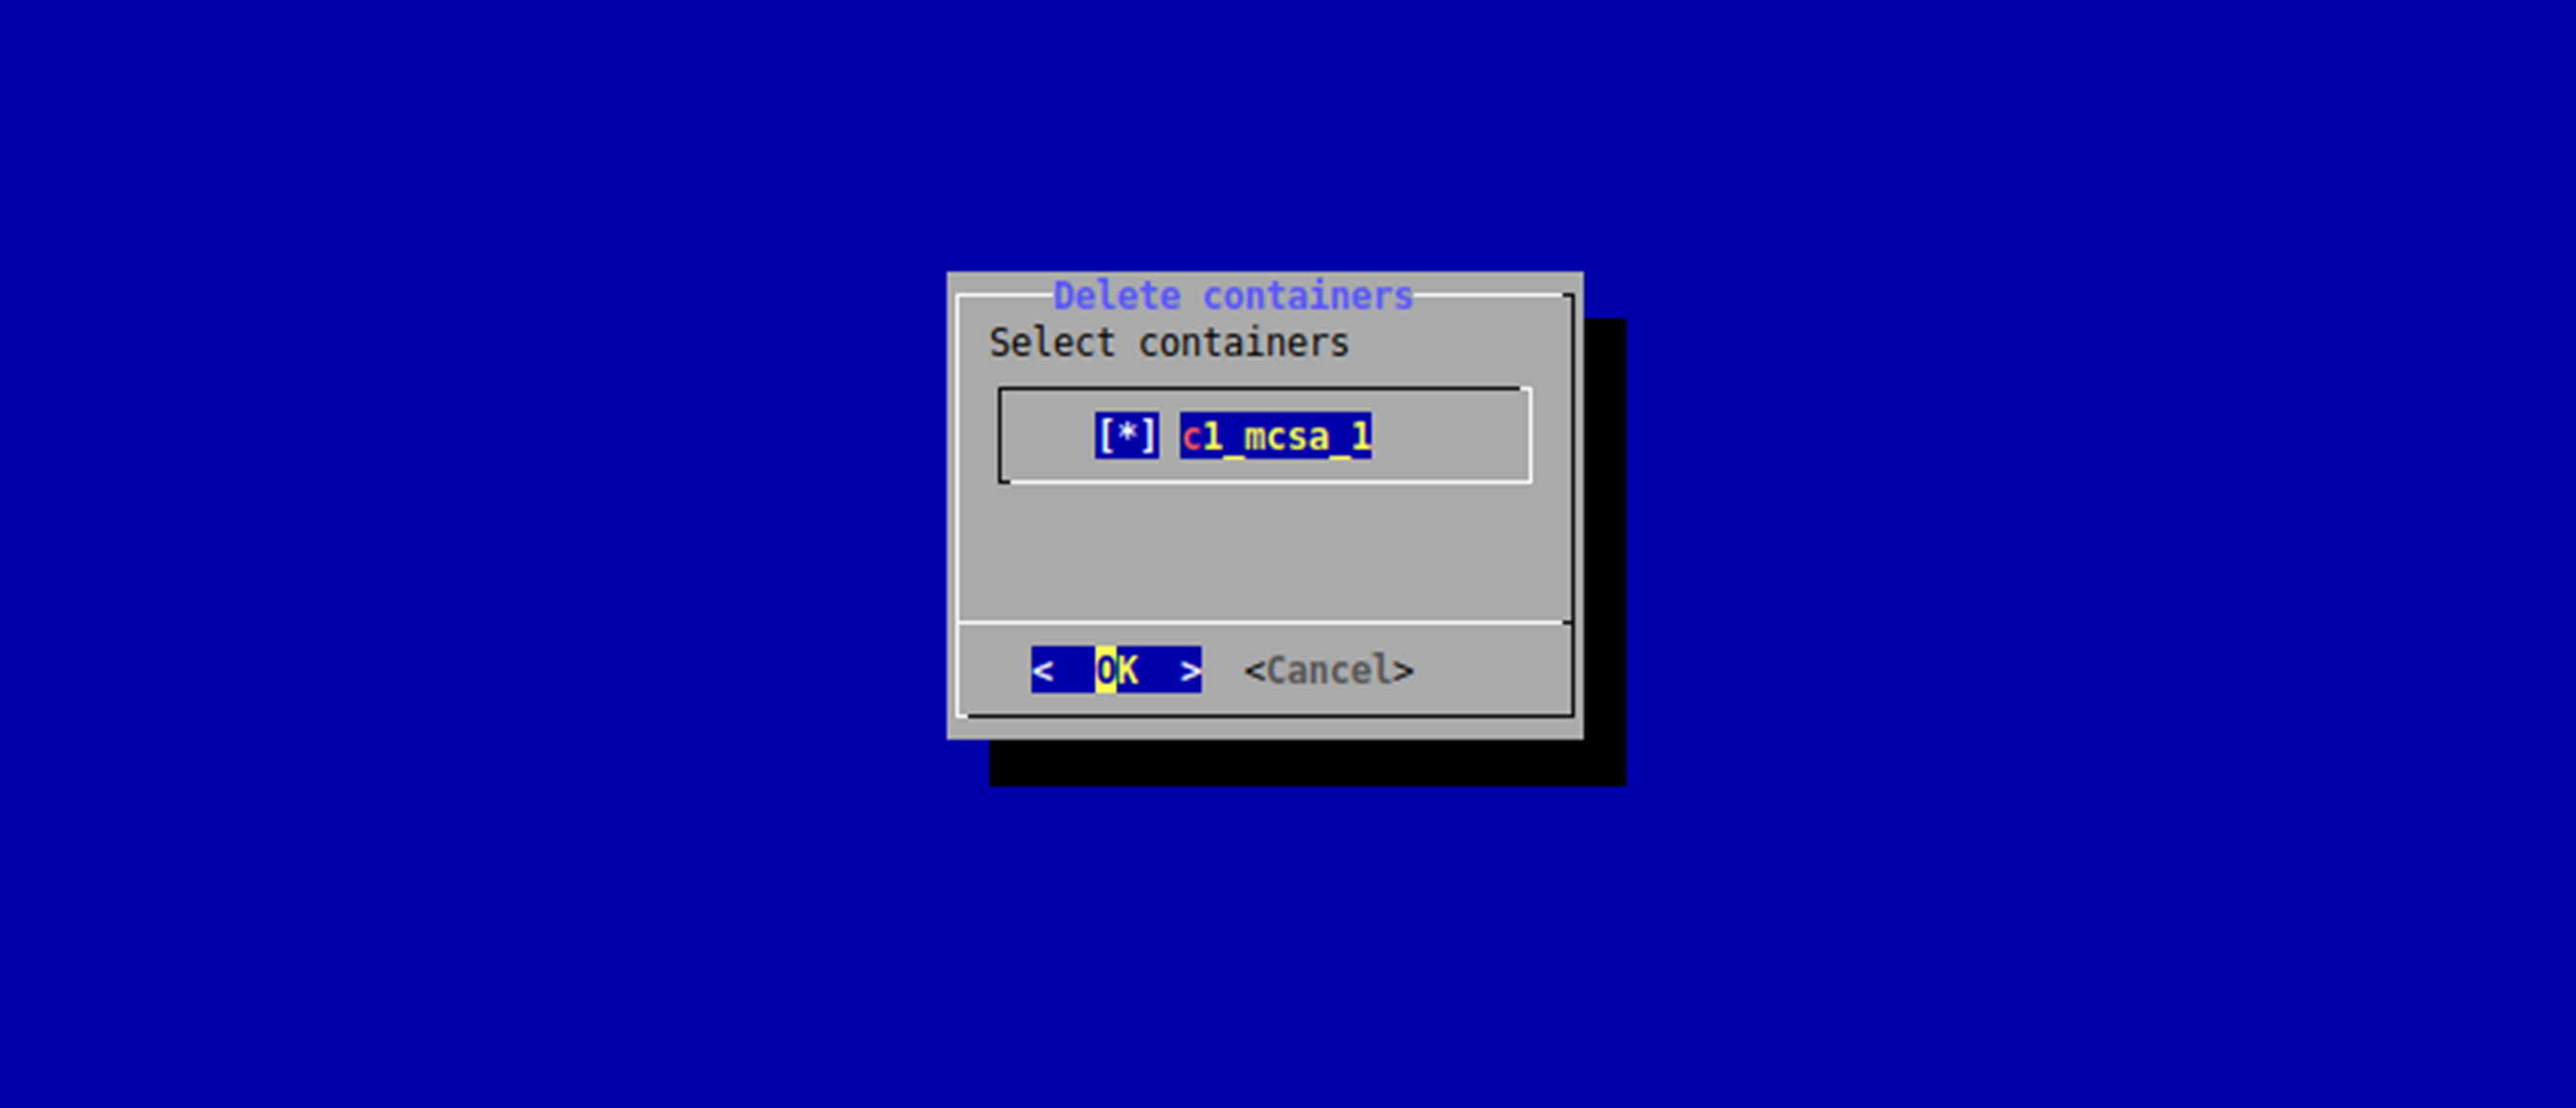
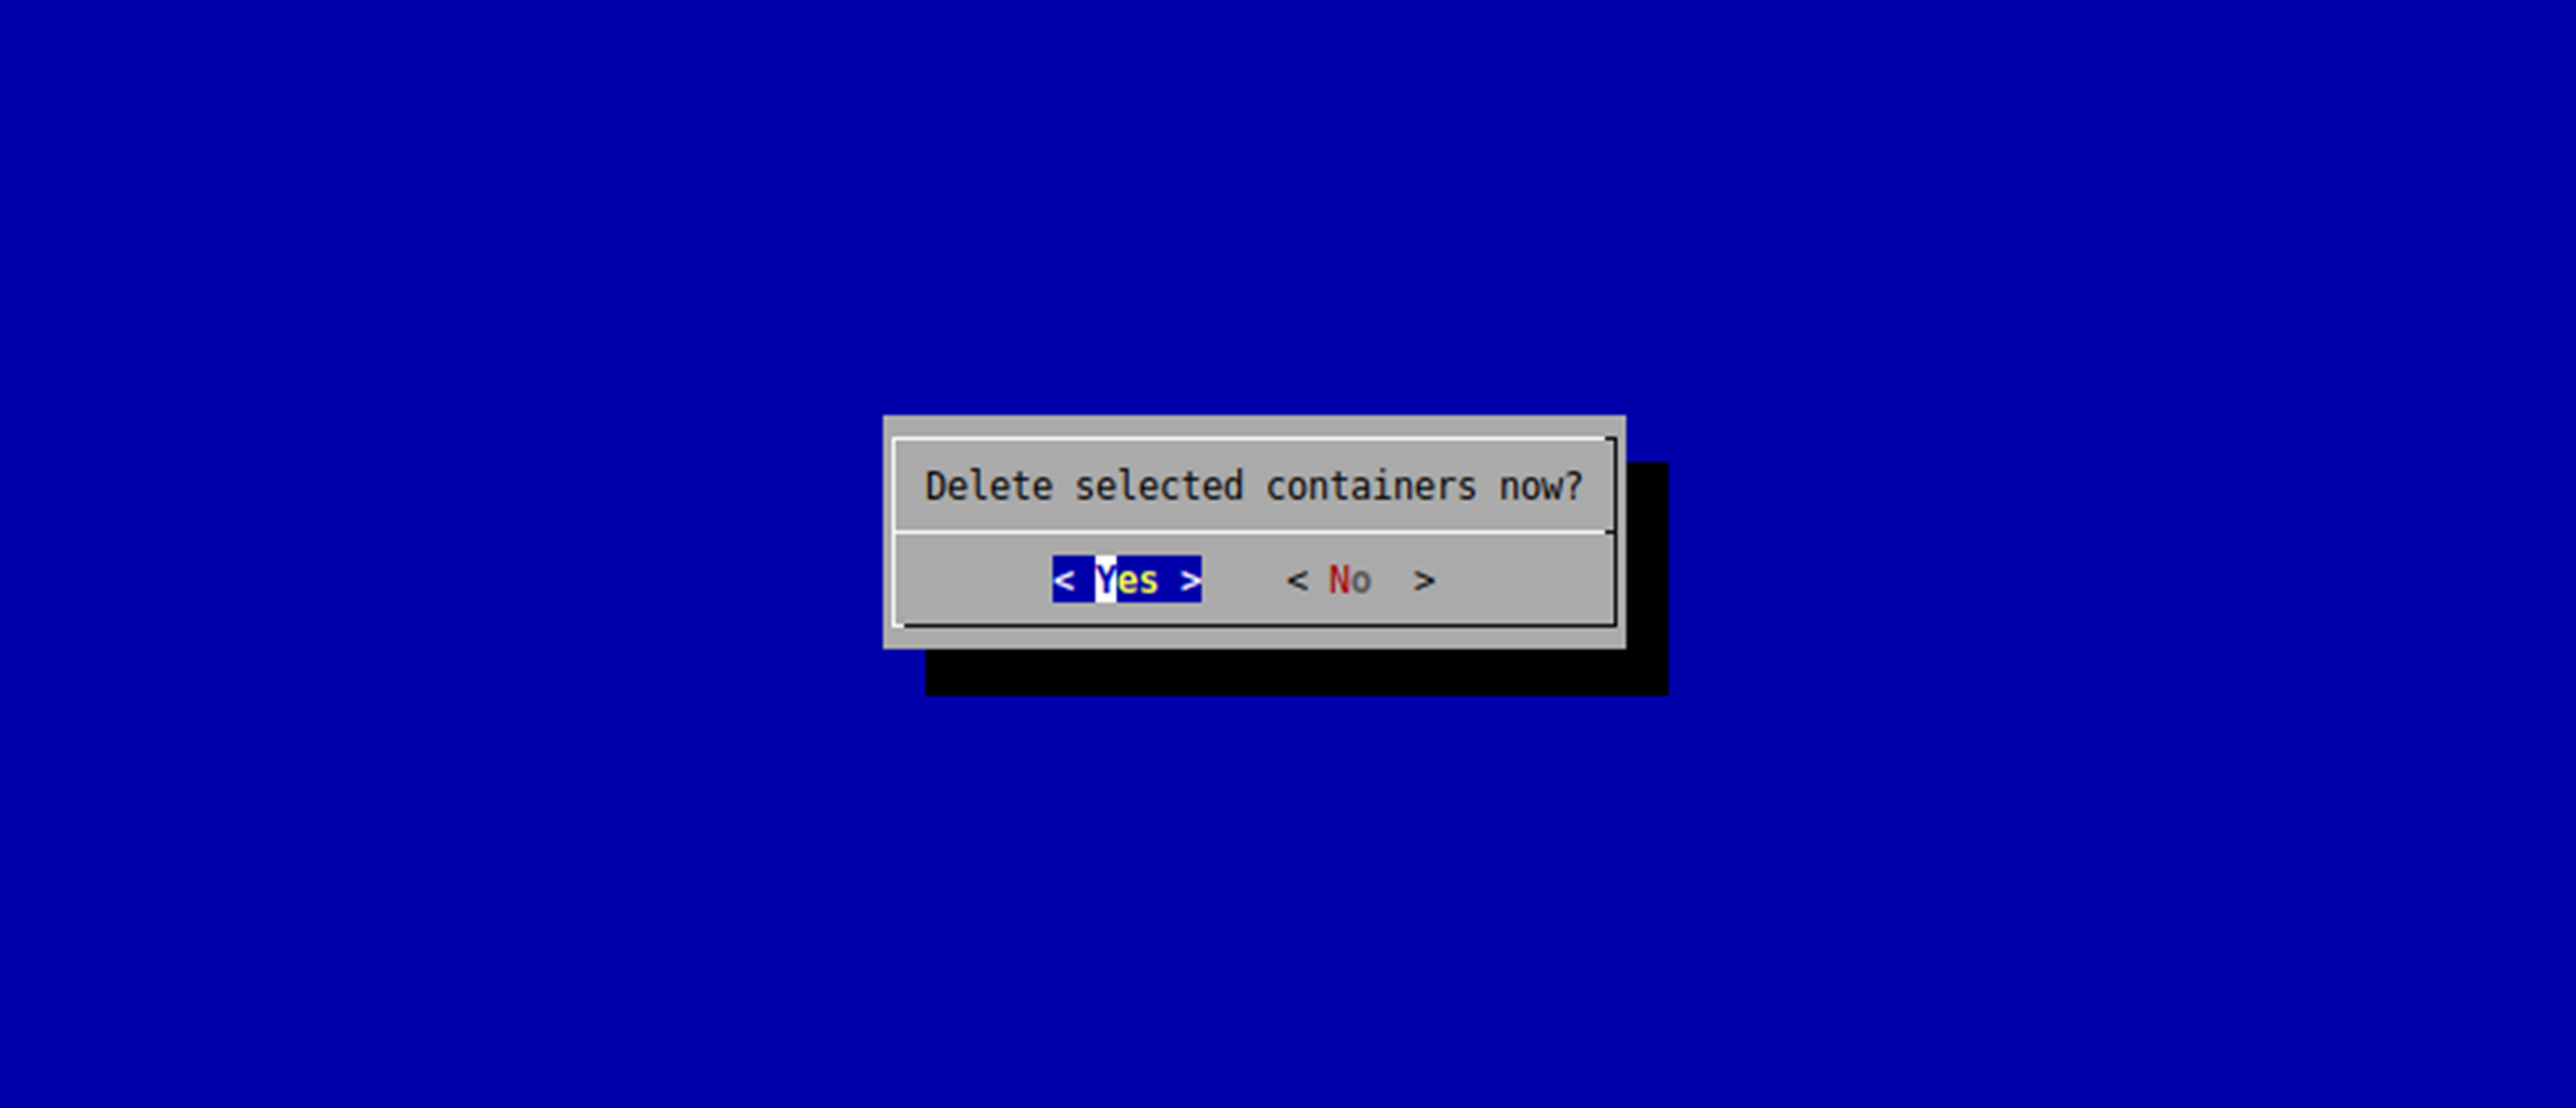
A dialog is displayed to confirm the containers to be deleted:
The deletion progress is displayed by following dialog:
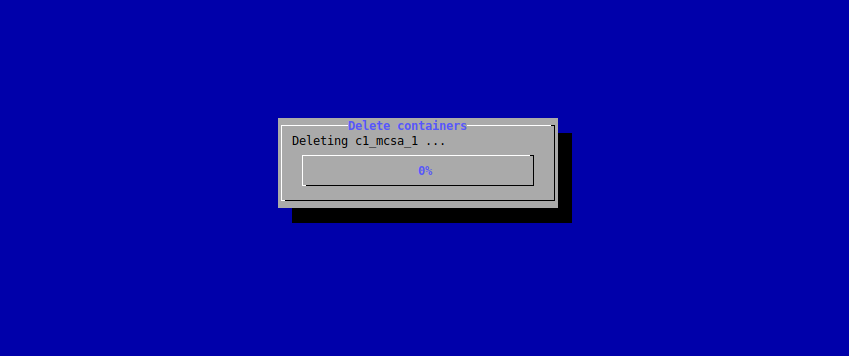
After all the containers are deleted, the main menu is displayed again.