Reject Reasons
To understand your quality issues even further, you can also track the underlying reasons of your rejects via the manual inputs capability. Once track the reject reasons you can for instance see the top 10 reject reasons on the quality page. In this section, you will learn how to configure the reject reason collections which you need to assign in the machine and line configuration.
User interface
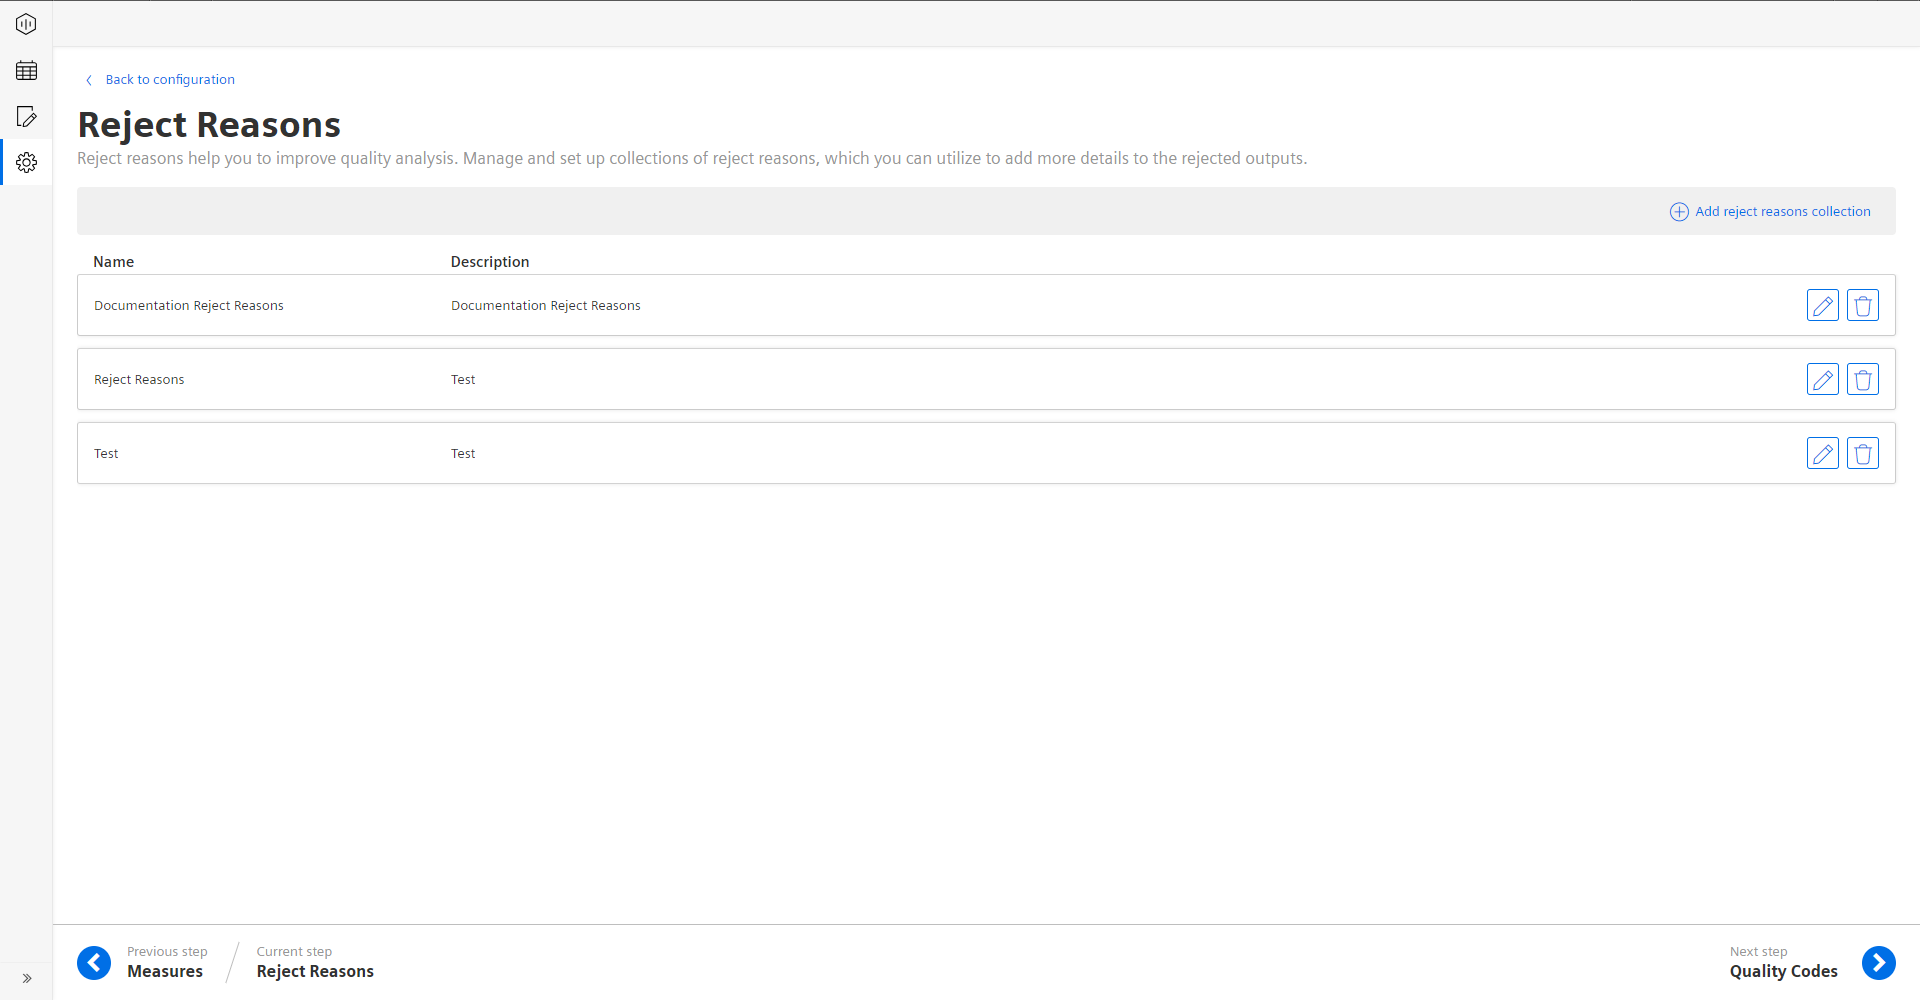
In the “Reject Reasons” overview, you can perform the following actions:
- Navigates to Configuration Tab.
- Add a new "Reject Reason Collection”.
- Edit existing Reject Reason Collection.
- Delete Reject Reason Collection.
- Navigates to the next step.
- Displays the current step.
- Navigates to the previous step.
Procedure
To create a reject reason collection, proceed as follows:
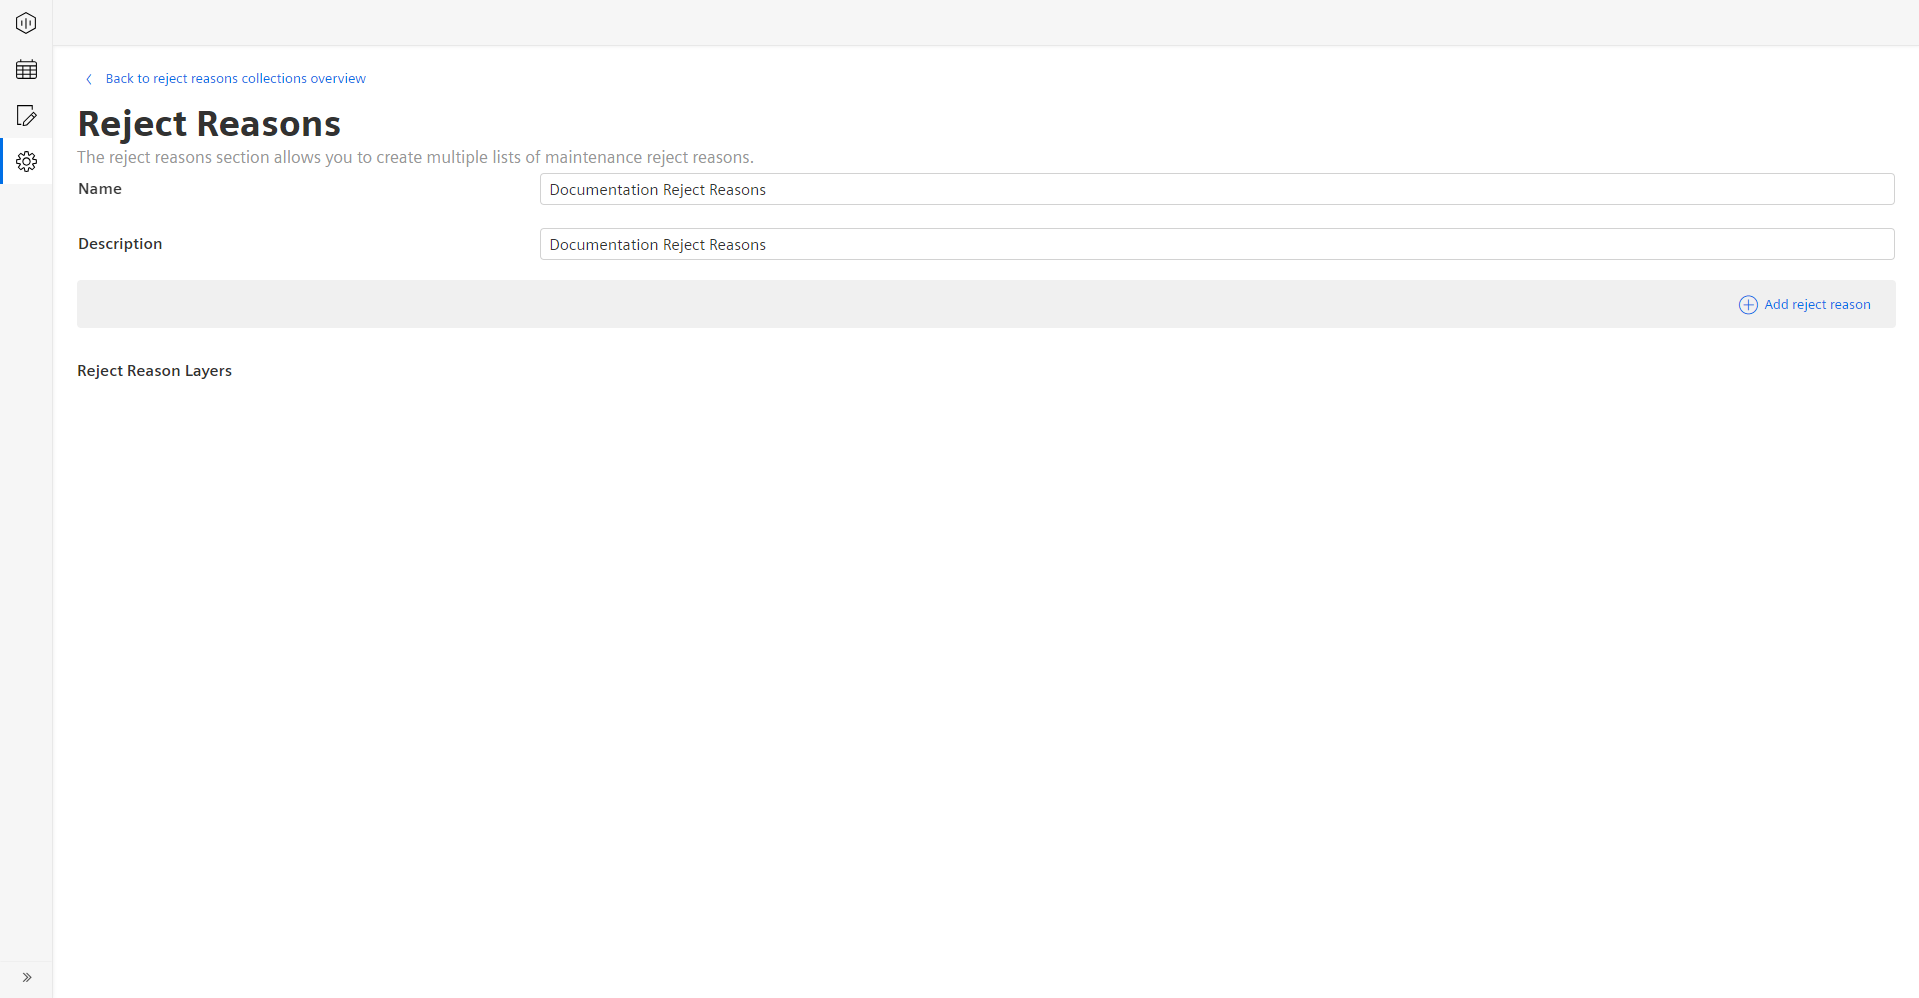
- From the navigation tab, click on “Configuration” and select “Reject Reasons”.
- In “Reject Reasons”, click “Add Reject Reasons Collection”.
- Add “Name” and “Description”.
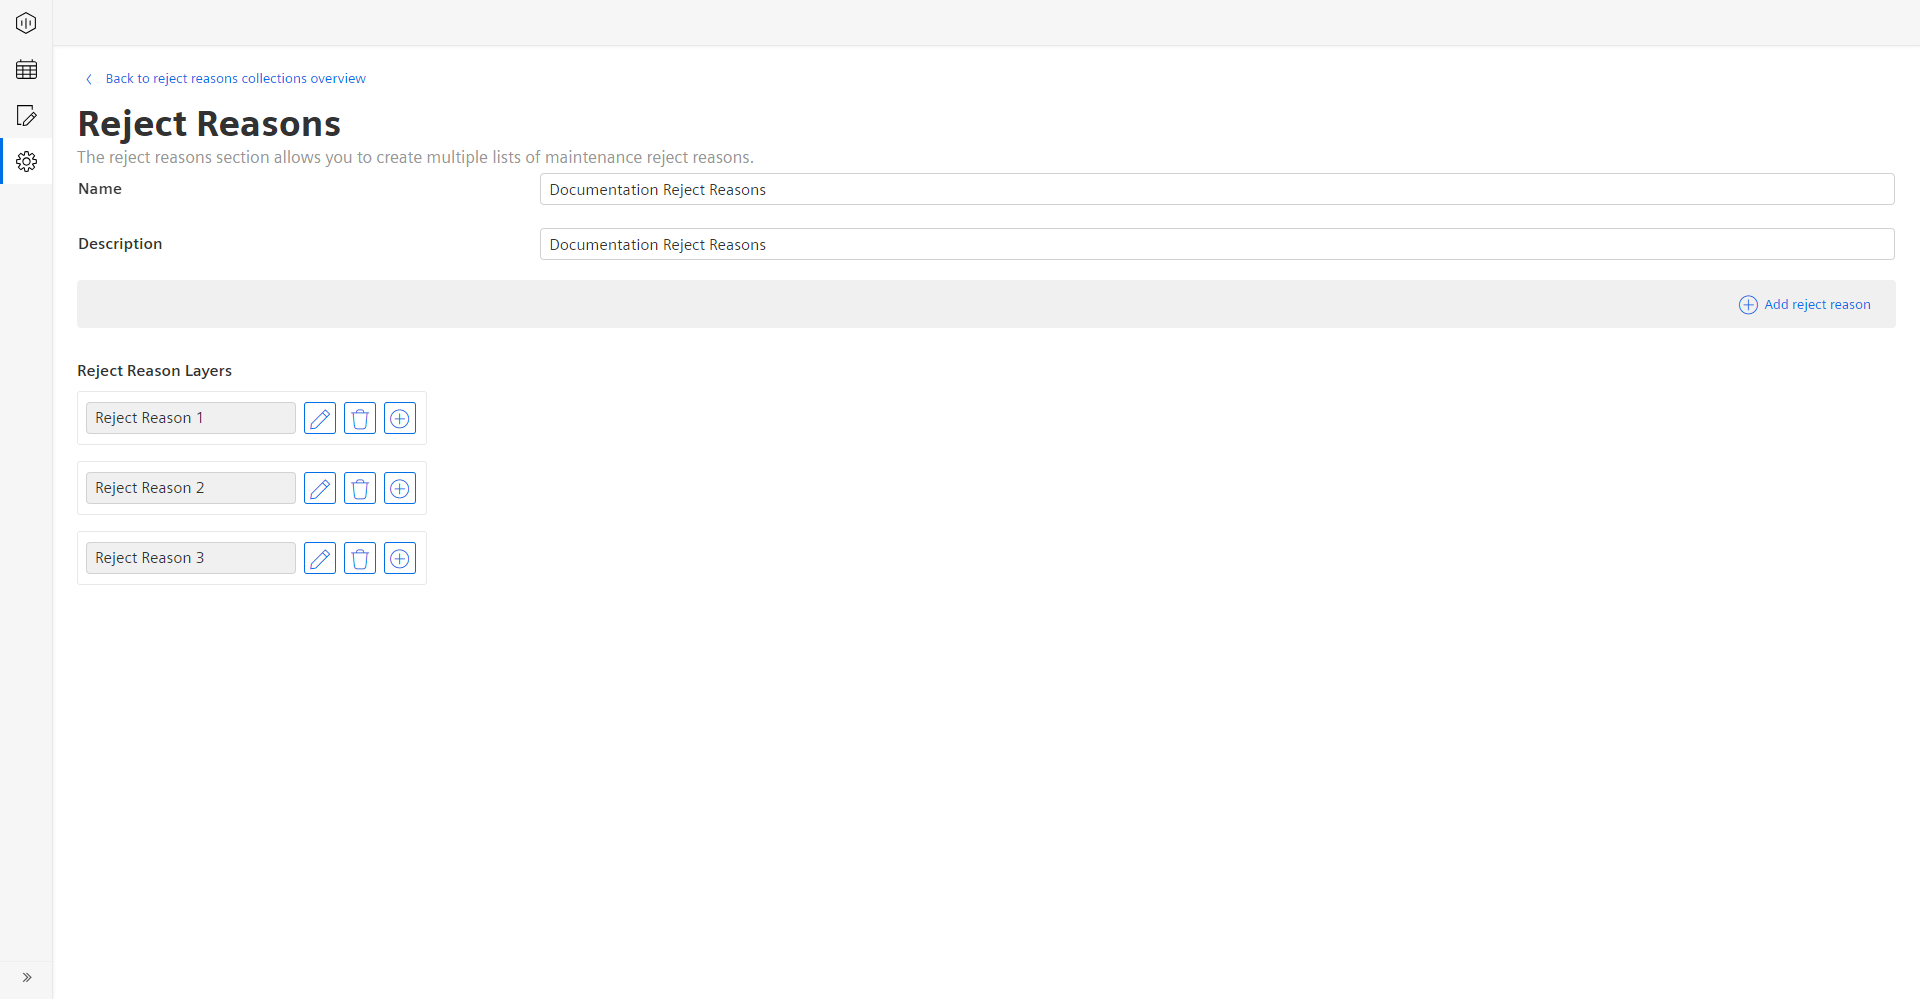
- Click “Add reject reason" in the upper right corner to add the first reject reason in the collection.
This will open an “Edit reject reason” dialogue, which allows you to put in a “Name” and “Description” for the reject reason.
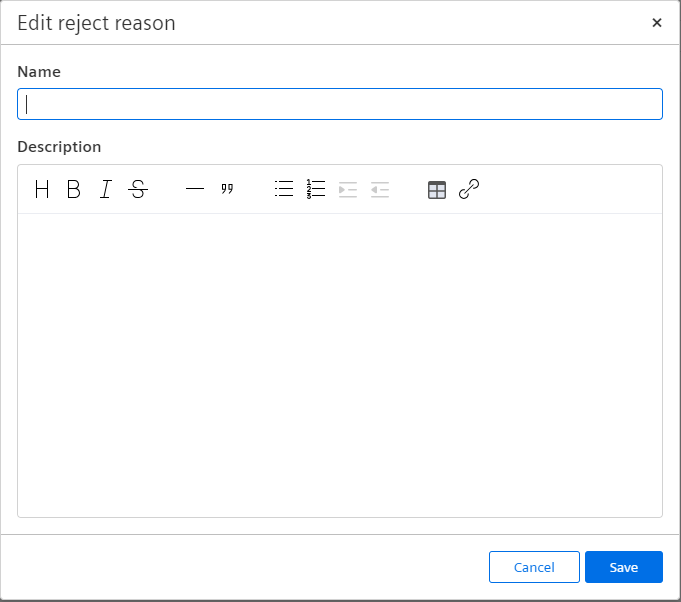
As you can see in the screenshot above, the description input field offers now more capabilities than the usual description fields in the application. The goal is that the user puts in additional information for the created reject reason. In general, the editor allows you to structure the input text and can then also be displayed in a better way at a later stage. Once you have put in all the relevant information, please click “Save” and the reject reason is saved, and the input dialogue closes.
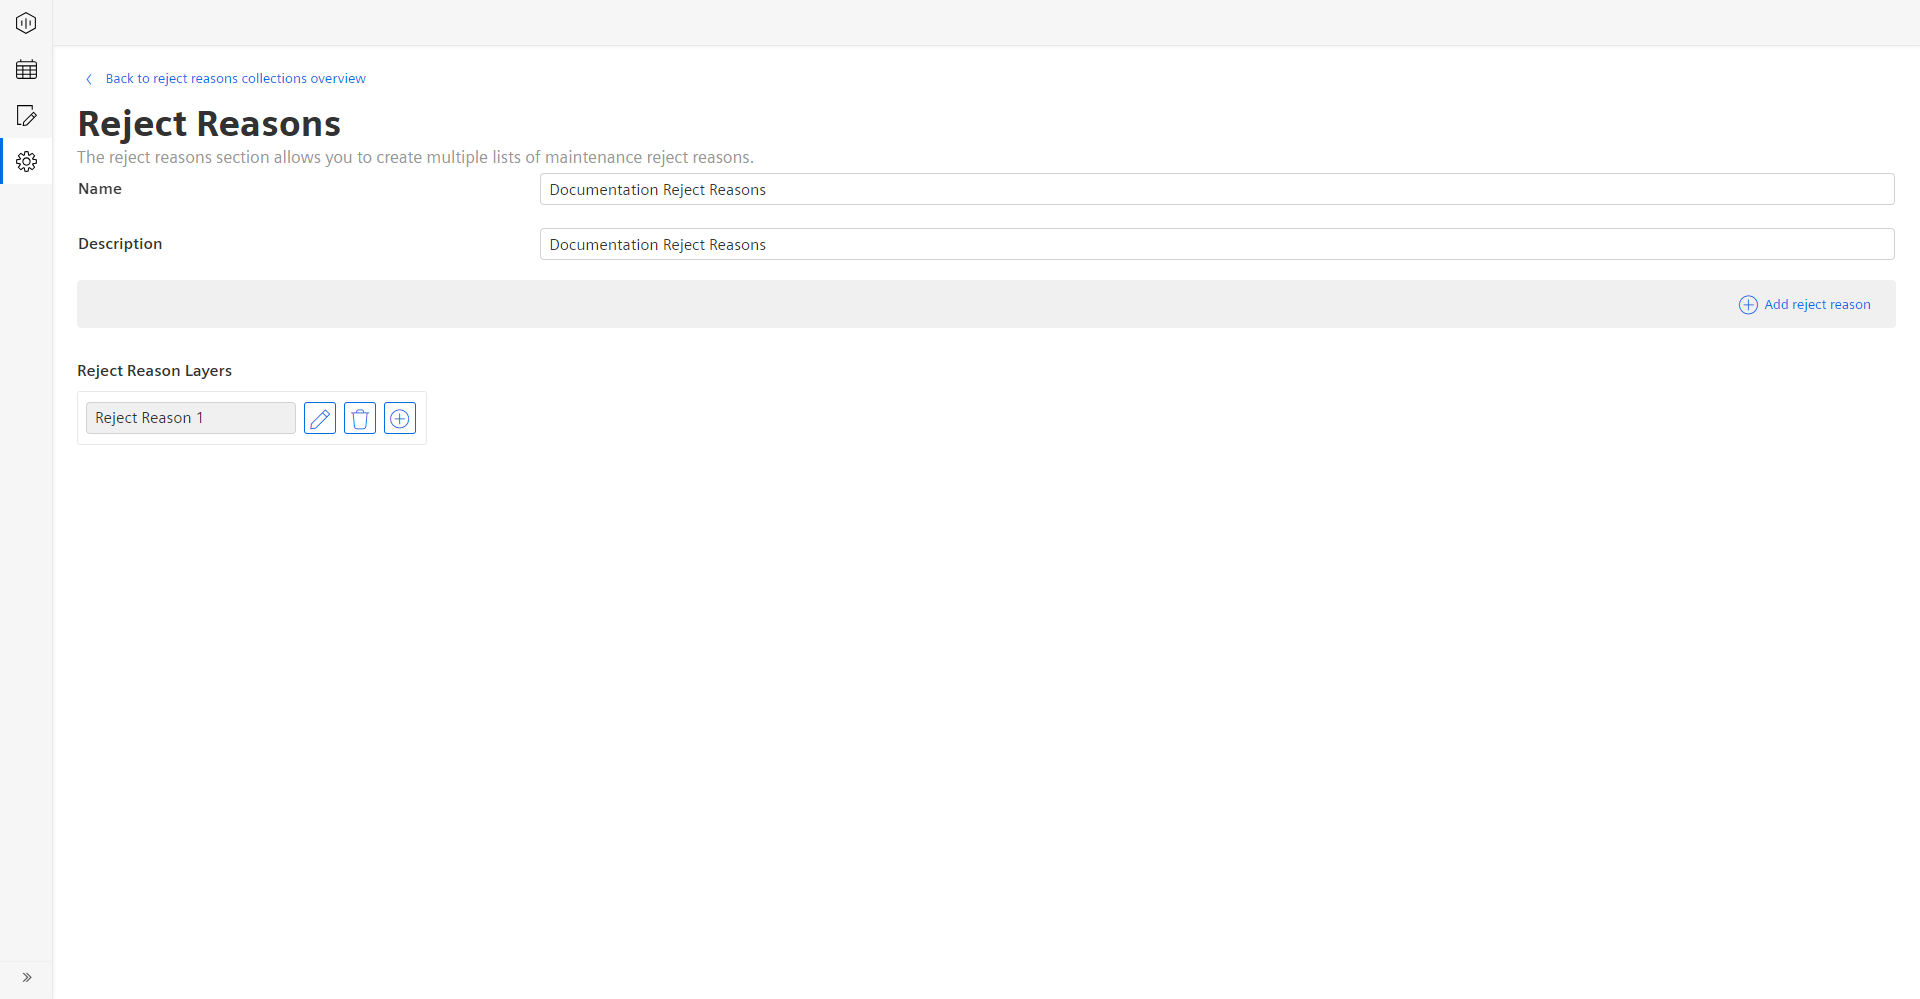
Once you created the first reject reason in the collection, there are now multiple possibilities for you to proceed.
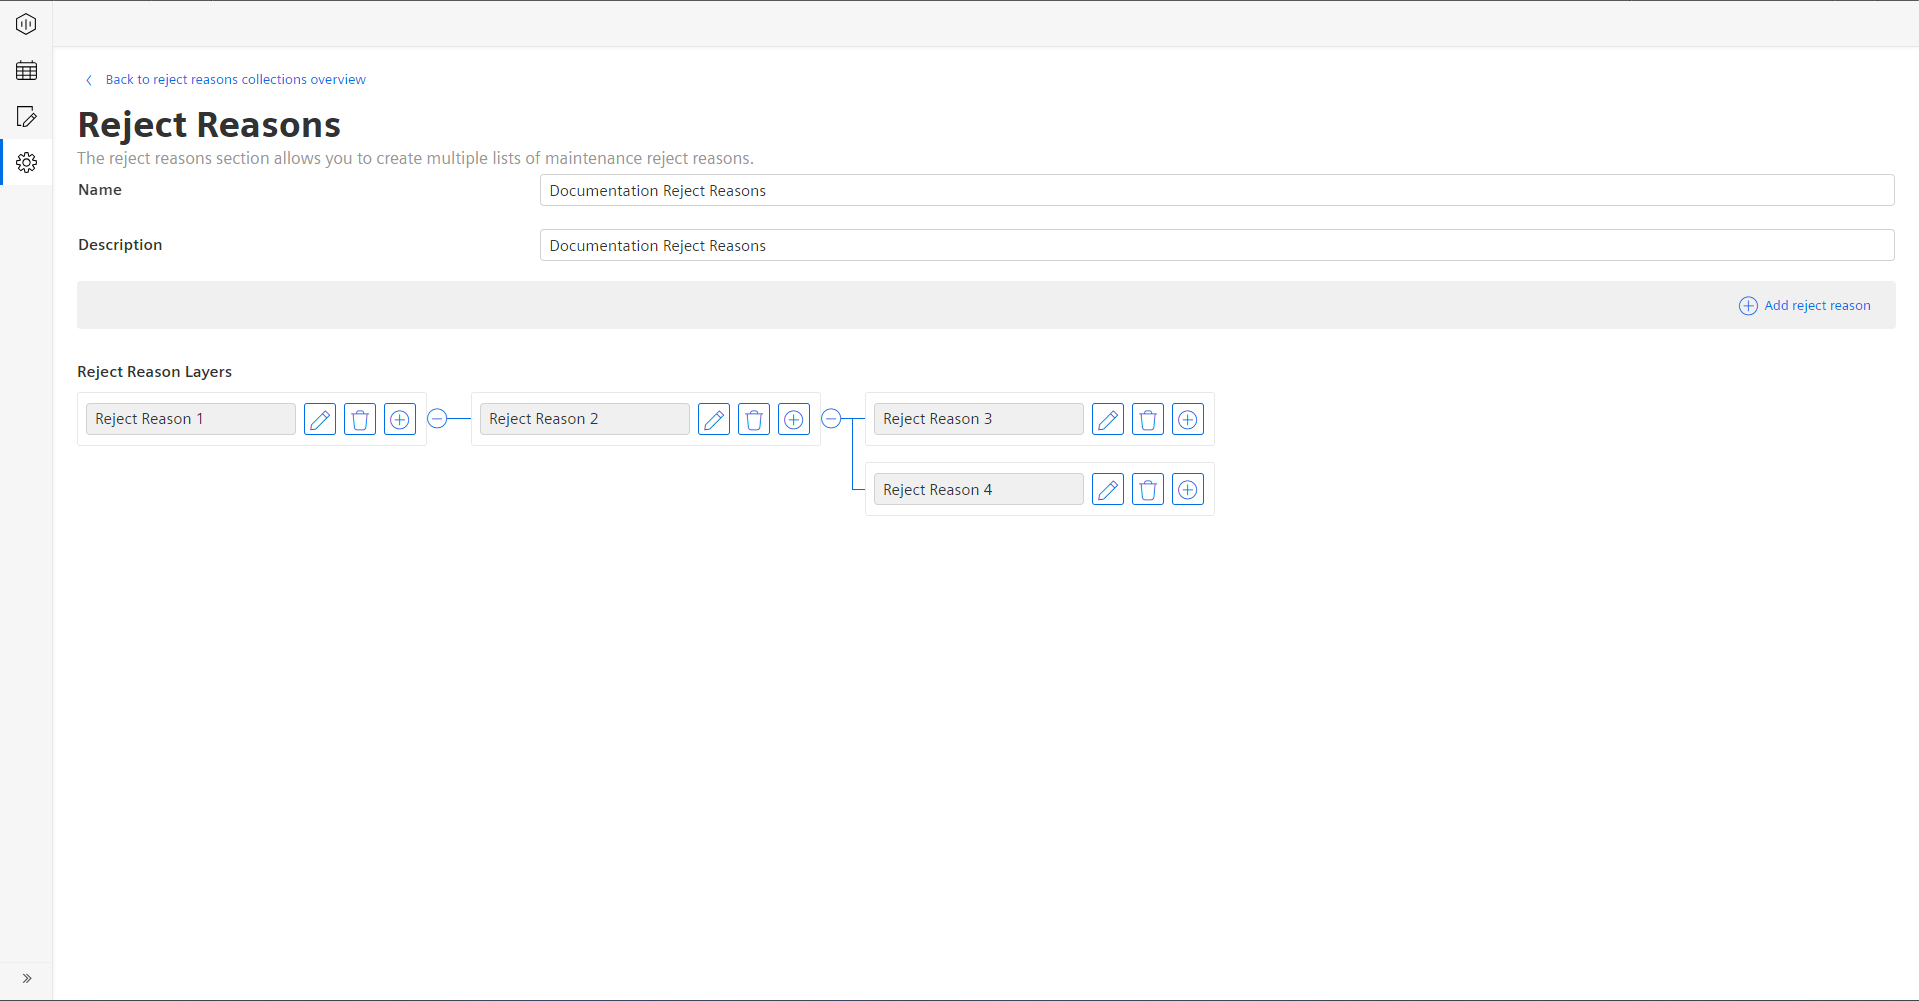
- Click the pen icon to edit the reject reason.
- Click the trash can icon to delete the reject reason. This will also delete all child reject reasons.
- Click the plus button to add a child reject reason to the existing reject reason.
The reject reason collection can be built in two ways, either as a simple list or as a tree structure like you are already used to from the reason tree capability.
Simple List:
To create a simple list, please always keep adding new reject reasons the “Add reject reason” button. This will always create new reject reasons on the first layer in the collection.
Tree Structure: To create a tree structure, you must click on the plus icon on an existing reject reason as this click will create a new child reject reason. If you want to create a new reject reason on the first layer, then you must click the “Add reject reason" button in the upper right corner.
After you finished adding all reject reasons to the collection, you can click on the “Back to reject reasons overview” button in the upper left corner to get back to the reject reasons overview.
Except where otherwise noted, content on this site is licensed under the Development License Agreement.